
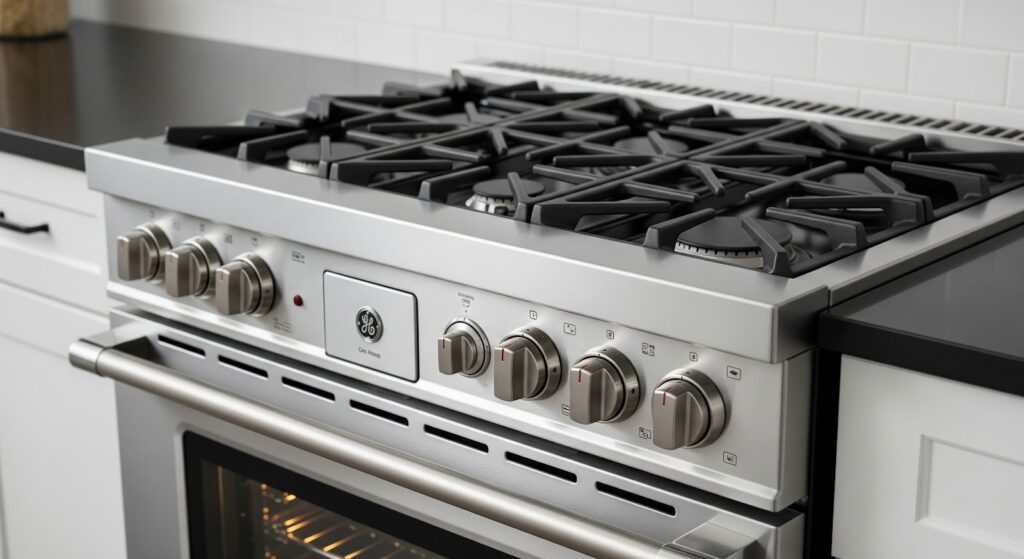
If your GE gas range isn’t maintaining the correct temperature, the oven thermostat might need to be replaced. The WB20K8 thermostat is a commonly used part in various GE models, and swapping it out is a manageable task with the right tools and precautions.
Signs of a Failing Oven Thermostat
A faulty oven thermostat can lead to inconsistent cooking results and potential safety risks. Here are some signs that indicate a replacement is needed:
- Inconsistent temperatures: Food takes too long to cook or burns too quickly.
- Oven not heating properly: The oven fails to reach the set temperature.
- Temperature fluctuations: Heat levels rise and fall unpredictably during cooking.
- Oven stays on or won’t turn on: The thermostat fails to regulate the heating cycle.
- Strange smells or noises: Wiring issues within the thermostat may cause electrical burning smells or clicking sounds.
- Display or indicator issues: The oven control panel may show incorrect temperature readings.
If any of these symptoms persist, replacing the thermostat is a practical step to restore proper function.
Tools Needed
- Torx T15 screwdriver
- Putty knife
- Phillips screwdriver
- Gloves
- Replacement thermostat
Safety Tips
- Unplug the range or switch off the circuit breaker to prevent electrical hazards. Shut off the gas valve before beginning.
- If the oven was recently in use, wait until it’s completely cool.
- Use proper lighting, remove obstacles, and keep children and pets away.
- Never handle internal components with wet hands to avoid electrical risks.
- Check your user manual for model-specific instructions.
- Avoid excessive force to prevent damage to components.
- Insulated work gloves help prevent cuts and scrapes.
- Use non-conductive tools when handling wires to minimize shock risk.
- After installation, test all connections with a leak detector solution before turning the gas back on.
How to Replace the Thermostat in a Gas Range
Here are the steps to remove the old thermostat and install a new one, allowing the oven to function properly again.
Access the Thermostat
- Allow the range to cool completely if it has been used recently.
- Remove the burner grates, burner caps, and burners.
- Remove the twelve screws holding the burner bases to the top panel.
- Apply a rust-busting solution to any stubborn screws and let it soak overnight if needed.
- Use a putty knife to pry out all four top burner igniters.
- Disconnect the igniter wires from each igniter.
- Insert a putty knife into the seam beneath the cooktop and push inward to release the locking clips at both front corners.
- Lift the left side of the top panel up and out of the bracket.
- Pull the right side out from its mounting hole and remove the top panel.
- Remove all control knobs from the front panel.
- Remove the four Phillips screws securing the front panel.
- Open the oven door about a quarter of the way and lift it off the hinges.
- Remove both oven racks.
Remove the Old Thermostat
- Locate the thermostat sensor bulb at the back of the oven interior.
- Squeeze and remove the retainer clips securing the sensor bulb.
- Bend the sensor bulb carefully and push it through the hole.
- Move to the back of the range and pull the thermostat sensor out.
- Straighten the sensor bulb and fully remove it from the hole.
- Use a Phillips screwdriver to remove the three screws securing the bottom of the front control panel.
- Lower the front panel carefully.
- Unscrew the two screws holding the thermostat in place.
- Pull out the thermostat and remove the protective splash guard.
- Disconnect the two wires attached to the thermostat terminals.
- Clear any obstacles from the sensor and fully remove the old thermostat.
Install the New Thermostat
- Uncoil the new sensor tube.
- Feed the new sensor tube under the burner tubes and wires.
- Bend the new sensor bulb and insert it into the hole at the back of the oven.
- Retrieve the thermostat sensor from inside the oven and straighten it.
- Clip the thermostat sensor onto the back wall.
- Attach the two thermostat wires to the terminals.
- Slide the protective splash guard onto the thermostat.
- Position the thermostat shaft through the control panel opening.
- Secure the thermostat using two Phillips screws.
Reassemble the Range
- Reattach the front panel.
- Secure the front panel with three Phillips screws at the bottom.
- Slide both oven racks back into the oven.
- Align and reinstall the oven door onto the hinges.
- Check that the door is positioned correctly and closes properly.
- Secure the front panel with the four Phillips screws under the control knobs.
- Reinstall the control knobs.
- Insert the right side of the cooktop panel first.
- Position the left side of the cooktop panel into the back support.
- Thread the igniter wires through the holes and reconnect them to the igniters.
- Lower the cooktop and press down to lock it into place.
- Push in all four igniters securely.
- Reinstall all twelve burner base screws.
- Place each burner, cap, and grate back in their correct positions.
Test the Range
- Turn the gas supply back on.
- Plug the oven back into the power outlet.
- Use a leak detector fluid or soapy water to check all gas connections for leaks.
- If bubbles form, tighten the connections and recheck.
- Turn on the oven to verify that it heats properly.
- Check that the thermostat regulates temperature correctly.
Also Read: How to replace oven thermostat WB20K8 on a gas GE range
Maintenance Tips for a Longer-Lasting Thermostat
To avoid frequent thermostat replacements, regular maintenance helps keep the oven operating properly. Here are some tips:
- Calibrate the oven periodically: Check the actual oven temperature using an oven thermometer and adjust settings if needed.
- Keep oven vents clear: Blocked vents can cause overheating and damage the thermostat.
- Avoid slamming the oven door: Sudden shocks can loosen internal components over time.
- Clean the oven regularly: Grease and debris buildup can interfere with temperature regulation.
- Check for wiring issues: Loose or frayed wires can cause the thermostat to malfunction.
- Test the thermostat if cooking issues arise: If temperatures seem off, confirm accuracy before assuming the thermostat is faulty.
Looking Ahead
If you’ve come this far, you’re serious about fixing your oven. Replacing the thermostat might look tricky, but with patience and the right tools, it’s manageable. Once it’s done, your oven should heat correctly again—no more burnt meals or undercooked dishes.
A broken thermostat doesn’t mean your whole range is useless. With a few careful steps, you can get it working like new and avoid an expensive replacement.