
A malfunctioning oven that won’t heat up doesn’t necessarily mean you need to replace the entire appliance. If the bake element is broken, you can swap it out yourself and save money on repairs. With just a few tools and some basic steps, you’ll have your oven working again in no time.
What Is an Oven Bake Element?
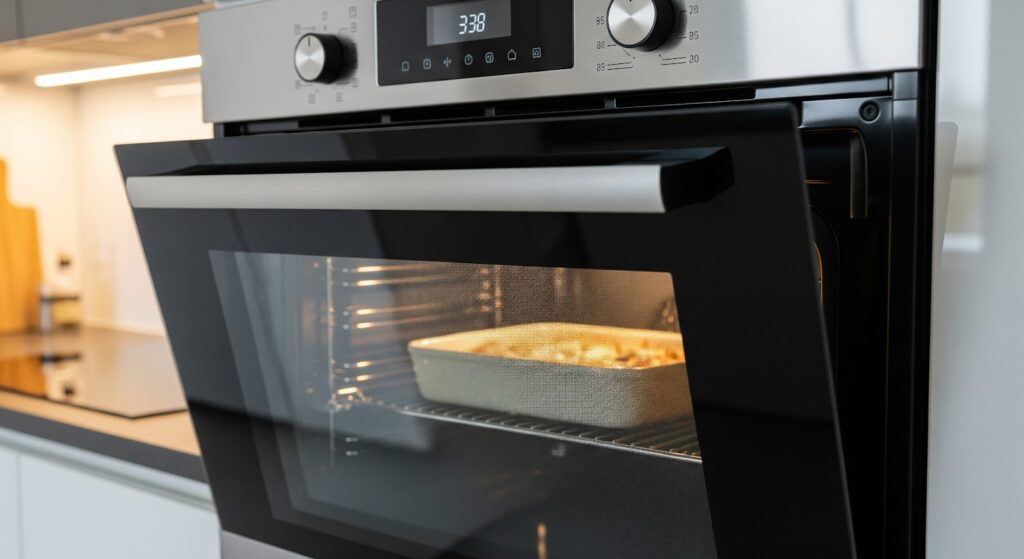
Electric ovens have two heating elements: one at the top for broiling and another at the bottom for baking. The bake element, located at the bottom, heats the oven when you bake. It’s connected to electrical wires at the back and secured with mounting brackets. When functioning properly, it glows red or orange as it heats.
Over time, this component can wear out due to electrical surges or regular use. If your oven isn’t heating properly, check the bake element by turning on the oven and looking for that red or orange glow. If it stays dark, it’s likely time for a replacement.
To find the correct replacement part, locate your oven’s model number. This information is usually found on a metal plate or sticker. Common locations include:
- Around the oven door
- Inside the vent ducts
- Under burners
- Beneath the cooktop
Once you have the model number, you can search for the appropriate bake element for your appliance.
Also Read: Common Causes of Oven Bake Element Burnout and How to Prevent Them
Tools Needed
Replacing a bake element is a straightforward task that requires just a few tools:
- Phillips head screwdriver
- 1/4-inch nut driver
- Needle-nose pliers
- Optional: Voltage tester
How to Replace a Bake Element in an Oven
Follow these steps to safely and effectively replace the bake element in your oven.
Disconnect Power and Prepare the Oven
- Turn all oven controls to the off position.
- Unplug the oven from its power source. If the plug is difficult to access, carefully move the appliance away from the wall.
- If the oven is hard-wired or too heavy to move, turn off the corresponding circuit breaker in the home’s breaker box.
- Double-check that the oven is completely unpowered using a voltage tester.
- Allow the oven to cool completely if it was recently in use.
Remove the Oven Door
- Open the oven door fully.
- Locate the mounting screws at the base of the door.
- Use a Phillips head screwdriver to remove the screws.
- Hold the door firmly with both hands and lift it off the hinges.
- Set the door aside in a safe location to prevent breakage.
Remove the Oven Racks
- Slide out the oven racks to create more working space.
- If necessary, lift up slightly while pulling to fully remove them.
- Set the racks aside.
Remove the Broken Bake Element
- Locate the bake element at the bottom of the oven against the back wall.
- Use a quarter-inch nut driver to remove the two screws securing the mounting brackets.
- Gently pull the bake element forward an inch or two to access the attached wires.
- Use a voltage tester again to confirm that the wires are unpowered.
- Use needle-nose pliers to disconnect the wire terminals from the element’s contacts.
- Be careful to prevent the wires from slipping through the openings at the back of the oven.
- Once completely disconnected, remove the damaged bake element from the oven.
Prepare and Install the New Bake Element
- Use needle-nose pliers to slightly tighten each terminal so the new bake element fits snugly.
- Align the wire terminals with the contacts on the new bake element.
- Use needle-nose pliers to attach the terminals securely.
- Position the new element back against the rear wall of the oven.
- Secure it using the quarter-inch screws removed earlier.
Reassemble the Oven
- Slide the oven racks back into place.
- Prepare to reattach the oven door by opening the oven hinges.
- To hold the hinges open, use the handles of screwdrivers if necessary.
- Align the door with the hinges and slide it into place.
- Test the door by opening and closing it to confirm proper alignment.
- Secure the door with its mounting screws.
Restore Power and Test the Oven
- Restore power by plugging in the oven or flipping the breaker back on.
- Set the oven to bake mode.
- Observe the bake element to confirm it begins to glow and heat is being produced.
- If everything is functioning correctly, the installation is complete.
How to Prolong the Life of Your Oven Bake Element
A bake element can last for years, but certain practices can help extend its lifespan:
- Avoid spilling food or liquids directly onto the element, as this can cause damage.
- Clean the oven regularly to prevent buildup that could lead to overheating.
- Use the correct voltage and avoid sudden power surges with a surge protector.
- Don’t slam oven doors, as vibrations can weaken the element over time.
- Avoid using self-cleaning cycles too frequently, as the high temperatures can wear out the element faster.
Common Mistakes to Avoid When Replacing an Oven Bake Element
Replacing the bake element is a simple task, but mistakes can lead to additional problems. Be mindful of these common errors:
- Forgetting to unplug the oven before starting the replacement.
- Using the wrong replacement part that doesn’t fit your oven model.
- Over-tightening screws, which can crack the mounting brackets.
- Not reconnecting the wiring properly, which could cause the oven to malfunction.
- Touching the new bake element with bare hands, as oils from the skin can cause damage when heated.
Taking the time to do the job correctly will help you avoid unnecessary issues and get your oven back to full functionality.
In Summary
A broken oven doesn’t mean you have to spend a fortune on a new one. If the bake element stops working, replacing it yourself is an easy fix that saves money and gets your oven working again. With a few tools and careful steps, you can handle this repair without hiring a professional.
Skipping important safety steps or rushing the process can lead to more problems—or an oven that still won’t heat. Take your time, check each step, and make sure you have the right part for your model. Once installed, the new element should heat up properly, letting you get back to cooking.