
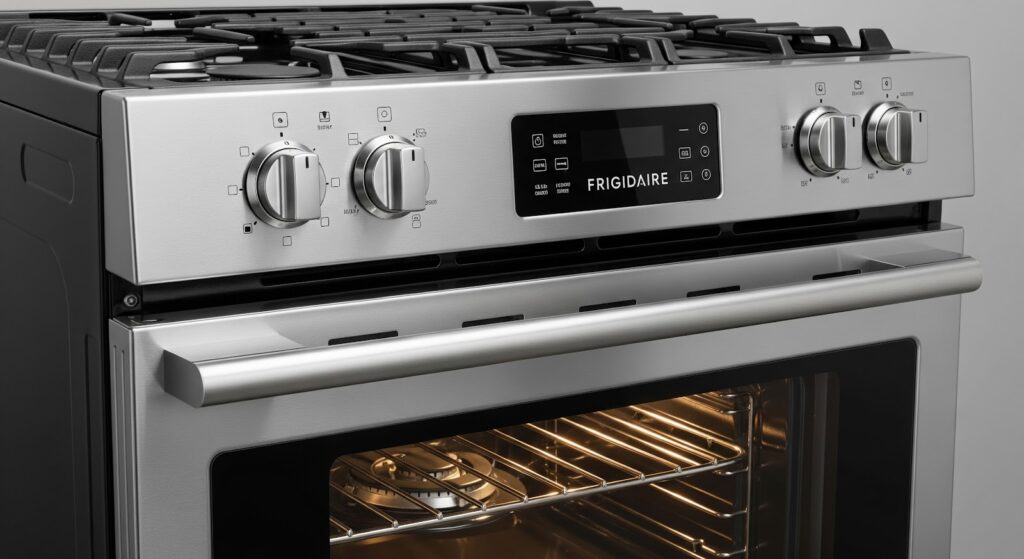
The oven safety valve in a gas Frigidaire range controls the release of gas when the oven is in use. If this valve malfunctions, the oven may not heat properly or could present safety concerns. Replacing the valve is a straightforward process that requires basic tools and attention to safety.
Signs of a Faulty Oven Safety Valve
If you’re unsure whether the oven safety valve needs to be replaced, look for these common signs:
- The oven is not heating or takes much longer than usual to reach the set temperature.
- A strong gas odor is present when trying to use the oven, indicating the valve may not be closing properly.
- The oven’s burner does not ignite, even when the igniter is working.
- The flame is weak or inconsistent, leading to uneven cooking.
- The oven shuts off unexpectedly during use.
Tools Needed
- 3/4-inch wrench
- 9/16-inch wrench
- Flathead screwdriver
- 3/8-inch nut driver
- 1/4-inch nut driver
- New oven safety valve (make sure it’s compatible with your range model)
Checking Compatibility
Before starting, confirm that the replacement part matches your appliance model. To find your model number, look for a label in one of these locations:
- Inside the oven door
- Behind the storage drawer
- On the back of the range
- On the control panel
Write down the model number or take a photo for reference when purchasing the replacement valve.
Safety Precautions
When working on any gas appliance, follow these important safety measures:
- Turn off power and unplug the appliance or shut off the circuit breaker to prevent electrical hazards.
- Allow the oven to cool if it was recently in use.
- Shut off the gas supply to prevent leaks while replacing the valve.
- Work in a well-lit, clutter-free space, keeping children and pets away.
- Keep hands dry and avoid working with wet tools or surfaces.
- Handle parts with care to prevent damage or injury.
- Wear insulated gloves to protect your hands from sharp edges and debris.
- Document wiring connections by taking photos or making notes before disconnecting wires to make reassembly easier.
How to Replace an Oven Safety Valve
Follow these steps to remove and replace a faulty oven safety valve safely.
Disconnect Power and Gas
- Unplug the oven from the power outlet.
- Shut off the gas supply.
- Move the oven away from the wall if needed.
Remove the Gas Line
- Locate the oven safety valve at the back of the range.
- Hold the safety valve with a 3/4-inch wrench.
- Use a 9/16-inch wrench to loosen the nut connecting the gas line to the safety valve.
- Pull the gas line out and set it aside.
Remove Oven Components
- Open the oven door.
- Pull out the oven racks until they stop, then lift and slide them off.
- Use a flathead screwdriver to remove the two screws securing the oven bottom.
- Lift out the oven bottom to access the flame spreader.
- Use a 3/8-inch nut driver to remove the nut securing the flame spreader.
- Remove the flame spreader and set it aside.
- Pull out the lower drawer for better access if applicable.
Disconnect the Burner and Safety Valve
- Use a small flathead screwdriver to disconnect the wires on each side of the oven burner.
- Keep track of the small gray shield on the wiring.
- Use a 1/4-inch nut driver to remove the two screws securing the oven burner.
- Lift the oven burner off the safety valve without damaging the igniter.
- Remove the screw securing the metal plate covering the oven safety valve.
- Pull the plate and safety valve forward.
- Lift the plate off and remove the safety valve from the oven.
Install the New Safety Valve
- Position the new safety valve in place.
- Place the metal plate over the safety valve and lock it into the slots.
- Use a 1/4-inch nut driver to secure the safety valve and plate with screws.
Reattach the Burner and Wiring
- Position the oven burner on the new safety valve.
- Secure the oven burner with screws.
- Reconnect the wiring to the new safety valve.
- Cover the terminal connections.
Reassemble the Oven
- Place the flame spreader back in position.
- Use a 3/8-inch nut driver to secure the flame spreader with the nut.
- Reinstall the oven bottom.
- Use a flathead screwdriver to secure the oven bottom with the two screws.
- Slide the oven racks back into place.
Reconnect the Gas Line
- Go to the back of the range and reconnect the gas line to the new safety valve.
- Position the gas line correctly.
- Hold the valve steady with a 3/4-inch wrench.
- Use a 9/16-inch wrench to tighten the nut securely.
Check for Gas Leaks
- Turn on the gas supply.
- Apply a gas leak detector solution or a mixture of soap and water to the gas line connections.
- Check for bubbles indicating a gas leak.
- If bubbles form, tighten the connection further or replace the fitting.
- If no bubbles appear, the connection is secure.
Restore Power and Test the Oven
- Plug the oven back into the power outlet.
- Turn on the oven and test for proper operation.
Common Mistakes to Avoid When Replacing the Valve
Even with the right tools, mistakes can happen. Avoid these common errors to prevent further issues:
- Forgetting to turn off the gas supply can lead to leaks or unsafe working conditions.
- Using excessive force when loosening or tightening connections may damage fittings or strip screws.
- Skipping the step of documenting wiring connections makes reassembly more difficult.
- Handling the new valve roughly can damage delicate components.
- Neglecting to check for gas leaks after installation is a critical step before using the oven again.
- Not testing the oven before fully reassembling it may result in having to take everything apart again.
Maintenance Tips to Extend the Life of Your Oven Safety Valve
Once you’ve installed the new valve, regular maintenance can help keep it in good working condition:
- Inspect the valve and gas connections periodically for any signs of wear or leaks.
- Clean the burner and igniter regularly to prevent debris buildup that could affect ignition.
- Avoid using harsh chemicals when cleaning the oven, as some cleaners can corrode gas components.
- Check the oven door seal to prevent heat loss, which can strain the heating system.
- Operate the oven according to the manufacturer’s guidelines to prevent unnecessary stress on components.
- Listen for unusual sounds or smells for gas leaks during operation, as these may indicate developing issues.
Also Read: How to Clean an Oven
To Recap
If your oven’s been acting up, replacing the safety valve might have saved you from some serious frustration. But before you celebrate, take a moment to check your work, one loose connection or missed leak could turn a simple fix into a bigger problem. Gas and mistakes don’t mix, so don’t skip that leak test.
The good news? You’ve taken control of your appliance’s safety and performance. Knowing how to recognize warning signs and handle repairs puts you ahead of the game. Keep an eye on your oven, and perform routine maintenance, and you won’t have to deal with surprise failures anytime soon.