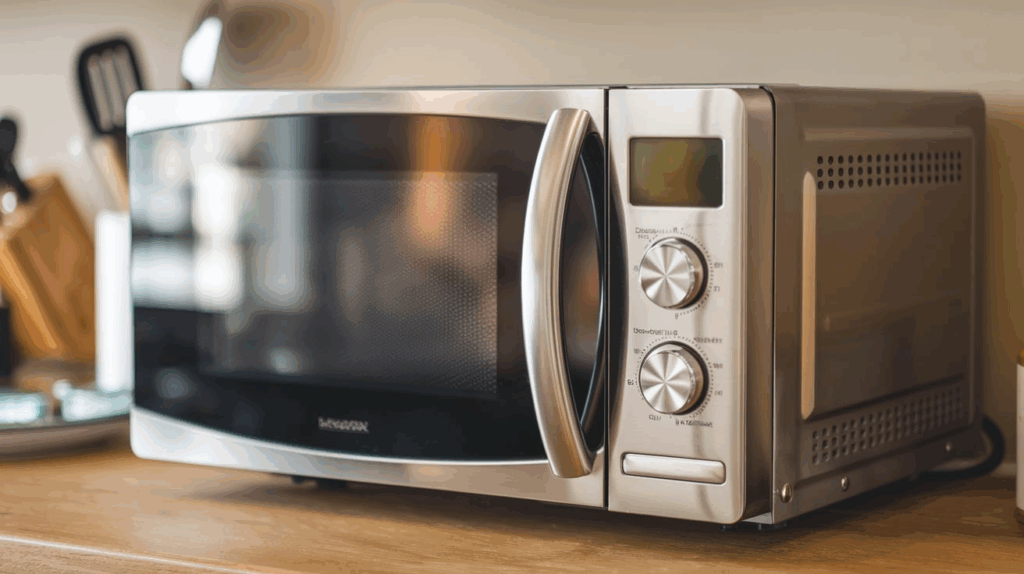
Over time, the grease filter in your over-the-range microwave collects oil and residue, which can reduce the vent fan’s effectiveness. This can lead to lingering smoke, steam, and odors while cooking.
Regular cleaning helps, but if the filter is damaged or too clogged, replacing it is the best option. Fortunately, swapping out the grease filter is a simple task that takes less than 15 minutes.
Follow these steps to remove the old filter and install a new one so your microwave continues to work properly.
Why Replacing the Grease Filter Matters
Keeping the grease filter in good condition helps maintain both the performance and longevity of your microwave. Over time, buildup can impact how well it functions.
- Prevents smoke and odors – A clogged filter reduces airflow, allowing smoke and smells to linger.
- Helps the vent fan work better – A clean filter allows proper ventilation, reducing strain on the fan.
- Reduces fire hazards – Built-up grease is flammable and increases the risk of kitchen fires.
- Improves air quality – A functioning filter removes airborne grease and contaminants, keeping the kitchen fresher.
- Protects internal components – A clogged filter forces the microwave to work harder, which can lead to overheating or premature wear.
What You’ll Need
- Cleaning cloth or sponge
- Mild dish soap or degreaser (for cleaning the filter area)
- Replacement filter (check compatibility with your specific microwave model)
Safety Tips
Before starting, keep these precautions in mind:
- Unplug the microwave. Always disconnect the power to avoid electric shock.
- Let it cool down. If the microwave was recently used, wait until it cools before replacing the filter.
- Take your time. Rushing can lead to mistakes or injuries.
- Use good lighting. Proper visibility helps when accessing and replacing the filter.
- Check the user manual. Some models have slight differences in the replacement process.
- Handle with care. Use gentle pressure when removing or installing parts to avoid damage.
- Keep children and pets away. A clear workspace makes the process safer.
How to Replace the Grease Filter W10208631A on a Whirlpool, KitchenAid, or Maytag Microwave
Below are the steps to remove the old grease filter and install a new one properly.
Locate and Remove the Old Filter
- Turn off the microwave and disconnect it from the power source.
- Find the grease filter on the underside of the microwave.
- Slide the old filter about one inch to the left to release the right side from its locked position.
- Pull the filter toward you to remove it completely, taking note of how it was positioned.
Compare the Filters
- Check the old filter against the new replacement filter.
- Confirm that the size, shape, and mounting alignment match.
Install the New Filter
- Slide the new filter into the empty space in the same orientation as the old one.
- Push it firmly to the right until it clicks and locks into place.
- Gently tug on the filter to make sure it is secure.
Restore Power and Test
- Reconnect the microwave to the power source and turn it back on.
- Run the microwave on high for one minute to confirm it is working properly.
How Often to Replace the Grease Filter
The frequency of replacement depends on how often you use your microwave and the type of cooking you do. Some signs indicate it’s time for a new filter.
- Heavy grease buildup – If grease no longer washes out completely, replacement is needed.
- Visible wear or damage – A torn or deformed filter won’t function properly.
- Reduced vent performance – If steam and smoke don’t clear as well as before, the filter may be clogged.
- Discoloration or persistent odors – A filter that stays discolored or retains smells after cleaning is no longer effective.
- Manufacturer guidelines – Many brands recommend replacing the filter every 6-12 months, depending on usage.
Closing Thoughts
A greasy filter can make your kitchen smell like leftover food and cause your microwave to work harder than it should. It might even become a fire risk. Replacing it takes only a few minutes and helps your vent fan do its job properly. If your kitchen feels stuffy after cooking, your filter is probably overdue for a change.
Waiting too long can lead to poor ventilation and an overworked microwave that may not last as long. A quick swap keeps everything running smoothly, prevents future problems, and helps keep the air in your kitchen fresher. If you haven’t checked your filter in a while, now’s a good time.
