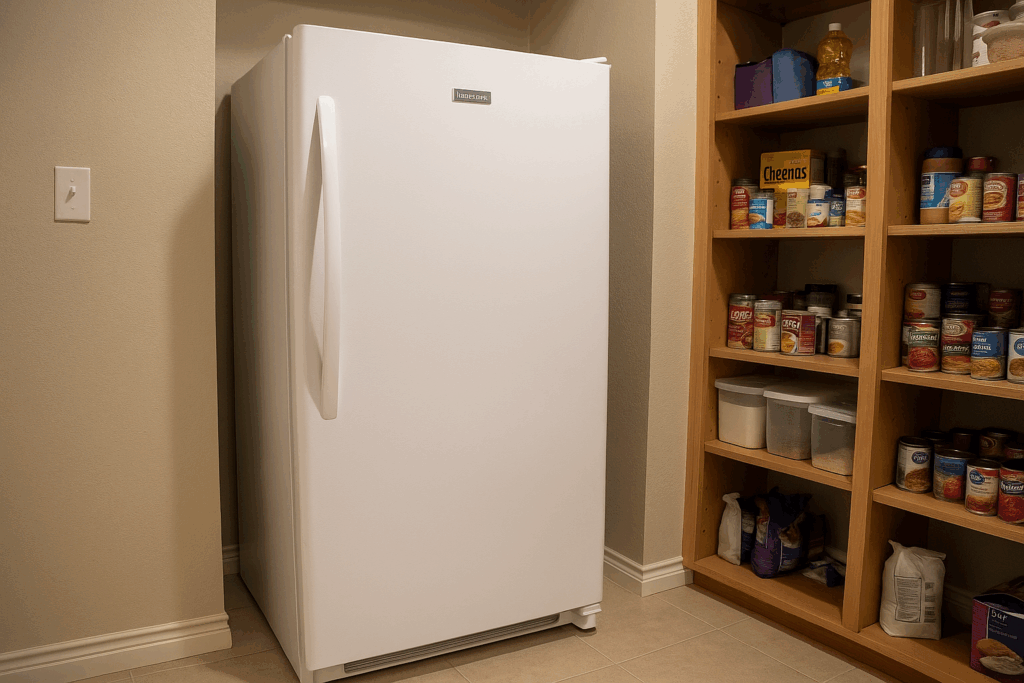
If your upright Frigidaire freezer is showing signs of a faulty defrost heater assembly or bi-metal thermostat, you can save both time and money by diagnosing and replacing the components yourself. Here’s how to do it effectively and safely.
Common Signs of a Faulty Defrost Heater Assembly or Bi-Metal Thermostat
Diagnosing the problem starts with recognizing the symptoms. Here are common signs that these components might be faulty:
- Frost Buildup: Ice accumulation inside the freezer indicates that the defrost system is not functioning properly.
- Constant Running: A freezer that never cycles off may point to a defrosting issue.
- Inconsistent Temperatures: Uneven cooling or warm spots inside the freezer can result from a faulty defrost heater or thermostat.
- Pooled Water: Water inside or under the freezer may occur if melted frost isn’t draining properly.
- Loud Clicking Noises: Strange noises during the defrost cycle might indicate thermostat problems.
Tools You’ll Need
- Multimeter
- Phillips head screwdriver
- Flathead screwdriver
Safety First
Before starting any maintenance or replacement work, follow these safety guidelines to avoid accidents and make the task easier:
- Always unplug the freezer or switch off the circuit breaker to prevent electric shocks.
- If the freezer was recently in use, let it cool down completely before beginning.
- Take your time to avoid accidents or errors. Precision matters.
- A well-lit workspace helps you see clearly and access parts easily.
- Clear away clutter, and keep children and pets out of the workspace.
- Avoid working with wet hands or in damp areas to reduce the risk of electrical shocks.
- Review the appliance’s manual for specific safety or installation instructions.
- Avoid using excessive force when removing or reinstalling components to prevent damage.
- Protect your hands from sharp edges and electrical components.
- Shield your eyes from debris.
- Prevent irritation when dealing with dust or debris.
- Avoid touching exposed wires or terminals.
- Use non-conductive tools or insulated gloves when handling wires.
- Before disconnecting any wires, take photos or notes to make reassembly easier.
- If you’re unfamiliar with how to test live voltage safely, avoid doing so to prevent accidents.
- If the repair involves the water supply, turn it off at the outlet, and keep towels handy to catch any residual water.
Read more: Is Your Freezer Too Cold? Signs of an Overactive Cooling System
How to Test and Replace a Defrost Heater Assembly and Bi-Metal Thermostat
Here are the steps to test and, if necessary, replace the defrost heater assembly and bi-metal thermostat in your freezer.
Access the Defrost Heater
- Unplug the freezer from the power outlet.
- Remove all shelves from the freezer.
- Use a Phillips head screwdriver to remove the screws at the top, bottom, and sides of the evaporator cover.
- Move the evaporator cover aside and inspect the coils. Check for heavy ice and frost buildup, which indicates an issue with the defrost cycle.
Test the Bi-Metal Thermostat
- Leave the bi-metal thermostat clipped to the evaporator coil.
- Disconnect the red and white wire connections from the thermostat.
- Set a multimeter to continuity mode.
- Place the multimeter probes on the thermostat and check for continuity.
- If the thermostat reads open or appears deformed, replace it.
Test the Defrost Heater
- Set the multimeter to resistance (Ω) mode.
- Place the multimeter probes on the defrost heater’s connections.
- Check for a reading of approximately 31 Ohms. If the reading is not about 31 Ohms, replace the defrost heater.
Remove the Old Defrost Heater
- Disconnect the freezer from the power outlet and water supply.
- Unclip the bi-metal thermostat from the evaporator tubing and disconnect its two wires.
- Locate and remove the two metal clips at the bottom of the evaporator coils.
- Carefully remove the two styrofoam blocks on each side of the heater.
- Slide the old defrost heater assembly out.
Install the New Defrost Heater
- Slide the new defrost heater assembly into position.
- Secure the heater to the bottom of the coils using the metal clips.
- Replace the two styrofoam blocks on each side.
- Clip the new bi-metal thermostat into the original position.
- Reconnect the two wire leads to the thermostat.
Reassemble the Freezer
- Reattach the evaporator cover and secure it with the screws.
- Replace the shelves in the freezer.
- Plug the freezer back into the power outlet.
- Reconnect the water supply if applicable.
Read more: Expert tips for testing & replacing the compressor start relay in an upright Frigidaire freezer
What’s Next?
This kind of repair is all about confidence. Once you’ve gone through the steps, it’s easier than you’d think. You fix your freezer and gain the skills to handle similar issues in the future. And the best part? No waiting for a technician or paying for expensive service. Your freezer works again, and you’ve done it yourself.
