
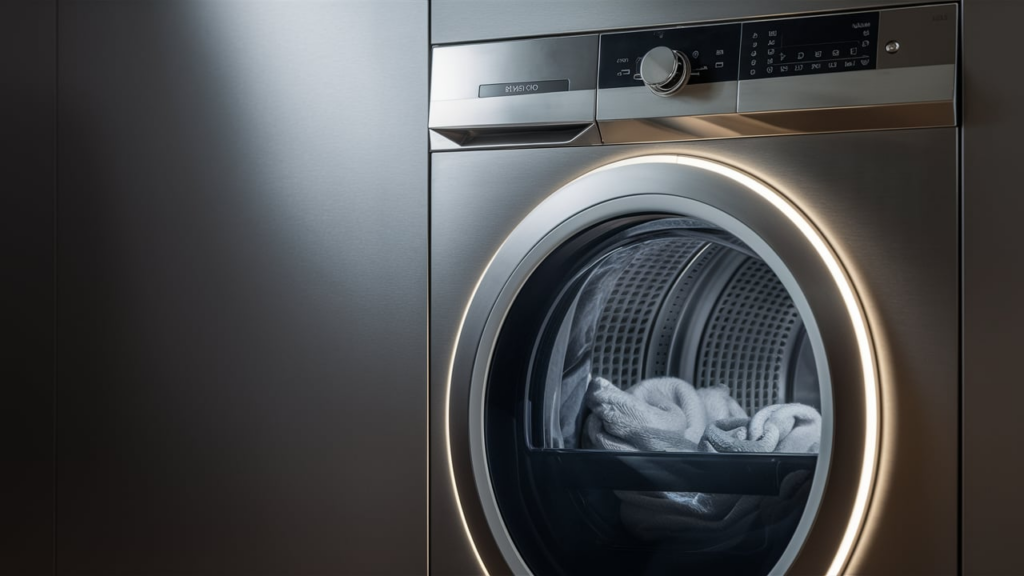
If your Whirlpool dryer won’t start but the drive belt is intact, the problem could be a faulty broken belt switch. This safety feature stops the motor if the belt breaks or comes off, preventing further damage to the dryer. Replacing the switch is a simple repair that can restore your dryer’s functionality.
Understanding the Broken Belt Switch
The broken belt switch is a critical safety component in your dryer. When the drive belt breaks or comes loose, this switch automatically shuts off the motor to prevent overheating or damage. Over time, the switch itself may wear out or fail, even if the belt remains intact.
Symptoms of a Faulty Belt Switch
Common signs that the broken belt switch may need replacement include:
- The dryer not starting at all, even when the controls are properly set.
- A motor that hums but does not engage.
- Intermittent operation where the dryer stops unexpectedly during use.
Identifying these symptoms can help you target the problem quickly.
What You’ll Need
Tools:
- Phillips head screwdriver
- Small flathead screwdriver
- 1/4″ nut driver
- Needlenose pliers
- 3/8″ socket wrench
Replacement Part:
- Whirlpool broken belt switch (Part #W10847984)
Once you’ve gathered your tools and the replacement part, you’re ready to begin.
How to Replace a Broken Whirlpool Dryer Belt Switch
Disassemble the Dryer
- Remove the top panel:
- Use a 1/4″ nut driver to unscrew the two screws on the back panel.
- Slide the top panel backward and lift it off.
- Remove the control panel:
- Unscrew the control panel corner screws.
- Detach the wire plugs.
- Slide out the control panel.
- Open the dryer door and take out the lint screen.
- Unscrew the Phillips screws along the inside edge of the front panel.
- Tilt the dryer back and support it with a wood block.
- Remove the front panel screws and unplug the door switch wire.
- Lift off the front panel.
Remove the Drum
- Unscrew the front bulkhead screws.
- Disconnect the moisture sensor plug.
- Lift the drum belt and slide the drum out of the cabinet.
- Set the drum aside.
Remove the Broken Belt Switch
- Use a 3/8″ socket wrench to remove the idler pulley arm screw.
- Take off the idler pulley arm.
- Disconnect the switch wire plug using a small flathead screwdriver.
- Press the retaining tabs to lift the switch out of the bracket.
- Detach the switch wires from the terminals with a flathead screwdriver.
Check the Old Belt Switch for Continuity
- Engage the plunger manually to simulate belt tension.
- Set a multimeter to the continuity setting.
- Attach the multimeter probes to the switch terminals.
- Interpret the results:
- If the multimeter beeps or shows a continuous circuit, the switch is functional.
- If the multimeter shows no continuity (open circuit), the switch is faulty and requires replacement.
Install the New Belt Switch
- Attach the switch wires to the terminals on the new belt switch, clipping them securely.
- Insert the new switch into the bracket, angling it to fit around the tab, and push it down to lock it in place.
- Reconnect the wire plug.
- Replace the idler arm and pulley.
- Tighten the idler pulley arm screw with the socket wrench.
Reassemble the Dryer
- Slide the drum back into the cabinet, aligning it on the support rollers.
- Loop the drum belt around the pulleys.
- Turn the drum manually to check the belt tension.
- Reattach the front bulkhead using the 1/4″ nut driver.
- Reconnect the moisture sensor plug.
- Reinstall the front panel and reconnect the door switch wire.
- Replace the braces, control panel, and top panel in reverse order of removal.
Test the Repair
- Plug in and turn on the dryer.
- Verify that the dryer operates normally.
- Confirm the new belt switch shuts off the motor if the belt breaks.
With the right tools and a little patience, you can fix it yourself and get your dryer back up and running. If you ignore a broken belt switch, a small problem can quickly turn into a bigger one. This small part helps keep your dryer going and stops the motor if the belt breaks, preventing further damage. A quick fix now can save you a lot of trouble later.
So, if your dryer won’t start next time, don’t panic or rush to replace it. The solution might be as simple as replacing one switch, and you’ll be back to smooth laundry days in no time.