
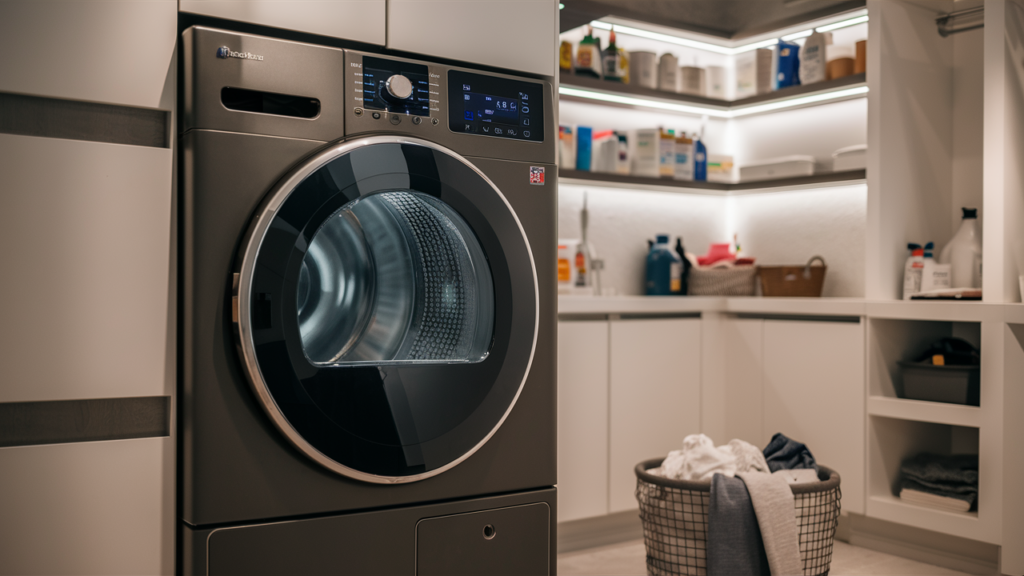
If your laundry keeps getting snagged inside your dryer, it’s likely the lower drum felt seal has worn out. Replacing this seal can prevent further damage to your clothes and restore smooth operation. Here’s a step-by-step guide to help you replace the lower drum felt seal effectively.
Common Signs the Seal Needs Replacement
The lower drum felt seal is critical in keeping the drum properly aligned and preventing clothes from catching. Look out for these signs to determine if replacement is necessary:
- Clothes getting caught or torn during cycles.
- Visible wear, tears, or fraying on the felt seal.
- Unusual noises, such as squealing or grinding, coming from the drum.
- Reduced drying performance or heat loss caused by gaps in the seal.
Tools and Materials Needed
- Phillips screwdriver
- Flat-blade screwdriver
- 1/4-inch nut driver
- Side cutters
- Two small zip ties
- Replacement lower drum felt seal (compatible with your specific dryer model)
Important Safety Guidelines
Working with appliances requires caution. Follow these safety tips to complete the repair process safely and efficiently:
- Disconnect Power: Always unplug the dryer or turn off the circuit breaker before starting work to eliminate the risk of electric shock.
- Allow Cooling Time: Give the dryer plenty of time to cool down if it was recently used.
- Avoid Rushing: Work methodically to minimize errors and reduce the risk of injury.
- Well-Lit Workspace: Use adequate lighting to see and access all components clearly.
- Clear the Area: Keep your workspace organized and free from obstacles. Keep children and pets away from the work zone.
- Follow the Manual: Review your dryer’s user manual for specific instructions or safety guidelines related to seal replacement.
- Handle Parts Carefully: Use gentle pressure to remove or adjust components to prevent damage.
- Wear Gloves: Insulated work gloves protect your hands from sharp edges and debris.
- Avoid Exposed Wires: Do not touch exposed wires or terminals. Use insulated tools if working near electrical components.
How to Replace the Lower Drum Felt Seal on a Dryer
Removing the Panels
- Turn off the dryer and unplug it from the power supply.
- Open the dryer door and use a Phillips screwdriver to remove the screws in the upper corners of the top panel.
- Close the dryer door, move to the back of the dryer, and remove the three screws along the top edge of the control panel.
- Tilt the control panel forward, slide it to the left, and pull it out. Set the control panel aside.
- Lift and slide the dryer’s top panel back to remove it, and set it aside.
- Locate the two 1/4-inch screws in the upper corners of the front panel and remove them using a 1/4-inch nut driver.
- Slightly lift the front panel off the dryer drum, pull the bottom of the panel away from the drum, tilt it forward, and lift it off the bottom hinges.
Disconnecting the Door Switch Wires
- Detach the door switch wires using a flat-blade screwdriver. Take a photo of the connections for reference if needed.
Removing the Old Felt Seal
- Use side cutters to snip off the two zip ties securing the felt seal wrap, one on each side.
- Pry off the front drum support with a flat-blade screwdriver and observe how the felt loops around the drum.
- Remove the old felt seal by twisting and pulling it off completely.
- Discard the old felt seal and clean the area thoroughly.
Installing the New Felt Seal
- Slide one end of the replacement felt seal under the clip on the drum support.
- Bend the felt seal to match the old seal’s length for a tight fit and feed the end through the slit in the drum support rim under the first tab.
- Wrap the remaining felt seal around the drum support and press it flat into the seal groove.
- Secure the new felt seal with new zip ties on each side, tightening the ties and trimming off excess.
Reassembling the Dryer
- Reattach the front drum support by aligning the tabs and pressing it into place.
- Reconnect the door switch wires to their original terminals.
- Reinstall the front panel by aligning the three bottom slots with the corresponding tabs on the dryer frame.
- Lift the dryer drum slightly and slide the panel into place, making sure the side tabs align.
- Secure the front panel with the two 1/4-inch screws in the top corners.
- Reinstall the top panel by sliding the rear edge first into its slots, then pushing down to lock it in place.
- Open the dryer door and insert the two Phillips screws in the upper corners.
- Reinstall the control panel by lining up the bottom tabs, sliding it to the right to lock it, and securing it with three Phillips screws along the top edge.
Final Steps
- Plug the dryer back into the power outlet.
- Turn on the dryer and run a short test cycle to verify it is working correctly.
Tips for Maintaining Your Dryer After Replacement
Once the new felt seal is installed, regular maintenance can keep your dryer functioning at its best:
- Clean the Lint Trap: Remove lint after every cycle to prevent airflow blockages and overheating.
- Inspect for Wear: Periodically check other components like the drum rollers, belt, and seals for signs of damage.
- Avoid Overloading: Excess weight can strain the drum and wear out components prematurely.
- Schedule Routine Cleaning: Vacuum the interior and vents periodically to prevent buildup and maintain efficiency.
Wrapping it up, who would have thought a small felt seal could cause such big headaches? Replacing your GE dryer’s lower drum felt seal can completely transform how your dryer works and protect your clothes from unwanted snags and tears.
It’s surprising how one simple part can make such a huge difference in performance and longevity. So next time you hear those unusual noises or notice your clothes aren’t coming out as dry, you’ll know exactly what to do.