
The drain solenoid assembly in your GE dishwasher is essential in transitioning the pump between the wash and drain cycles. Over time, this part can wear out, leaving your dishwasher stuck in the wash cycle or unable to drain properly.
The good news? Replacing the drain solenoid assembly is straightforward and can be done without professional help. Let’s walk through the process.
Tools You’ll Need
- 5/16-inch screwdriver
- 5/8-inch wrench
- Phillips screwdriver
- Flathead screwdriver
- Pliers
- New drain solenoid assembly (make sure it’s compatible with your dishwasher model)
Verify Compatibility
Before getting started, confirm that your replacement part matches your dishwasher model. To check compatibility:
- Locate the model number on your appliance. This number is typically found on a sticker or metal plate in these areas:
- Door frame or side panel
- Bottom or back of the dishwasher
- Control panel or console
- Look for the label with “MOD” or “Model” preceding the number. Write it down or take a photo for easy reference.
- Use the model number to verify the part’s compatibility online or consult your user manual.
Prioritize Safety
Working on appliances requires extra caution. Follow these essential safety tips:
- Disconnect Power: Turn off the power by unplugging the dishwasher or shutting off the circuit breaker to eliminate the risk of electric shock.
- Turn Off the Water Supply: Close the water valve and have towels handy to soak up any residual water.
- Cool Down: Wait for the dishwasher to cool if it has been recently used.
- Work Smart: Use a well-lit, clutter-free workspace that’s dry. Keep pets and children out of the area.
- Wear Gloves: Use insulated work gloves to protect your hands from sharp edges and debris.
- Document Connections: Take photos or label wires before disconnecting them to simplify reassembly.
Also Read: Step-by-Step Guide to Replacing Dishwasher Diverter Valve 00751950
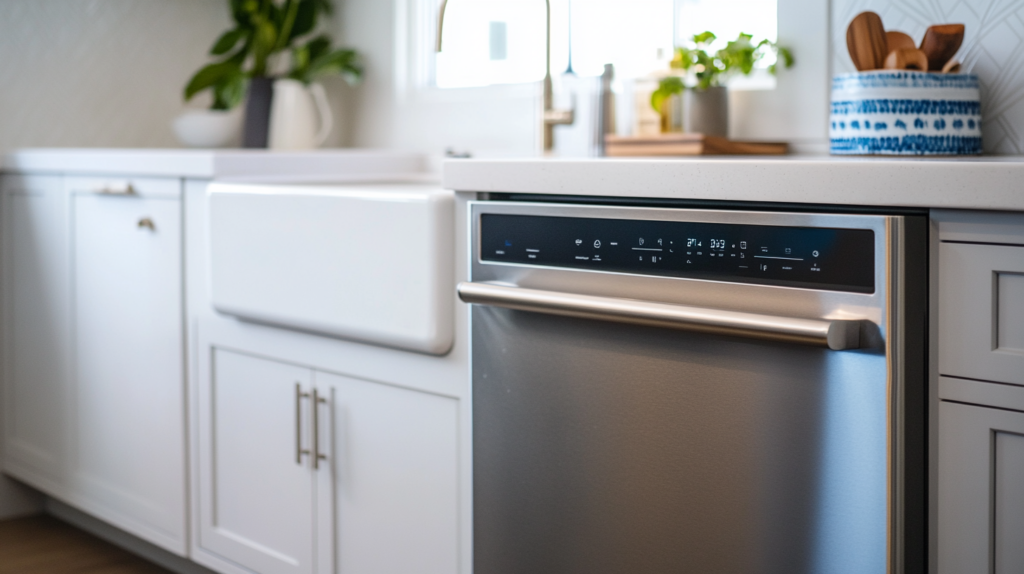
How to Replace the Drain Solenoid Assembly in a GE Dishwasher
Preparation
- Unplug the dishwasher from the outlet.
- Shut off the water supply to the dishwasher.
- Follow the drain line to the air gap or garbage disposal under the sink.
- Place towels around the water line and drain line to catch any potential leaks.
- Use a 5/16-inch wrench to remove the clamp on the drain line.
- Use a 5/8-inch wrench to disconnect the fill line from the hot water tap.
Removing the Dishwasher
- Open the dishwasher door.
- Remove the two screws securing the mounting brackets to the cabinet or countertop.
- Take out the lower dish rack and silverware basket.
- Close the dishwasher door and pull the unit out of the cabinet.
- Lean the dishwasher on its side to access the underside easily.
- Remove the kick plate and access panel to expose the solenoid.
Removing the Old Solenoid Assembly
- Locate the solenoid on the pump assembly at the bottom of the dishwasher.
- Unplug the wiring harness from the solenoid and tuck it aside.
- Use a flathead screwdriver to remove the clip securing the solenoid.
- Pull the plastic piece off the shaft to expose the two Phillips screws.
- Remove the two Phillips screws to detach the solenoid from the pump.
Installing the New Solenoid Assembly
- If required, attach the extra bracket for the electronic drain feedback switch to the solenoid with the black screws provided.
- Attach the new bracket to the solenoid bracket.
- Hook the new spring into the bracket and stretch it into the opposite hole.
- Remove the old spring and plastic cam from the old solenoid and replace them with the new ones.
- Position the new solenoid assembly over the drain shaft and secure it with the two Phillips screws.
- Insert the plunger into the cam and push it into the solenoid while keeping it aligned.
- Line up the cam correctly and press it down onto the shaft.
- Insert the clip to lock the solenoid assembly in place.
- Reconnect the wiring harness by pushing it onto the solenoid.
Reassembling the Dishwasher
- Flip the dishwasher upright and carefully slide it back into the cabinet.
- Feed the water and drain lines back through the cabinet as you push the dishwasher halfway in.
- Make sure the hoses are not kinked or caught, then push the dishwasher all the way in.
- Open the dishwasher door and secure it to the cabinet or countertop by reinstalling the screws in the mounting brackets.
- Replace the lower dish rack and silverware basket inside the dishwasher.
Final Connections and Testing
- Reconnect the water supply line and tighten it with a 5/8-inch wrench.
- Reattach the drain line to the air gap and tighten the clamp with a 5/16-inch wrench or screwdriver.
- Plug the dishwasher back into the outlet.
- Turn the water supply back on.
- Run a test cycle to check for leaks or other issues.
Also Read: How to clear error code F33 from a GE dishwasher
The satisfaction of fixing your own appliance? Priceless. You’ve also saved time and money while gaining some DIY confidence. Don’t forget to double-check for leaks and ensure everything is running smoothly during your test cycle. If you notice any hiccups, a quick retrace of your steps should sort it out.
With your dishwasher back in action, it’s time to give yourself a pat on the back. Keep this guide handy for the future and share it with anyone looking to take charge of their own appliance repairs.