
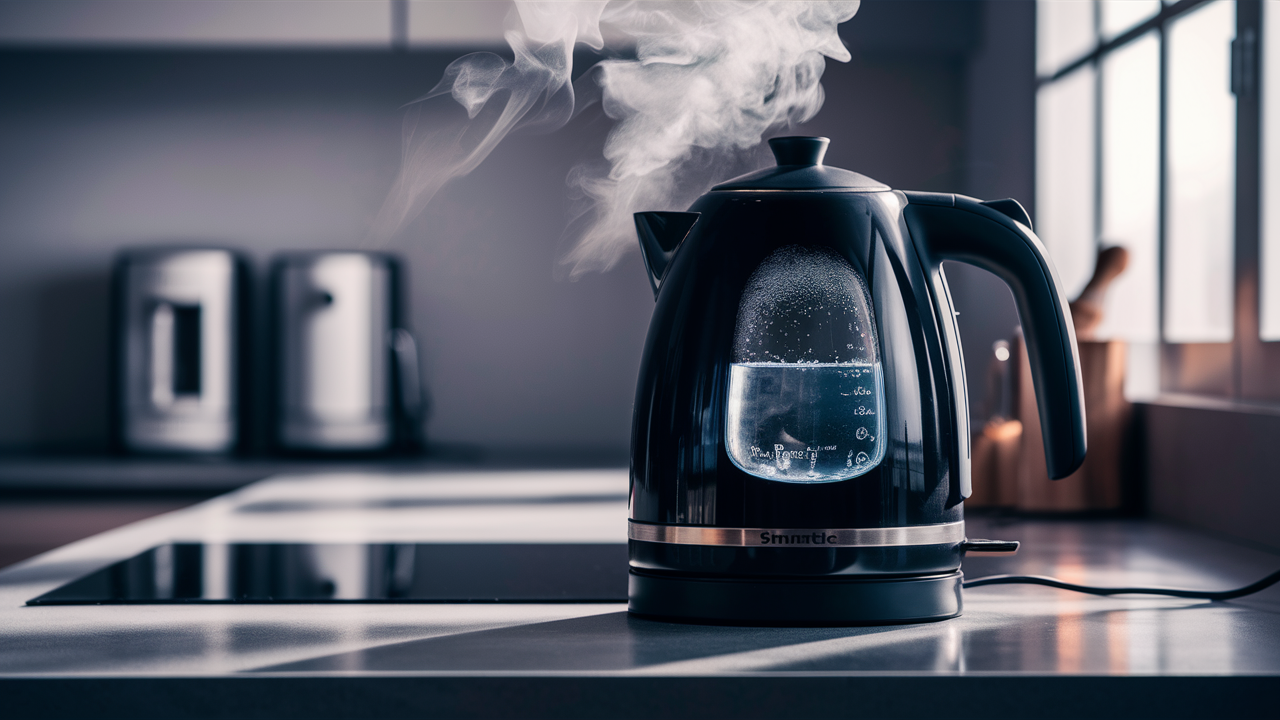
Have you ever tried to make your morning cup of tea or coffee only to find that the lid on your electric kettle won’t close? This common problem can be extremely frustrating, especially when you need your daily caffeine fix to start the day. But don’t worry – with a few simple tools and steps, you can often fix this issue yourself.
Being able to properly close your electric kettle lid is important for several reasons. First, it is a safety issue. The lid keeps the boiling water from splashing out when the kettle is heated. No one wants to risk getting burned by hot water splashing out of a lid that doesn’t fully close.
Second, the lid needs to close tightly for the kettle to operate efficiently. If steam and heat escape from a loose lid, it takes longer for the water to boil. This wastes time and energy when you are trying to heat water quickly.
Finally, leaving the issue unresolved can lead to further damage over time. The strain on the hinges from an unclosed lid can cause the hinges to warp or break entirely. This shortens the lifespan of your kettle.
In this easy-to-follow guide, we will walk through the steps to diagnose and fix a kettle lid that refuses to close properly. With a few basic tools and supplies, a little elbow grease, and these simple instructions, you’ll get your kettle working again in no time. Let’s get started!
Tools and Materials Needed
Fixing a stubborn electric kettle lid calls for just a few handy tools and materials. Many likely are already in your home. Gather these before starting:
List of Tools:
- Screwdriver set – You’ll need a Phillips head and flat head screwdriver to remove any screws on the lid or handle and make any repairs or adjustments. Make sure you have the right size screwdrivers.
- Cleaning brush – A stiff-bristled brush is great for scrubbing away any mineral deposits or grime stuck on the lid or kettle spout. Old toothbrushes work, too.
- Lubricant (food-safe) – A small amount of lubricant, like cooking oil or appliance grease, helps the hinges glide smoothly. Be sure to use a food-safe lubricant.
- Replacement parts – If certain pieces like hinges or lid handles are damaged beyond repair, have replacements ready to swap in. Know the appliance make and model.
Materials:
- Soft cloth – Cloths are useful for cleaning and polishing. Microfiber cloths work well.
- Mild detergent – Dish soap diluted with warm water helps dissolve sticky buildup. Avoid harsh cleaners.
- Warm water – Fill a bowl or basin with warm water to clean the various components. Hot water can damage plastic parts.
With these simple items prepped and ready to go, you’ll be able to follow along step-by-step.
Step 1: Diagnose the Problem
Before we can fix the issue, we need to figure out what exactly is preventing the lid from closing properly. Take a few minutes to examine the kettle and diagnose where the problem lies.
Visual Inspection:
- Carefully look over the entire lid area and hinges. Do you notice any obvious damage or obstructions?
- Are any parts cracked, bent, or broken?
- Do the hinges appear loose, misaligned, or warped?
- Is there debris, dirt, or mineral deposits stuck in the hinges or latch area?
Functional Test:
- Try opening and closing the lid normally. Where does it catch or get stuck?
- Does it fail to close fully and latch into place?
- Can you spot the specific point of resistance?
Take notes on any issues found during the visual and functional inspection. This diagnostic information will give us clues on how to proceed with fixing the lid. It’s often a simple matter of cleaning grime from the hinges or realigning a warped part. But sometimes, the latch or hinge needs to be replaced entirely. Proper diagnosis sets us on the right path.
Step 2: Clean the Lid and Hinges
Now that we’ve identified the problem areas, it’s time to clean. Grime and mineral deposits are often the culprits behind an electric kettle lid sticking. Let’s clear away any gunk on the lid, hinges, and latch area. Clean parts mean smooth operation.
Remove Debris:
- Take the stiff cleaning brush and gently scrub around the lid hinges and latch mechanism. This sweeps away any stuck-on debris or limescale.
- Get into the nooks and crannies around the hinges. Stubborn buildup takes some elbow grease.
- Take care not to bend or damage any parts while scrubbing. Work slowly and carefully.
Clean Thoroughly:
- Mix a few drops of mild detergent into warm water. Dish soap works well.
- Dip a soft microfiber cloth into the warm soapy water.
- Gently wipe down the entire lid, hinges, latch, spout, and surrounding areas. The soapy cloth will dissolve gunk.
- Rinse with a clean, damp cloth to remove all suds.
- Finally, dry everything thoroughly with a dry soft towel. Let fully air dry.
Inspect closely to ensure all debris, grime, and stickiness are gone before moving to the next steps. Sometimes, repeating the scrubbing and cleaning is needed to fully clear off hardened mineral deposits. Patience pays off.
Step 3: Tighten or Replace Screws
With a clean kettle, we can move on to inspecting the hardware. Often, loose or damaged screws are the reason a lid won’t close correctly.
Check Screws:
- Use the proper screwdriver to examine all screws located on the lid, handle, and hinges.
- Are any loose enough that you can turn them by hand? They need tightening.
- Do the screws feel stripped when trying to turn them? Damaged threads prevent tightening.
Tighten any loose screws:
- Firmly tighten any loose screws with the screwdriver. Take care not to over-tighten.
- The snug fit will realign parts and allow proper closure.
Replace Damaged Screws:
- If screws feel unsalvageable due to rust or broken threads, they must be replaced.
- Carefully remove damaged screws. Match new ones to the same size and style.
- Install the replacement screws in the original holes. Tighten down firmly but gently.
With luck, this screw inspection and repair will solve a simple closure issue. But if other problems still persist, we’ll need to move on to the next steps.
Step 4: Lubricate the Hinges
If cleaning and screw repair hasn’t solved the sticky lid, lubricating the hinges is the next step. This reduces friction so the lid can glide smoothly again.
Apply Lubricant:
- Put a few small drops of food-safe lubricant on the kettle’s hinge joints. Oils or appliance grease work well.
- Open and close the lid slowly several times. This spreads the lubricant evenly into the crevices.
- The motion loosens up the hinges and creates less resistance. Be patient and keep lubricating.
Tip:
If the lid still sticks, try this handy trick – place a folded paper towel between the lid and spout while closing it. The gentle pressure can help re-align the hinges. Remove paper after a few tries.
Lubricating the hinges is often the secret fix when friction is the only issue. With the newly oiled hinges sliding cleanly, the lid should now open and shut without sticking.
Step 5: Adjust or Replace the Latch Mechanism
If the kettle lid still doesn’t close after cleaning and lubricating, the issue may lie with the latch mechanism. Let’s see if some adjustment or replacement is needed.
Inspect the Latch:
- Look closely at the latch piece that clicks into place when shutting the lid.
- Is it obviously misaligned, bent, or broken? This could prevent full closure.
Adjust the Latch:
- If the latch is just slightly off, you may be able to gently bend it back into the proper position with pliers.
- Be very careful not to apply too much pressure or break the part.
- Does a minor adjustment make the latch work correctly again?
Replace the Latch:
- If the latch shows signs of damage beyond repair, replacement is needed.
- Order a new latch piece that fits your kettle model. Watch tutorial videos to properly install it.
- Replacing a broken latch will ensure the lid can fully close and click into place again.
With any luck, a simple latch adjustment or swap is all that remains to finally fix that pesky lid.
Step 6: Test the Lid
We’re nearing the final step of this kettle repair process. After all that cleaning, adjusting, lubricating, and replacing parts, it’s time to test out the lid.
Functional Test:
- Do an open and closed test multiple times. Open the lid fully, then attempt to close it completely.
- Does the lid now move smoothly on its hinges without sticking?
- Does it click securely into the latched position when shut?
- Can you open and close the lid easily with just one hand if needed?
Final Adjustments:
- If the lid still has minor issues closing correctly, you may need to make small final adjustments.
- Give any stubborn hinges or latches a bit more lubricating or gentle adjusting.
- Keep testing until the lid passes the open and shut process flawlessly.
When you can open, close, and latch the lid into place smoothly, you’ve successfully repaired that broken electric kettle!
Troubleshooting Tips
Hopefully, by now, your kettle lid will close smoothly once more. But sometimes, these fixes don’t do the trick. If you still have issues after following the steps, try these troubleshooting tips:
- Persistent Sticking – If the lid sticks sporadically even after lubricating the hinges, remove the lid and inspect the underside. Flattening any bent metal ridges can help.
- Loose Hinges – Hinges that feel wobbly may need reinforcement. Carefully adding glue or epoxy around the joints can tighten them up.
- Damaged Parts – If certain pieces are cracked or worn beyond repair, replacement lid kits can often be ordered online for your specific kettle model. Watch tutorial videos to ensure proper installation.
- When to Call a Repairperson – If you’ve tried all troubleshooting suggestions and the lid still won’t work right, it may be time to call in a small appliance pro for service. Some kettles have complex issues that are better left to experts.
Don’t get discouraged if your kettle takes a few more tries and tweaks to fix. These handy tips can get that pesky lid closing perfectly once and for all. Just stay positive and keep troubleshooting!
Conclusion
Dealing with an electric kettle lid that refuses to close properly can be very annoying. But don’t give up hope! With a few basic tools and supplies, following this easy step-by-step guide, and some patience, you can likely get your kettle working again in no time.
First, diagnose the issue by inspecting the hinges, screws, and latch mechanism. Clean away any debris buildup. Tighten loose screws or replace damaged ones. Lubricate stiff hinges. Adjust or replace the latch if needed. Test the lid’s function after each fix.
While frustrating, this repair process is straightforward using ordinary household items. Apply some elbow grease and troubleshoot as needed. With luck, your kettle lid will be opening and closing smoothly once more in just a few steps.
Then, you can happily get back to boiling water for your morning coffee or tea. Never take a properly functioning electric kettle lid for granted again! Hopefully, these tips will save you money by fixing it yourself instead of buying a replacement kettle.