
Is your top freezer refrigerator not cooling properly? The culprit may be a faulty compressor-run capacitor. Don’t sweat it – with a few tools and some easy steps, you can swap in a new capacitor and get your fridge’s cooling back on track. This repair guide will walk you through the process step-by-step to fix the issue yourself and save the cost of a service call. We’ll cover how to diagnose capacitor problems, select the right replacement part, safely discharge and remove the old capacitor, install the new one, and get your refrigerator running smoothly again. Cool off and restore your food to the proper temperature with a DIY compressor capacitor replacement!
Understanding the Compressor Run Capacitor
The compressor run capacitor has a vital role in a refrigerator’s operation. Knowing what this part does and how to select the right replacement will ensure your repair goes smoothly.
Function of the Run Capacitor
The run capacitor helps start the compressor and keeps it running during normal operation. Here’s a quick overview of what it does:
- Provides a power boost to start the compressor motor spinning
- Helps maintain an even level of power to prevent the compressor motor from overheating
- Smooths out voltage peaks to protect the compressor motor and extend its life
So, in short, the run capacitor supports compressor operation, which is essential for cooling the fridge!
Types of Run Capacitors
There are a few types of run capacitors to know:
- Electrolytic capacitors – The most common type. Made of rolled metallic foil and paper soaked in electrolyte.
- Motor run capacitors – Often electrolytic and designed for motor applications.
- Oval capacitors – Unique oblong shape. Used when space constraints exist.
- Round capacitors – Can be mounted in any orientation. Common in newer models.
The different shapes allow the capacitors to fit in tight spaces within the compressor housing.
Identifying a Compatible Replacement
To find the right replacement, you need to match:
- Capacitance – Measured in microfarads (μF). Printed on top or side.
- Voltage – Rated working voltage. Also printed on the capacitor body.
- Terminals – The shape and size should match the old capacitor.
- Dimensions – Length and diameter should be the same.
Refer to the original capacitor markings and compare them to potential replacements. Consulting the fridge model’s parts list can also help you find the correct part number.
Getting an equivalent capacitor ensures proper compressor function and avoids damaging mismatched parts. Take your time identifying the right replacement.
Diagnosing a Faulty Run Capacitor
Figuring out if the run capacitor has failed can save you time and money when fridge issues arise. Learn how to spot typical capacitor problems and test for them.
Common Signs of Failure
Watch for these clues that your run capacitor needs replacing:
- The refrigerator not cooling at all
- The compressor won’t turn on
- A loud humming or clicking noise from the compressor
- Higher electric bills than normal
If any of those sound familiar, the capacitor could be the culprit.
Testing the Run Capacitor
You’ll need a multimeter to check the capacitor. Follow these steps:
- Unplug the refrigerator for safety.
- Discharge the capacitor by shorting the terminals with an insulated screwdriver.
- Set the multimeter to test capacitance, usually indicated by μF or Cap.
- Touch the meter probes to the capacitor terminals.
- Note the capacitance reading – it should be near the μF on the capacitor body.
- If it’s much lower than expected, that points to a faulty capacitor.
This quick test can confirm or eliminate the run capacitor as the issue before replacing it.
Ruling out Other Potential Issues
It’s also smart to check:
- Power supply – Use a voltmeter to check for 120V to the refrigerator.
- Start relay – Listen for a click when the refrigerator is plugged in.
- Condenser coils – Dirty coils can mimic capacitor failure. Clean them.
Doing some simple diagnostic steps like these can prevent unnecessary capacitor replacement.
Got the right capacitance reading, but the fridge still isn’t cooling? The problem likely lies elsewhere, like low refrigerant levels or a compressor failure.
Preparing for the Replacement
Changing a refrigerator’s run capacitor involves a few steps to get set up. Being ready with the right tools, parts, and workspace makes the repair smooth sailing.
Gathering Necessary Tools
You’ll want to have these tools on hand:
- Safety goggles
- Work gloves
- Insulated screwdrivers
- Needle nose pliers
- Multimeter
- Vacuum cleaner
- Replacement run capacitor
Taking a few minutes to gather the proper tools is time well spent!
Ensuring a Safe Working Environment
Refrigerator repairs call for some safety steps:
- Work in an open, dry area with good lighting and ventilation.
- Clear objects and clutter away from the workspace.
- Place appliance blankets or cardboard under the fridge to prevent floor damage.
- Turn off, unplug, and discharge the old capacitor before starting.
Taking basic precautions makes the repair process safer.
Ordering the Correct Replacement Part
Be sure to get an equivalent replacement capacitor that matches:
- Capacitance rating (μF)
- Voltage rating
- Terminal configuration
- Physical size
Refer to the original capacitor and model parts list to source the right part. This avoids wasting time and money on the wrong components.
With the tools gathered, the work area prepped, and a new capacitor in hand, you’re primed for a smooth compressor capacitor swap!
Step-by-Step Instructions
Replacing the run capacitor is easiest with the right steps. Taking it slow and steady will get your fridge fixed in no time.
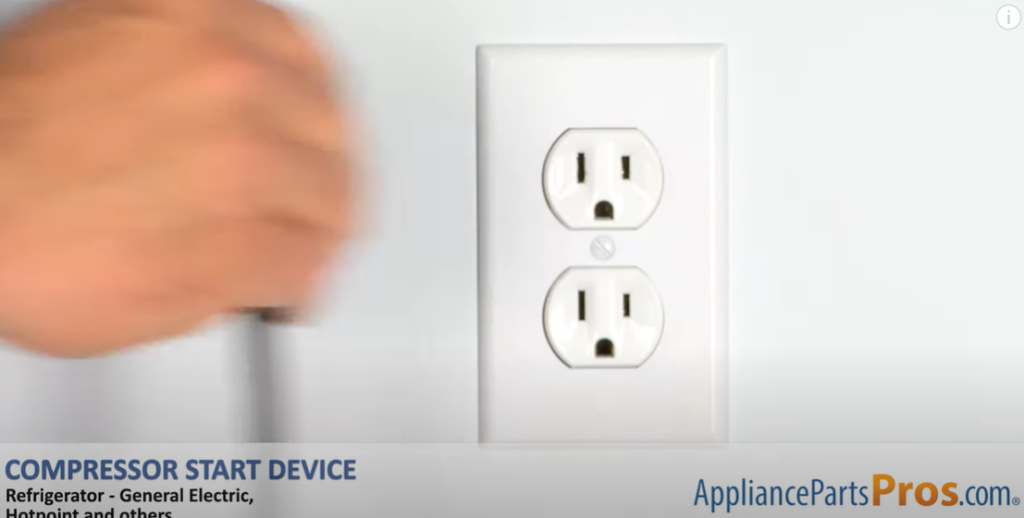
Power Shutdown
Safety first! We need to unplug the fridge before starting:
- Disconnecting the refrigerator – Locate the power cord plugged into the outlet. Grab the plug firmly and pull it from the wall socket. This cuts all power to the fridge and avoids any electrical hazards.
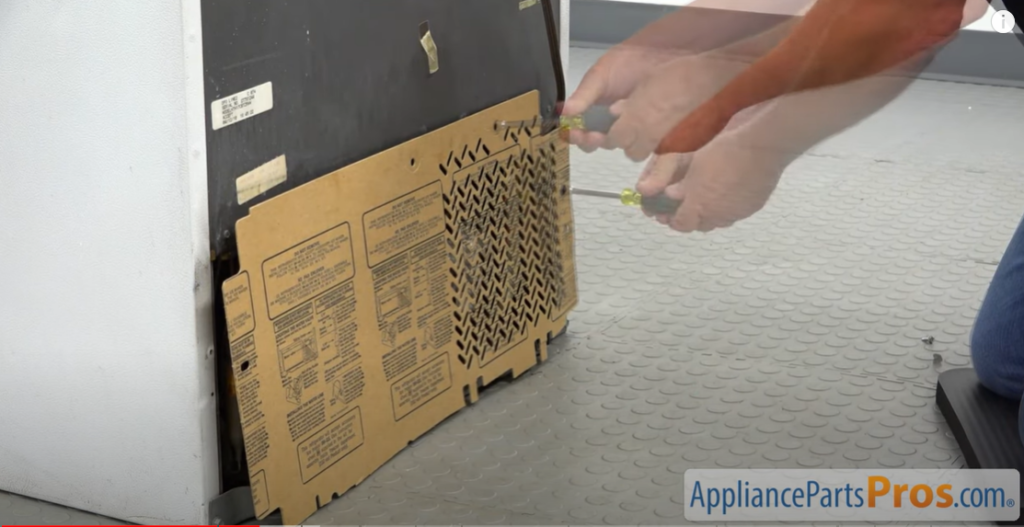
Accessing the Rear Compartment
With the power off, we can get access to the faulty capacitor:
- Moving the refrigerator – Have a helper carefully pull the fridge straight away from the wall. Stop when you have about 2 feet of clearance. Place appliance blankets or thick cardboard under the fridge. This protects your floor from scrapes or dents.
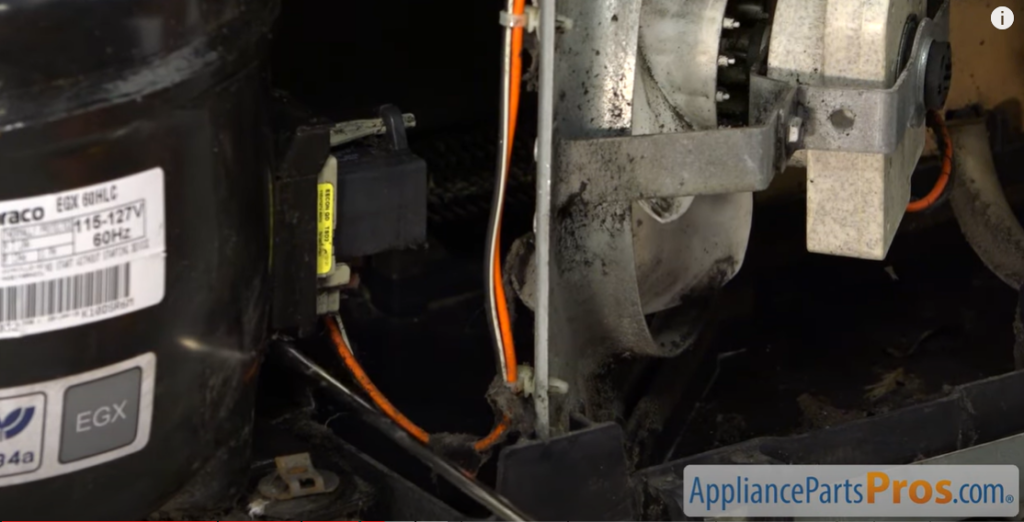
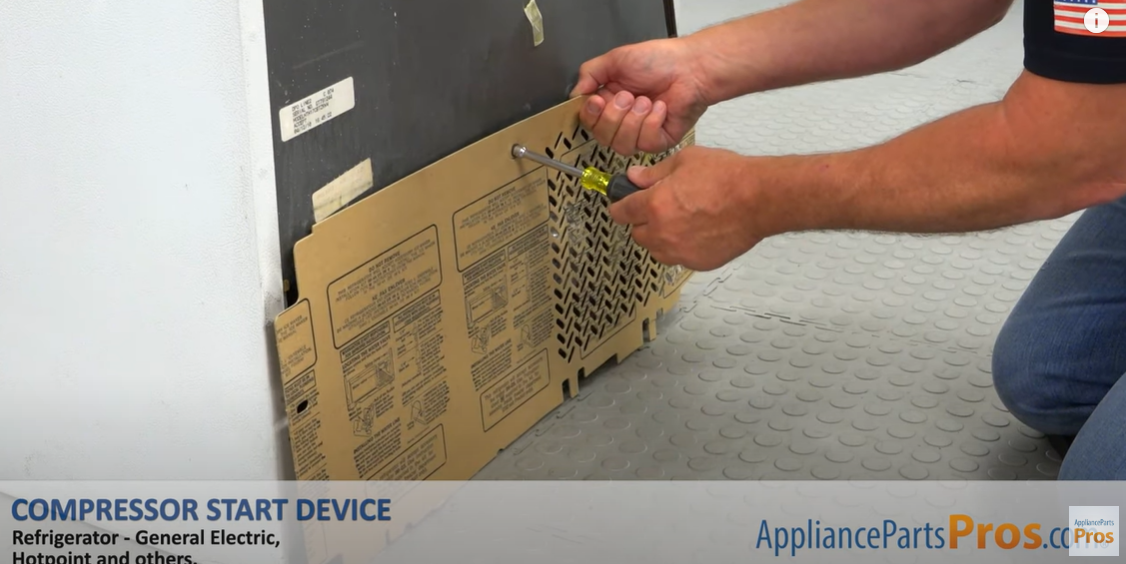
- Removing the rear compartment cover – Examine the back of the fridge to find a small removable panel, usually near the bottom. How does it come off – screws or clips? Use a screwdriver to remove any screws securing the panel. For snap-on clips, locate the release tabs and press them in while pulling the panel down. With the panel removed, you’ll see the compressor and condenser coils.
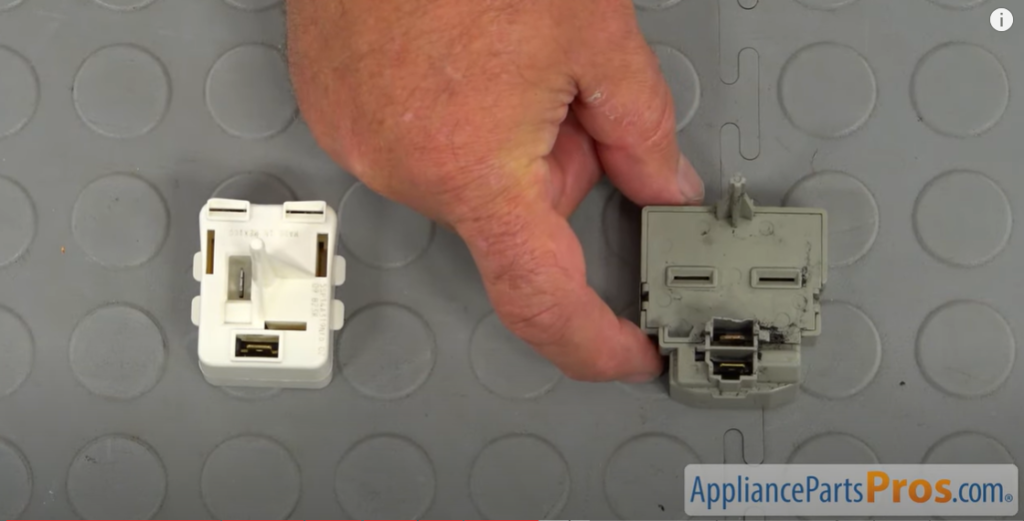
Removing the Old Run Capacitor
Now we can take out that bad capacitor:
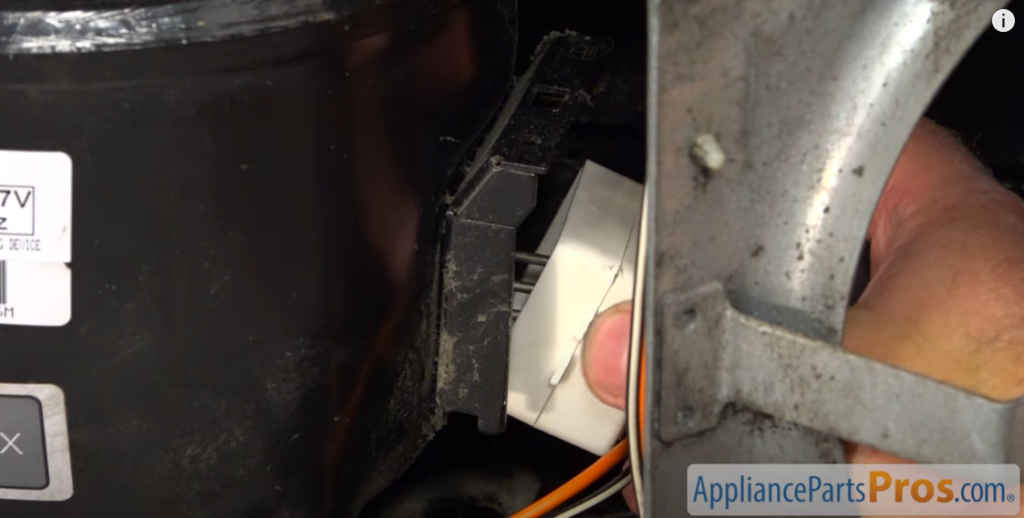
- Detaching the wire retainer – Look for plastic wire clips or a tie wrapping the capacitor’s terminals. Use needle nose pliers to detach the wires one at a time. Don’t pull too hard, or you may accidentally remove the wires from the compressor.
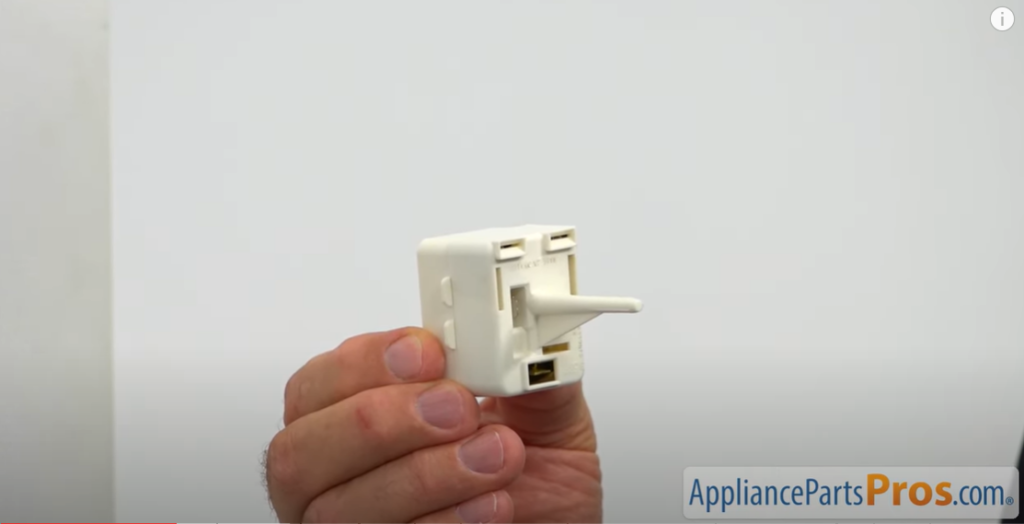
- Removing the run capacitor – Find the metal bracket screwed into the compressor housing to hold the capacitor in place. Remove the mounting screw using a screwdriver. Lift the old capacitor up and out. Make note of where the terminals are connected for reference later.
Installing the New Run Capacitor
Ready to put in the new part? Here’s how:
- Connecting the new run capacitor – Match up the terminal configuration to the old capacitor’s setup. Push the bare wire ends onto the correct terminals and squeeze them on securely. Make sure you have a tight connection.
- Securing the start relay – Align the start relay next to the new capacitor. Place the hold-down bracket over both components and reinstall the mounting screw tightly. This keeps the capacitor and relays solidly fixed in position.
Reassembling the Rear Compartment Cover
Let’s button up the back of the fridge:
- Reattaching the rear compartment cover – Place the access panel back over the opening. Insert and tighten any screws to secure it in place again. For snap-on panels, fit the clips back into the tabs. Press firmly around the edges to lock it into position.
Restoring Power
The last step is the easiest – time to power up!
- Plugging in the refrigerator – Grab the power cord and insert the plug back into the wall outlet. Make sure it’s fully seated. Have your helper gently slide the fridge back into its original position.
And that’s it – you’ve successfully replaced the compressor run capacitor! Let the fridge run for a bit to confirm it’s cooling properly again. Nice job getting that repair done.
Also Watch How To Replace: GE Refrigerator Compressor Start Device WR07X10131
Troubleshooting Common Issues
Is your fridge still not cooling after the capacitor swap? Don’t sweat it – here are some tips to get your repair back on track.
1. Refrigerator not starting after replacement
If the compressor isn’t kicking on, double-check that:
- The new capacitor is properly wired to the terminals
- You have power to the outlet and fridge
- The start relay clicks when plugged back in
Recheck all the connections and power supply first.
2. Unusual noises from the compressor
Hearing odd sounds or loud humming? Things to try:
- Make sure the hold-down bracket is tight
- Check that the tubing doesn’t vibrate against the housing
- Inspect the terminals for gaps or loose wires
Snuggling connections may quiet down those noises. Still noisy? The compressor itself may be wearing out.
3. Insufficient cooling after capacitor replacement
Still not cold enough? Some other things to check:
- Clean condenser coils if they are clogged with dust
- Ensure the fridge has proper ventilation clearance
- Test the start and run capacitors with a multimeter
- Troubleshoot the evaporator, damper, and thermostat
Lack of cooling may indicate other faulty components beyond just the run capacitor. But start simple!
Maintenance and Prevention
With your fridge fixed, let’s go over some tips to keep it running smoothly. A little preventive care goes a long way!
1. Regular cleaning of the condenser coils
- The condenser coils disperse heat from the refrigerator.
- Dust buildup on the coils reduces cooling efficiency.
- Clean the coils every 6 months with a vacuum or brush.
- Removing dirt helps the fridge run better and last longer!
2. Ensuring proper ventilation
- Air circulation around the fridge is important.
- Leave at least 2-3 inches of clearance on all sides.
- Don’t install the refrigerator in an enclosed space.
- Proper airflow prevents overheating issues.
3. Recognizing signs of capacitor wear
- Monitor refrigerator performance over time.
- Listen for odd humming or buzzing sounds.
- Watch for cooling issues or higher electric bills.
- These clues indicate a worn capacitor.
- Replacing it early prevents full failure.
With basic maintenance and awareness of potential issues, you can avoid future capacitor troubles! Taking preventive steps will extend the life of your refrigerator.
Conclusion
Replacing a faulty capacitor is a crucial fix to restore your refrigerator’s cooling efficiency. The capacitor plays a vital role in helping start the compressor, and its failure can lead to a non-functional fridge. This guide equips you with the essential knowledge and steps to diagnose and replace a malfunctioning run capacitor effectively. First, you’ll learn how to identify the correct replacement part and recognize common symptoms indicating capacitor issues. With the right tools at hand, you can safely remove the old capacitor and install a new one, following detailed step-by-step instructions.
Completing this repair requires patience, careful troubleshooting, and adherence to safety precautions. While the task might seem daunting initially, having comprehensive guidance can boost your confidence to tackle the repair. By replacing the capacitor yourself, you not only save on service costs but also ensure your refrigerator continues to operate efficiently, keeping your food fresh. Remember, regular preventive maintenance can significantly extend the lifespan of your fridge. Keep this guide close for future reference whenever you face compressor capacitor challenges, ensuring your refrigerator remains in top working condition.