
Has your refrigerator’s cooling performance seemed lacking lately? Have you noticed the freezer not freezing ice cubes as fast or milk turning sour quicker than normal? Before giving up and buying a new fridge, the culprit may be a burned-out condenser fan motor needing replacement. The good news is that swapping this part yourself is a totally achievable DIY weekend project for handy homeowners.
This guide covers everything you need to know to get your food chilling properly again, including:
- How the condenser fan operates
- Symptoms of condenser fan failure
- Step-by-step instructions to replace it
- Helpful tips for first-time repairers
- Potential complications and how to avoid them
Let’s keep perfectly refrigerated food; just a new condenser fan motor away!
Understanding the Condenser Fan
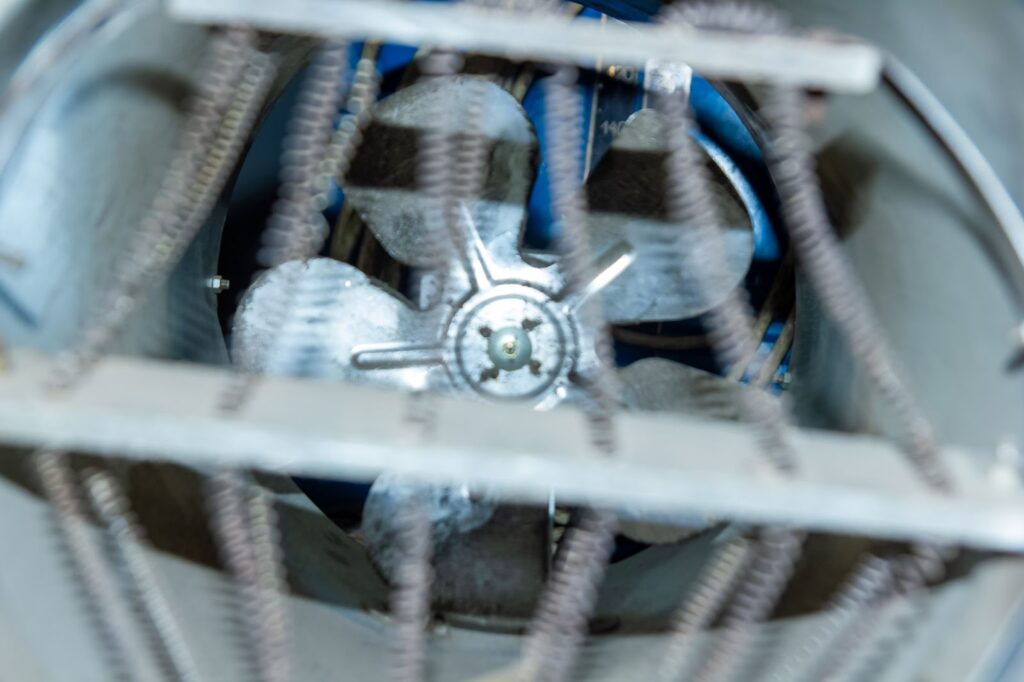
The condenser fan blows air over the condenser coils on the refrigerator’s exterior backside.
This critical airflow removes heat from refrigerant cycling through the coils. If the condenser fan motor fails, the fridge won’t efficiently expel heat and will lose cooling capacity over time.
Common Condenser Fan Failure Symptoms:
- Refrigerator sections too warm
- Fan makes no noise when compressor runs
- Loud grinding or buzzing fan noises
- Frost buildup on vented rear panel
- Compressor overheating and tripping internal safety cut-offs
Catching condenser fan issues quickly prevents wasting electricity and risking hundreds in spoiled food if temperatures rise excessively.
DIY Condenser Fan Motor Replacement
Taking on a condenser fan motor replacement yourself has a few key steps:
- Source the replacement fan motor
- Gather necessary tools
- Shut off and access fan motor area
- Remove failing fan motor
- Install new condenser fan motor
We’ll tackle each step for a successful repair. Expect 1-2 hours with proper preparations.
Step 1: Buying a New Condenser Fan Motor
An exact replacement match ensures plug-and-play installation:
To source the part:
- Locate refrigerator’s brand name & model # (typically printed inside unit)
- Search using model # for your fridge’s condenser fan listing
- Verify voltage, dimensions, mounting style & plug type match
- Purchase part specifically made for your refrigerator model
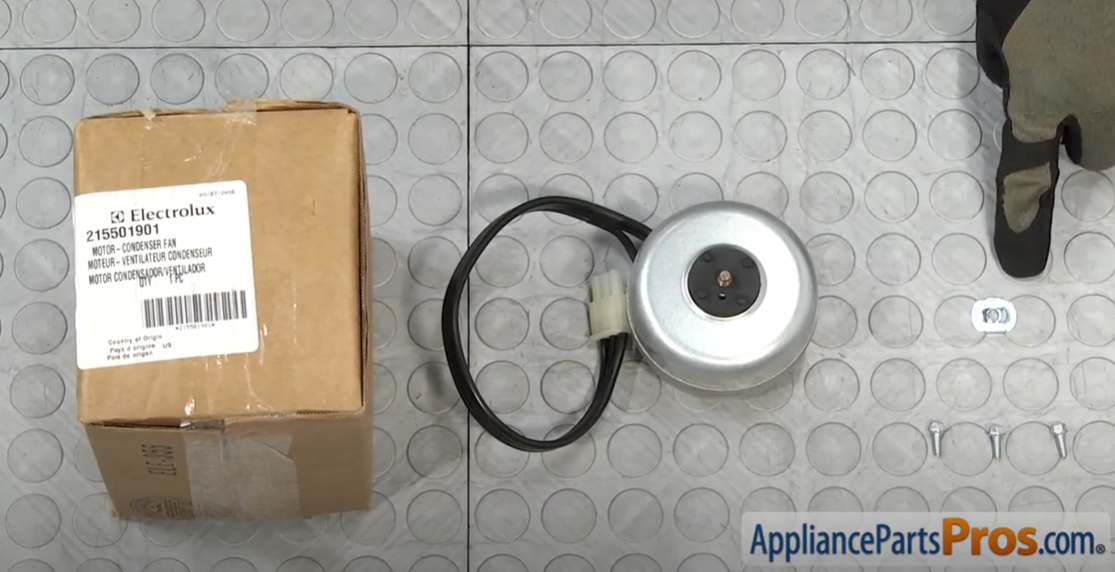
Expect costs of $50-$150. Stick with OEM condenser fan motors from your fridge manufacturer if uncertain about part differences.
Once ordered, fan motors usually ship out in 1-3 days.
Step 2: Gathering Tools and Materials
You’ll need a basic toolkit:
- Safety glasses & gloves
- Phillips and flathead screwdrivers
- Nut driver set/wrenches
- Needle nose pliers
- Headlamp/flashlight
Also, gather:
- Exact replacement condenser fan motor
- Duct tape (for dropped fasteners)
- Non-static mat
Use extreme caution when working on live electrical circuits! Keep work area dry, and never touch components with wet hands.
Step 3: Shut Off Power and Access Fan Motor Area
Before any repair work, prep the refrigerator:
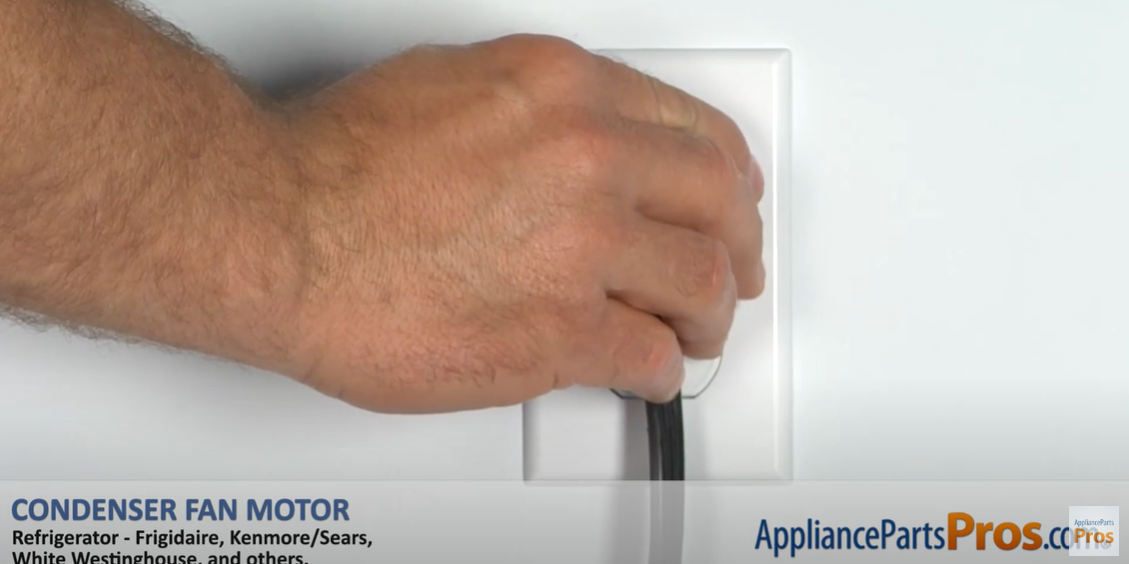
- Unplug refrigerator power cord from outlet
- Turn off circuit breaker supplying fridge
- Remove food from unit if power stays off for over 30 minutes
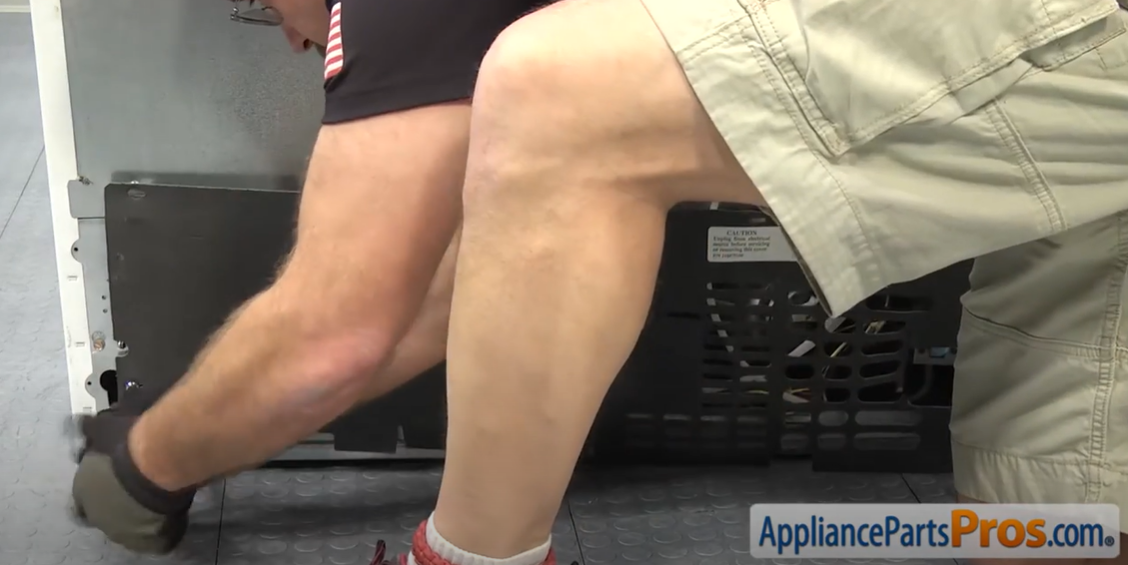
- Pull fridge away from wall
- Visually verify all power off for safety
Also, place down non-static mat to protect sensitive control boards when removing covers.
Step-by-Step Condenser Fan Motor Replacement Instructions
With all preparations complete, let’s dive into the replacement process:
1. Power Off
Fully disconnect refrigerator power cord from electrical outlet for safety during procedure.

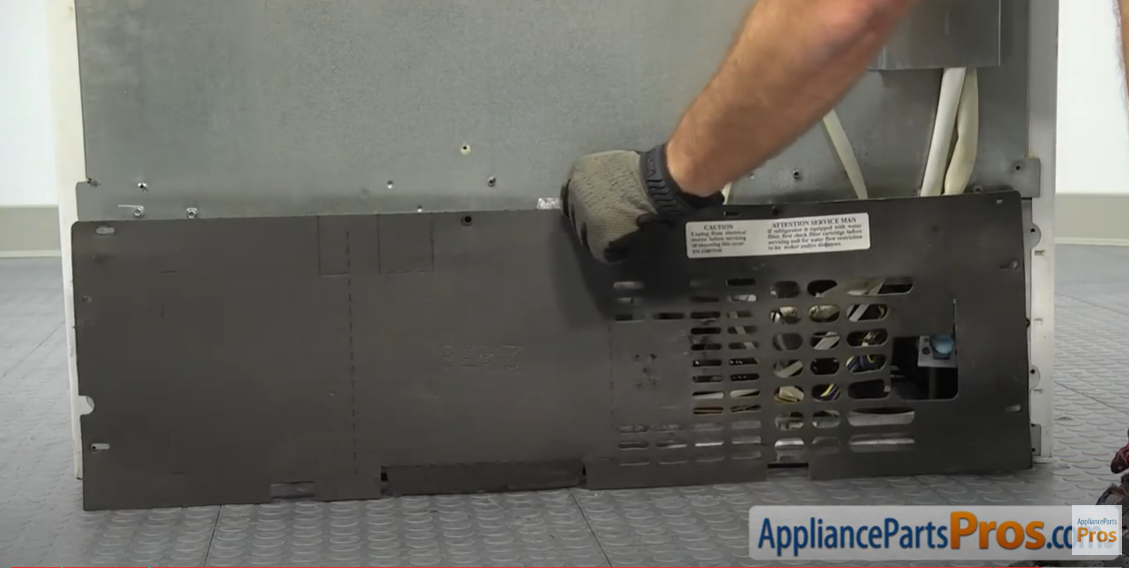
2. Accessing Rear Compartment
The condenser fan motor lives in the vented rear section:
- Carefully pull fridge away from wall to access back panel.
- Use Phillips screwdriver to remove mounting screws from outer perimeter of rear cover.
- Detach rear compartment cover and set it safely aside to reinstall later.
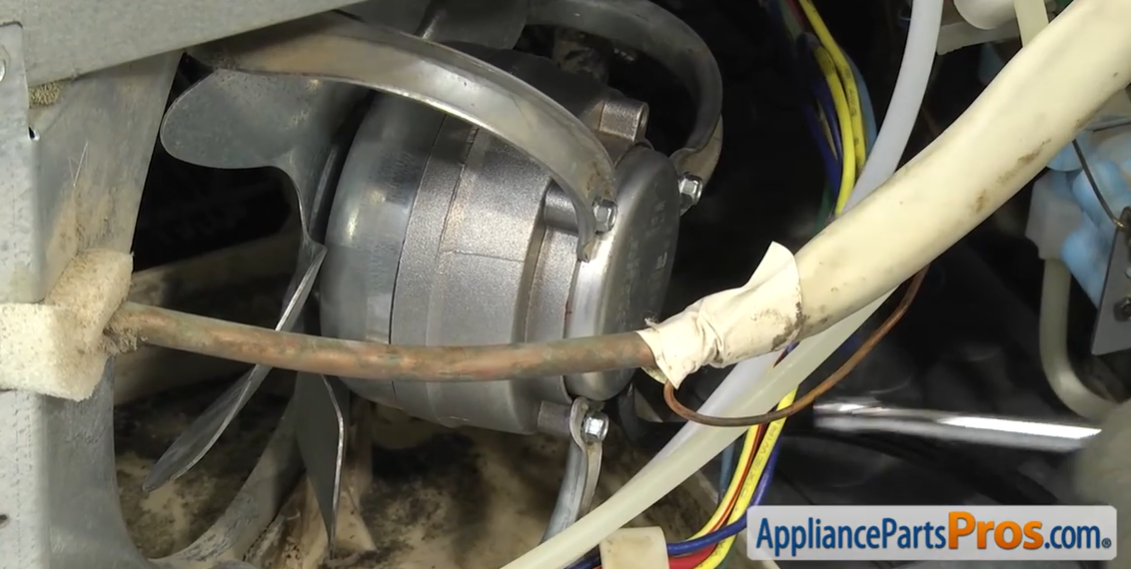
3. Removing Old Condenser Fan Motor
Now the faulty motor assembly can be accessed and removed:
- Locate plastic fan motor bracket screwed into rear compartment space.
- Use appropriate screwdriver to detach front base screw from bottom of bracket near floor.
- Swing entire bracket towards compressor to reveal and remove second rear base screw.
- Tilt bracket away from you to access two upper silver mounting screws securing fan motor itself. Remove them.
- Angle bracket towards compressor to release tabs and slide out fan motor.
- Disconnect wire harnesses from terminals on motor housing.
- Lastly, remove rubber grommets and slide fan blades off motor shaft for replacement transfer.

4. Installing New Condenser Fan Motor
With old motor fully removed, install your new OEM replacement part:
- First, confirm your new motor matches old one – voltage, RPM range, dimensions, and plug type.
- Attach fan blade onto shaft of replacement condenser fan motor using rubber grommets.
- Connect wire harness to new motor, ensuring a snug, proper fit.
- Position new fan motor into bracket, aligning screw holes and base tabs.
- Reinstall upper silver mounting screws through bracket into motor housing.
- Reattach both lower base bracket screws.
5. Reattaching Rear Compartment Cover
To complete the repair:
- Retrieve previously removed rear compartment cover.
- Carefully align cover back over refrigerator’s rear compartment.
- Insert and firmly re-tighten all perimeter mounting screws with Phillips screwdriver.
6. Restoring Power
The moment of truth – time to re-enable your repaired refrigerator!
- Plug fridge power cord back into electrical outlet.
- Restore circuit breaker powering fridge.
- Allow 24 hours to re-stabilize temperatures before returning food.
Monitor closely for proper temperature regulation over the next few days. Nice work!
First-Timer DIY Condenser Fan Tips
Handy pointers for your first parts swap repair:
During disassembly:
- Label or photograph wire harness connections
- Bag loose screws/parts immediately
- Monitor wires when removing brackets
During reassembly:
- Double-check that ALL wires & fasteners are reconnected securely
- Confirm fan blade spins freely
- Carefully align rear compartment cover before reattaching
Pat yourself on the back for another appliance revived and money saved thanks to DIY repair!
Avoiding Potential Issues
Be aware of these key trouble areas:
- Over/Under voltage rating – Ensure voltage match
- Plug compatibility – Verify connector styles line up
- Airflow obstruction – Keep vent paths fully open
- Loose fasteners – Heat/vibration can loosen screws over time
Carefully following instructions and verifying part compatibility prevents most problems.
Conclusion
With this comprehensive DIY guide, you can now tackle replacing your refrigerator’s condenser fan motor to keep interior temperatures properly cooled.
Combined with some key first-timer tips and warnings, have the confidence to take on intermediate-level home appliance repairs yourself – no need for an appliance technician!