
Your dishwasher is a workhorse appliance that makes tackling piles of dirty dishes after meals a breeze. But when the door latch on your dishwasher breaks, it can bring your dishwashing to a screeching halt.
Fortunately, with the right tools and replacement parts, repairing a faulty door latch is a straightforward DIY fix you can likely tackle yourself. In this comprehensive guide, we’ll walk you through the entire process of diagnosing and replacing a broken dishwasher door latch step-by-step.
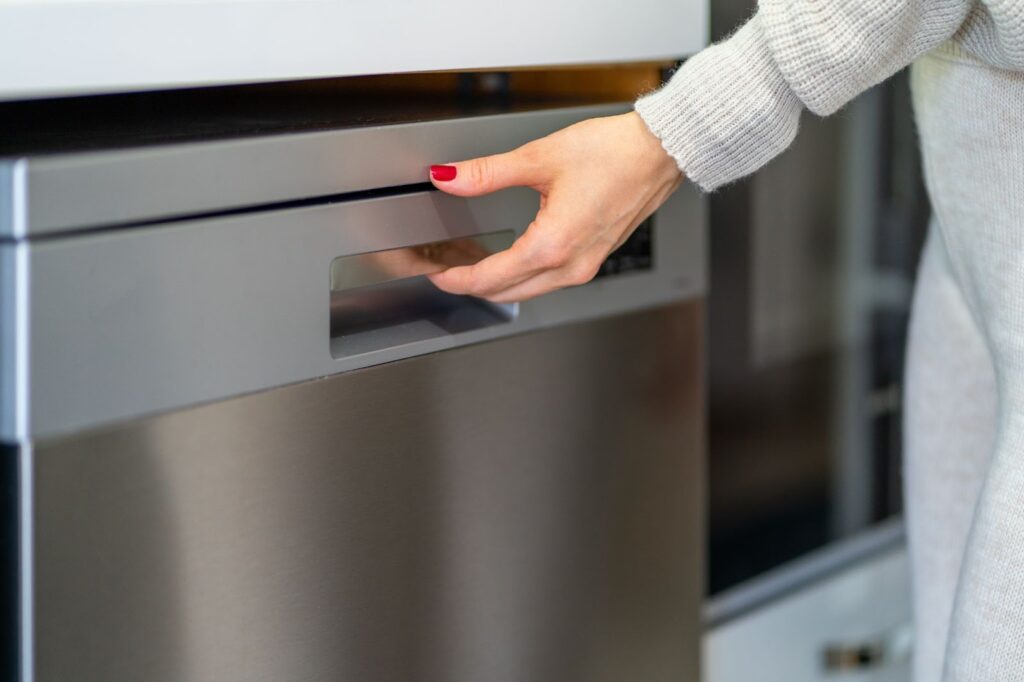
Dishwasher Door Latch Mechanisms: How They Work
Before we dive into repairs, let’s take a minute to understand how a dishwasher door latch works. Familiarizing yourself with the components and mechanics will make troubleshooting and replacing a faulty latch much easier.
An Overview of Dishwasher Door Latches
A dishwasher door latch serves two key purposes:
- Keeping the door closed tight during a wash cycle to prevent leaks
- Serving as an electrical cutoff switch, shutting off operations when the door is opened
On most modern dishwashers, the latch assembly consists of:
- A latch mechanism mounted to the inner door panel
- A latch receiver mounted to the dishwasher’s tub frame
- An electrical switch that kills power when triggered
Here is a breakdown of how the components interact:
- The latch mechanism consists of a hook that engages with the latch receiver.
- When the door closes, the hook grabs onto the latch receiver and pulls the inner door panel tight against the tub seal, creating a water-tight barrier.
- Simultaneously, the hook triggers an electrical switch that allows operation when engaged.
- To open the dishwasher, a release button disengages the hook, which separates the inner panel from the tub seal and triggers the electrical cutoff switch.
Now let’s look at the operation and mechanics of common latch mechanism designs.
Common Dishwasher Latch Mechanism Designs
While there are variances between models, most modern dishwasher latches fall into two major mechanical design categories:
1. Push Button Latch
This popular latch style utilizes:
- A spring-loaded latch hook mounted to the inner door
- A latch receiver consisting of a U-shaped bracket mounted to the tub
- A push button release mounted at the top of the door
The sequence of operation goes:
- When closed, the spring-loaded hook autonomously engages into the latch receiver bracket.
- Pushing the release button lever retracts the hook from the receiver.
- Opening the door then completely disengages the latch.
Key Advantage: This style features one-handed push button operation for opening the dishwasher.
2. Sliding Latch
This style utilizes:
- A manually sliding latch hook mounted to the inner door
- A latch receiver bracket on the tub
- No push button
Here is the basic sequence of operation:
- To latch the door, the hook gets manually slid into the latch receiver.
- Pulling on the door creates a tight seal against the tub.
- To open, the hook gets slid backward out of the receiver, allowing you to open the door.
Key Advantage: This is a very simple mechanical design with few parts to fail.
Now that you understand basic operations and designs, let’s move on to troubleshooting common problems.
Troubleshooting Dishwasher Latch Issues
When a dishwasher door fails to latch properly, the root cause typically boils down to one of several issues:
- Broken latch mechanism
- Faulty electrical switch
- Alignment problem
- Bad control board
- Obstruction
Carefully diagnosing the issue before replacing parts is key to an efficient repair.
Let’s break down how to troubleshoot the most common latch failure causes:
1. Broken Latch Mechanism
With frequent opening and closing combined with high interior temperatures and humidity, latches accumulate considerable wear over time. Eventually, components like springs, hooks, and plastic parts weaken and fracture.
Common failure points include:
- Broken/missing spring on spring-loaded latch hook
- Bending or fracturing of the metal hook
- Crack, warp, or breakage on plastic parts like latch housing, buttons, receivers, etc.
Diagnosing a broken latch:
- Visually inspect for any broken plastic pieces
- Check if latch hook fully extends and retracts during opening/closing
- See if latch can manually engage receiver without power
- Listen for odd sounds like rattling during latch movement
Any such signs indicate replacing the broken components is required.
2. Faulty Electrical Switch
The electrical switch gets triggered when the latch engages to allow operation. If the switch malfunctions, the dishwasher may not start wash cycles or could shut off mid-cycle.
Typical electrical switch issues:
- Switch failing to make contact
- Switch failing to break contact
- Loose, bent, or corroded contacts
Diagnosing electrical issues:
- Use a multimeter to check switch continuity
- Initiate a cycle and check if electrical cutoff occurs when opening the door mid-cycle
- Check for loose/corroded wire connections
If tests reveal the switch isn’t properly opening/closing contacts, replace it.
3. Latch Alignment Issues
For the watertight door seal to be effective, the door has to align flush against the tub when latched. If alignment gets thrown off by warping or movement over time, leaks can occur.
Causes include:
- Bending of inner door or front panel
- Distortion of the tub frame
- Loose or stripped mounting screws
Checking alignment:
- Close the door and make sure inner panel lays flat against the tub seal
- Check if latch hook easily and completely inserts into receiver
- Verify front panel aligns evenly with sides of cabinet
Misalignment may require bending components back into shape and/or shimming.
4. Bad Control Board
The control board facilitates communication between components and oversees operations based on feedback. A shorted or malfunctioning control board can thus prevent cycles from starting.
Control board issues to check:
- Input not being received from latch switch
- Failure to send voltage to components like motors
- General electronic malfunction
First, rule out simpler problems before condemning the control board as bad. Verify functionality with multi-meter tests, if possible, before replacement.
5. Obstruction
Finally, sometimes latch functionality gets impeded by something physically blocking components:
- Buildup of gunk, food, debris gumming up latch movement
- Loose parts like utensils jamming components
- Door seal misalignment causing binding/resistance
Carefully checking for and clearing any obstructions is thus worthwhile before replacing a “faulty” latch.
Thorough troubleshooting will zero in on the root cause so you can undertake repairs in the most efficient manner.
Now let’s move on to outlining the full latch replacement process.
Replacing a Faulty Dishwasher Door Latch Step-by-Step
Once you’ve pinpointed the root cause of the door latch failure through troubleshooting, it’s time to tackle replacement. Let’s break down the full process step-by-step:
Step 1: Turn Off Electrical Power
Any dishwasher repairs should start by killing power to prevent shock hazards:
- Unplug the unit or turn off the breaker supplying the dishwasher circuit.
- Use a non-contact voltage tester on the power wires leading into the junction box to double check power is OFF.
With high current outputs in dishwashers, working “hot” risks severe zap or electrocution hazards. Taking 60 seconds to guarantee the unit is de-energized is a must!
Step 2: Remove Outer Door Panel
The next step is removing the outer door panel to access the latch components mounted to the inner door:
- Typically 6-12 screws secure the outer panel in place. Remove using appropriate size Philips or Torx screwdriver.
- Carefully detached the panel without bending/denting.
- You may need to disconnect wiring harnesses or door balance links before fully removing them.
- Set panel aside safely out of work area.
Step 3: Remove Inner Door Panel
Next, the inner door panel gets detached from the dishwasher tub to allow removing and replacing the latch mechanism.
On spring latch models:
- Remove Torx or slot screws from perimeter of inner panel.
- Carefully pry inner panel off tub frame just enough to access latch mount screws.
- Do not fully remove or let panel hang by wiring only.
On slide latch models:
- Remove screws or release clips allowing latch housing to detach from inner panel.
- Fully remove defective latch.
Step 4: Remove Defective Latch
With access gained, you can now remove the broken dishwasher latch:
- Release any mounting screws or retaining clips.
- Unplug electrical switch connector.
- Extract defective latch mechanism from cavity.
Inspect to verify identified failures such as:
- Broken spring
- Damaged hook
- Cracked plastic housing
- Malfunctioning switch
This validates root cause and need for replacement.
Step 5: Install New Latch
Here are the steps to properly install the new latch assembly:
- Make sure replacement is right part number for your specific model.
- Seat new latch mechanism into mounting location.
- Reinstall any retaining screws or clips.
- Plug electrical connector back into switch terminals.
- Verify smooth motion when extending and retracting latch manually.
Double-check your work to prevent problems down the line!
Step 6: Reattach Door Panels
With the functioning latch mechanism now installed, all that remains is buttoning everything back up by reattaching the door panels:
- For spring latch models, slide inner panel back into place against tub seal. Reinstall perimeter screws.
- On slide latch models, fully reseat panel and reconnect wiring.
- Carefully realign outer door panel without pinching wires.
- Reinstall outer panel screws.
Step 7: Restore Power and Test Operation
The last step is restoring power and verifying correct operation:
- Plug unit back in or flip breaker on.
- Open and close door several times checking for smooth latch operation without hang-ups.
- Initiate test cycle, allowing completion to verify electrical switch cuts power when opened.
Assuming successful testing, the repaired latch mechanism should provide years of reliable operation!
Also Read: Dishwasher Door Latch Troubleshooting Guide for Beginners
Using the abundant details in this guide, you should now feel equipped to get your dishwasher’s broken latch repaired and back to sparkling dishes in no time. And if you’re still uncertain, calling a professional appliance repair technician is an option too. Here’s wishing you the best of luck getting a fully functioning dishwasher door latch!