
Water coolers provide easy access to chilled drinking water in homes and offices. However, when your water cooler stops dispensing water properly, it can be frustrating and disrupt productivity. This comprehensive guide will walk you through the troubleshooting process to get your water cooler functioning again.
How Water Coolers Work
Before diving into troubleshooting, it’s helpful to understand the basic components and functionality of water coolers:
- Water reservoir – Houses and cools the water supply. Bottled coolers use 3-5 gallon jugs. Bottleless coolers connect directly to the water line.
- Cooling system – Cools the water using refrigerant and a compressor. Thermoelectric coolers use less energy.
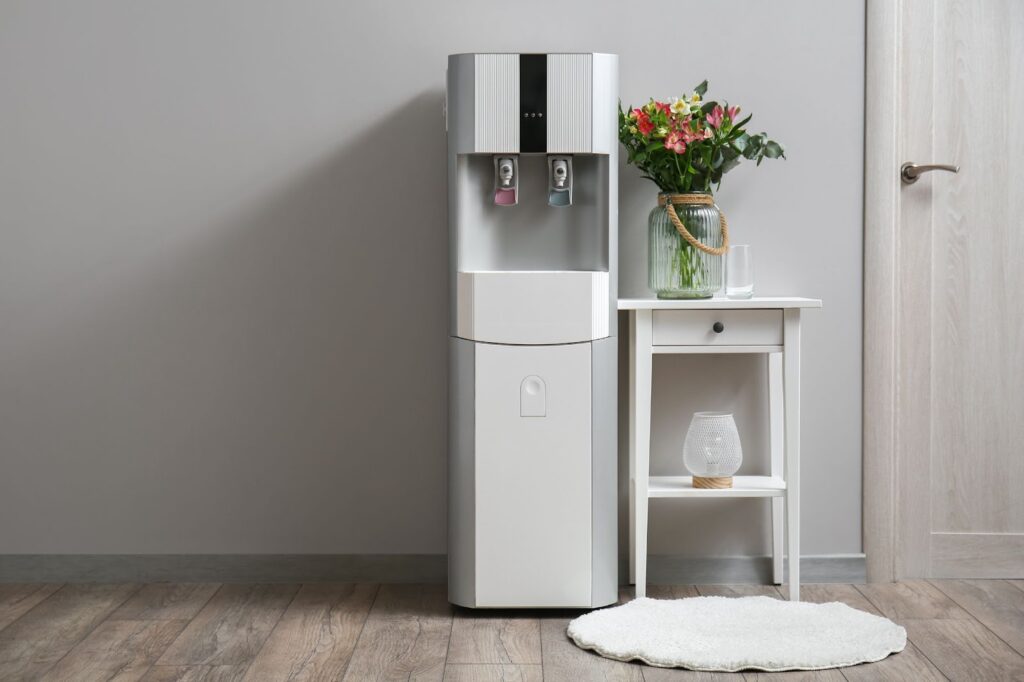
- Faucets/taps – Dispenses water. Typically there is one for cold water and one for room temperature.
- Drip tray – Catches small spills and drips.
- Power supply – Provides electricity to run the cooling system and water pump.
- Water pump – Pumps water from the reservoir up to the faucets on demand when taps are pressed.
Proper installation and maintenance are key for continuous water dispensing. Clogs, leaks, electrical issues, and water supply problems can all prevent water from flowing.
10 Common Water Cooler Problems
If your water cooler stops dispensing water, the issue likely stems from one of these 10 common problems:
1. Power Supply Issues
- Loose power cable
- Bad transformer
- Tripped electrical breaker
- Power outage
2. Water Supply Issues
- Empty water jug
- Airlock in water line
- Kinked tubing
- Clogged water filter
3. Issues with Faucets/Taps
- Stuck faucet
- Clogged faucet nozzle
- Leaky faucet valve allowing water to bypass
- Disconnected or torn faucet tubing
4. Water Pump Not Working
- Pump failure
- Loose pump tubing connection
5. Thermostat Set Too High
- Check thermostat temperature setting
6. Refrigerant Leaks
- Damaged refrigerant line allowing gas to escape
7. Condenser or Compressor Failure
- Compressor not turning on
- Condenser coil damaged
8. Clogged Drain Line
- Debris slowing drain water flow
9. Leaking Internal Plumbing
- Loose tubing connection
- Crack in water line
- Worn out seal/gasket
10. Leaking from External Components
- Overflowing drip tray
- Condensation build up
Read More: 12 Easy DIY Ways to Lower Your Water Bill
Step-by-Step Troubleshooting Process
Now let’s go through a systematic troubleshooting process to diagnose your water cooler issue:
1. Check Power Supply
The first step is verifying your cooler has power:
- Check power cable – Ensure cable is firmly plugged into electrical outlet
- Check power switch – Confirm rear power switch is in ON position
- Check transformer – Verify transformer box (converts high voltage to low voltage) has output. Multimeter can test.
- Check breaker – Ensure circuit breaker for the cooler’s electrical line has not tripped in electrical panel
- Check power lights – Some coolers have external power lights that should come on
Restore power if there are any issues found.
2. Check Water Supply
If the cooler has power, next check:
Bottled coolers:
- Remove bottle and check water level
- Replace with full 3-5 gallon bottle
- Ensure bottle properly contacts probe
- Check tubing between probe and reservoir for kinks
- Drain reservoir fully and restart system to purge air bubbles
Bottleless coolers:
- Verify water main shutoff valve is open
- Check filter and clear debris if blocked
- Drain reservoir fully and restart system
3. Check Faucets/Taps
If power and water supply check out, examine the taps:
- Press both taps several times rapidly to clear obstructions
- Disconnect and examine nozzles for clogs
- Remove faucet cover and check all tubing connections are tight
- Replace worn washers/gaskets/seals
Still not dispensing? Proceed to next steps to check internal components.
4. Check Water Pump
The water pump pushes water from reservoir to faucets when taps are pressed. To check:
- Listen for pump noise – Activate taps and put ear to cooler to listen if pump is running
- Check tubing flow – Disconnect output side of pump tubing to see if water is being pumped there when tap is pressed
- Check electrical – Use multimeter to check for power going to pump when tap is pressed
- Replace pump if faulty – Modular water pumps are easily replaced
5. Check Thermostat
If pump is working but water is not cold:
- Check current setting and adjust to coldest
- Replace thermostat if faulty
6. Check Sealed System Components
Sealed cooling systems have key internal components that should be examined by a technician if other issues have been ruled out:
Refrigerant and Lines:
- Use refrigerant detector to check for leaks
- Visually inspect lines for damage
- Repair leaks and replace damaged sections
Compressor and Condenser:
- Use multimeter to verify compressor activates when taps pressed
- Inspect condenser coils for damage – May need to remove cover
- Replace compressor or condenser if faulty
7. Check Drain Line
Clogged drains can cause overflow or water backups:
- Detach drain line from cooler
- Check for obstructions
- Flush with water and reusable drain cleaner
8. Check Internal Plumbing
With back panel removed, thoroughly inspect all internal tubing, joints, seals, and water line components for:
- Loose connections
- Leaks/moisture
- Tubing cracks
- Gasket/seal failure
Repair as needed.
9. Check External Components
Finally, inspect external parts:
Drip tray
- Empty overflowing tray as needed
External panels
- Tighten panels and hardware if condensation leaks present
Power cord entry points
- Reseal with caulk if moisture is present
When to Call for Service
If you have worked through all troubleshooting steps and your water cooler still fails to operate properly, contact a technician for service. Trained professionals have the expertise to fully diagnose issues and repair:
- Refrigeration system problems
- Water pump failures
- Complex plumbing leaks
- Electrical issues
Continuing to operate a malfunctioning unit can risk water damage or electrical hazards. Most service technicians offer maintenance contracts to keep your water cooler dispensing properly for years.
Preventing Water Cooler Problems
While it’s impossible to avoid every water cooler failure, you can take proactive measures to minimize issues:
- Use water treatment – Bottle filters or reservoir cleaner tablets help avoid mineral buildup and debris clogs
- Clean reservoir – Drain and sanitize interior 2-3 times per year depending on water quality
- Replace filter – If equipped, replace filter per manufacturer instructions
- Check tubing condition – Inspect for cracking or cloudiness indicating wear
- Address leaks early – Small leaks tend to become bigger problems over time
An ounce of prevention saves major repairs down the road!
Conclusion
Having clean, cold drinking water on demand is something most of us take for granted – until the day our trusty water cooler stops working properly!
Hopefully, this comprehensive troubleshooting guide has equipped you to get your water cooler functioning again quickly. The systematic checks will allow you to isolate the problematic component, be it electrical, water supply, refrigeration, drainage, or internal plumbing issues.
Capturing and addressing small problems before they become major repairs is the best way to keep your office or kitchen water cooler operating optimally for years of peak performance. But when you do require service, don’t hesitate to call in a professional technician to get the job done right.