
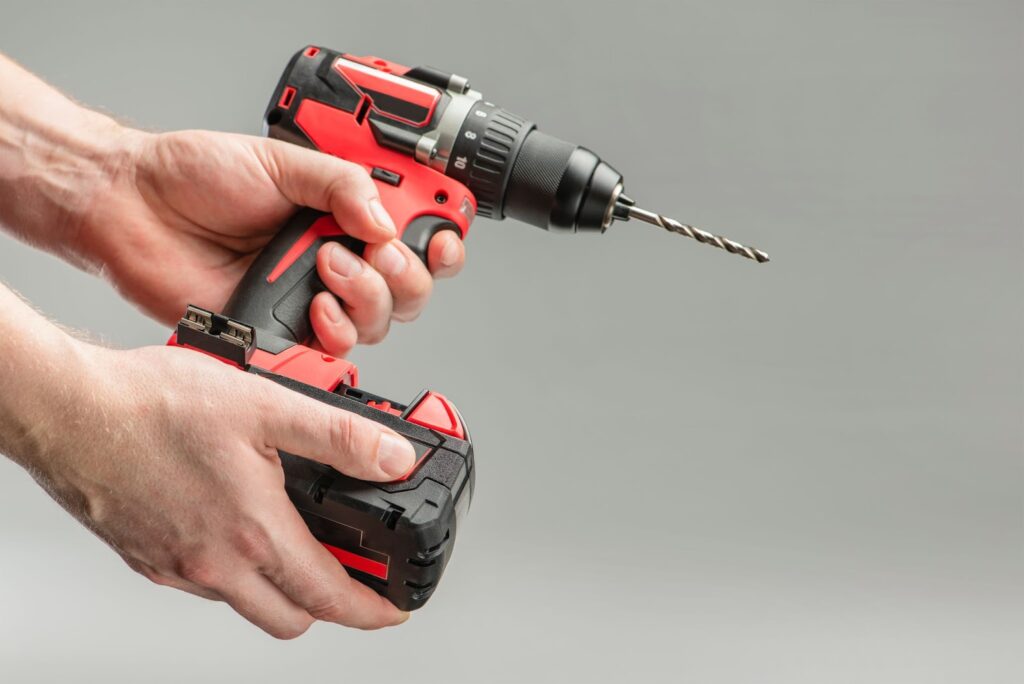
Cordless power drills are indispensable tools for DIYers, professionals, and anyone who needs to drill holes or drive screws. However, these cordless tools are only as good as their batteries. Once the battery dies, your useful power drill becomes nothing more than dead weight.
Replacing cordless drill batteries can get expensive, with name-brand replacements costing $50 to $100. However, with a few basic tools and some determination, you can actually repair a dead drill battery yourself and restore it to working order.
This comprehensive, step-by-step guide will teach you everything you need to know to safely repair and revive cordless drill batteries. With a bit of effort, you can save money and keep your tools running for years to come.
Cordless power drills utilize rechargeable lithium-ion battery packs to store and provide energy. These battery packs are made up of cells, wiring, and battery protection circuitry.
Over time and use, the following common issues can occur:
- Faulty, worn out, or imbalanced cells
- Corroded wiring and loose connections
- Damaged protection circuitry
These issues prevent the battery from properly holding a charge or supplying consistent power to the drill.
Rather than replacing the whole battery, you can actually repair many of these issues quite easily. DIY battery repair is a practical and eco-friendly way to save money while restoring performance and extending the life of your tools.
In this guide, you’ll learn skills like:
- How to diagnose battery issues
- Safe lithium-ion battery disassembly
- Identifying and replacing faulty cells or wiring
- Battery reassembly best practices
- Testing repaired batteries for safety and function
Let’s get started with the required safety information.
Step 1: Safety Precautions
Working with lithium-ion batteries does carry some risk, as the chemicals and components inside can be hazardous if mishandled. This step covers the essential safety gear and precautions you should take to stay protected.
Safety Equipment
The following safety equipment is highly recommended whenever you repair drill batteries:
- Protective eyewear – Wear ANSI-rated safety goggles or glasses to protect your eyes from debris, sparks, or leaking chemicals.
- Insulated gloves – Latex or nitrile gloves prevent shocks and skin contact with hazardous chemicals.
- Respirator mask – An N95 respirator mask is important to avoid inhaling vapors from chemicals or smoke from sparks/fires.
- Fire extinguisher – Have a Class D fire extinguisher on hand to suppress lithium-ion battery fires if necessary.
Key Precautions
You should also take the following battery handling precautions:
- Work in a clean, dry, well-ventilated area away from ignition sources.
- Avoid wearing metallic jewelry, which could short circuit the battery.
- Never try to repair a battery that is actively leaking, smoking, sparking, or swollen.
- Only use manufacturer-approved charging and disassembly tools.
- Never crush, puncture, short-circuit, or incinerate lithium batteries.
- Discharge the battery fully before disassembling it.
- Handle cells gently and never bend or deform them.
- Insulate the battery terminals during storage and repair.
- Follow all manufacturer disassembly instructions carefully.
Now let’s move on to diagnosing common cordless drill battery issues.
Step 2: Diagnosing the Problem
Before attempting repairs, you need to accurately diagnose the issue with your battery. Start by fully charging the faulty battery and testing it in the cordless drill.
Carefully observe all performance issues or error indicators. Also, examine the battery pack thoroughly for external clues pointing to internal issues.
What to Look For
Here are the most common cordless drill battery problems and what to look for:
| Issue | Signs & Symptoms |
| Low runtime/premature shutdown | Battery fails to hold a charge and provides lower runtime than when brand new. Drill stops working well before battery is fully depleted. |
| Overheating | Battery becomes excessively hot while in use or charging. Drill motor may stall/seize up due to overheating battery. |
| Swelling/Deformation | Pillowing, stretching, or cracking along the plastic battery case. Noticeable change in battery shape/dimensions. |
| Poor terminal contact | Intermittent cordless drill operation or failure to start. Wiggling the battery seems to temporarily fix issues. Terminals may be dirty, worn out, or corroded green/blue. |
| Internal short circuit | Sparking, smoking, or extremely hot temperatures coming from inside the battery. Active chemical leakage is likely. |
Battery swelling is an extremely hazardous condition requiring immediate battery replacement. Do NOT attempt to repair swollen lithium-ion batteries!
Minor issues can likely be repaired, but if you observe any active leakage, temperature extremes, or volatile battery behavior – stop all work and replace the battery.
Read More: How To Clean Your Wooden Fences And Decking
Diagnostic Equipment
These tools will help inspect batteries and pinpoint issues:
- Multimeter – Measures key voltage and resistance data.
- Conductive probe – Isolates shorted cells or wiring during resistance testing.
- Thermal camera – Identifies hot spots on failing batteries.
- Voltage tester – Confirms charge state of individual cells.
Now let’s go over the supplies you’ll need for completing repairs.
Step 3: Tools & Supplies for Drill Battery Repair
With safety gear and diagnostic data in hand, it’s time to prepare your workspace and gather repair supplies.
Essential Repair Tools
These standard tools facilitate safe lithium battery disassembly and reassembly:
- Safety goggles & insulated gloves
- Small Phillips and slot screwdrivers
- Plastic pry tools
- Wire cutters and strippers
- Soldering iron, lead-free solder
- Hot glue gun & adhesive
You’ll also need consumables like isopropyl alcohol, electrical tape, paper towels, small parts storage containers, and sandpaper.
Specialty Tools
For advanced DIY battery builders, spot welders and winding machines help recreate factory bonds and connections. But skip these unless you expect to rebuild batches of batteries.
Replacement Parts & Materials
Once disassembled, you may find faulty components that need replacement or upgrade. Common replacement parts include:
- Individual 18650 lithium cells
- Nickel/copper battery tabs
- Terminal contacts
- Wire leads and insulation
- PCB heat sensors
- Thermal adhesive pads
- Battery wrapping film
Now let’s get inside the battery housing and find those faulty components!
Step 4: Disassembling the Drill Battery
With your workspace prepped and supplies gathered, it’s time for the careful work of taking the battery pack apart without damaging any components.
Reminder – Discharge the battery and remove any charger before beginning disassembly! Work slowly and gently.
Accessing Internal Components
Here are the key steps to open up your drill battery:
- Locate case release tabs or screws (usually under labels).
- Release tabs or unscrew case fasteners using a non-conductive tool.
- Carefully separate the two halves of the plastic housing.
- Remove any insulating tape, cans, or shields between packs.
- Disconnect wiring harnesses or balancing leads.
You now have access to the rows of little lithium-ion cells!
You may also encounter small circuit boards, temperature probes, current shunts, or thermal cutoff devices during disassembly. Leave these wired components attached and avoid damaging them.
Now let’s identify which cell or connection inside is the root cause of the battery issue.
Step 5: Identifying & Replacing Faulty Parts
With the shell removed, use your multimeter in conjunction with an insulating tester probe to check individual cells and wiring. Compare voltages and look for abnormal resistance readings that indicate faults.
Common replaceable flaws include:
| Problem | Solution |
| Imbalanced/undervoltage cells | Replace weak or damaged lithium cells. Harvest good cells for other uses if needed. |
| Severed wiring or tabs | Re-solder breaks or replace tabs. Insulate exposed conductors. |
| Burnt, broken, loose terminals | Resolder terminals or replace with new contacts. Gently scrape corrosion. |
Let’s break down how to safely extract and replace problem battery components in the next sections.
Removing Cells & Wiring
To remove faulty 18650 cells or wiring:
- Discharge each cell below 1V using a power resistor.
- Desolder any surface-mount wires, pins, or bus bars.
- Carefully cut through any adhesive pads or cell straps.
- Extract each cell using gentle rocking motions if stuck.
Warning: Never bend, crush, or penetrate cells during removal or handling. Cap exposed terminals immediately with insulation.
Damaged or imbalanced cells that cannot hold a stable voltage after recharging should be recycled – not reused. Healthy harvested cells can be used for small custom battery builds.
Installing Replacements
When installing new lithium cells, wiring, or terminals:
- Thoroughly clean cell holds and wire points first using isopropyl alcohol.
- Use slotted cell insulation strips or Kapton tape between cells if space allows.
- Ensure cell alignment and moderate 1N pressure between rigid surfaces.
- Reattach nickel strips or wires via high-temp solder (or spot welder if available).
- Glue foam strips over parallel wire run to prevent vibration damage.
Now let’s bring our patient back together with some best practice reassembly tips.
Step 6: Reassembling the Drill Battery
With any necessary replacement parts installed, it’s time to carefully seal the battery back up. Follow these guidelines when resealing cordless tool battery housings:
- Double-check cell polarities match schematic markings!
- Make sure no wires or components are pinched between surfaces.
- Insert a new thermal cutoff switch if removed previously.
- Seal any entry ports with hot glue to avoid moisture ingress.
- Close up the lower and upper plastic case tightly.
- Replace all manufactures screws to ensure robust fastening.
- Cover screw heads with vinyl protectant tape.
Resealing is a delicate process – work slowly with care. It may take some practice to realign and hand-press snap fits without breaking plastic nubs.
Now let’s analyze our handiwork and verify the revived battery works safely.
Step 7: Testing the Repaired Battery
Before placing a rebuilt battery pack back into service, it’s crucial to:
- Confirm pack voltage and individual cell balance.
- Check for electrical shorts or isolation faults.
- Test charge/discharge capacity and monitor operating temperature.
- Verify safe shutdown protection circuits function.
Here is an effective testing methodology:
Electrical Validation
First, use your multimeter to measure overall pack voltage. Then conduct individual cell testing:
- Pack voltage should now equal the sum of all cell voltages in series.
- No cell should vary by more than 0.1V from other cells in the parallel group.
- Internal resistance should be very low (<100mOhm) between all interconnects.
If cells are out of balance, carefully recheck all solder bonds for conductivity.
Functionality Testing
Next, test basic charge and discharge cycles:
- Fully recharge the battery pack per manufacturer instructions.
- LED indicators should correctly signal charge state.
- Discharge down to cutoff voltage under a dummy load.
- Run a few cycles while monitoring current, voltage, and temperature.
The pack should maintain capacity similar to when new, discharge smoothly and safely terminate when depleted.
Assuming electrical and functional tests check out – you can now breathe new life back into those dormant drill batteries! Just be sure to perform periodic maintenance and handle lithium-ion packs with care.
Conclusion
In review, this guide covered the full process of troubleshooting, disassembling, repairing, rebuilding, and testing DIY cordless tool battery packs.
Key steps included:
- Diagnosing issues like failing cells or contacts.
- Carefully taking packs apart without damage.
- Removing and replacing worn components.
- Correctly reassembling cells and wiring.
- Verifying pack health through electrical testing.
While complex, drill battery repair provides an economical and eco-friendly alternative to prematurely discarding functional tools and plastic waste. With proper handling precautions, you can safely apply these skills to restore performance or repurpose lithium cells.