
A Wi-Fi extender is a useful device that can boost your existing Wi-Fi coverage and eliminate dead zones in your home or office. Installing and configuring a Wi-Fi range extender is usually quick and straightforward by following some easy steps.
This comprehensive guide will walk you through the entire process of setting up a Wi-Fi extender for your wireless network, from unpacking the device all the way to optimizing the extended Wi-Fi coverage. Follow along closely, and you’ll enjoy faster and more reliable Wi-Fi in no time!
Understanding Wi-Fi Extenders
A Wi-Fi extender (also known as Wi-Fi repeater or Wi-Fi booster) works by picking up an existing Wi-Fi signal from a wireless router and rebroadcasting it to expand the overall Wi-Fi coverage in a home or office. Here are the basics:
- A Wi-Fi extender connects wirelessly to your original Wi-Fi network and provides additional Wi-Fi access in areas that may have poor or no signal. This effectively increases the range of your wireless network.
- It works with any standard wireless router, creating an extended network with the same SSID (network name) and password, so you can seamlessly connect to the stronger signal as you move around.
- Your devices will automatically switch between the extender and router without any disruption to your internet connectivity. This is thanks to the seamless roaming feature on most Wi-Fi extenders.
- Depending on the model, most Wi-Fi extenders can boost Wi-Fi coverage between 300-1000 square feet. Higher-end models with external antennas provide longer range.
- To work properly, the extender should be placed in an area that receives at least 2-3 bars of your existing Wi-Fi signal, avoiding physical obstructions.
Benefits of a Wi-Fi Extender
Some key reasons why you should consider installing a Wi-Fi extender in your home or business include:
- Eliminates Wi-Fi dead zones by boosting coverage to hard-to-reach areas
- Provides faster and more reliable internet speeds farther away from your wireless router
- Creates seamless roaming so you stay connected as you move around
- Easy plug-and-play setup without additional network cabling
- Works with any standard wireless router, cable modem, or internet provider
- Affordable way to improve Wi-Fi coverage without upgrading router
Preparing for Installation
Setting up your new Wi-Fi extender is very quick, usually requiring no more than 10 minutes to complete. Before getting started, please ensure that you have the following ready:
Equipment Needed
- Wi-Fi extender (must be compatible with your wireless router standard)
- Power outlet (near the Wi-Fi dead zone, but within range of host network)
- Computer/smartphone/tablet (for setup and configuration)
- Wireless router (existing Wi-Fi network credentials required)
Choosing an Optimal Location
Positioning is very important when installing your Wi-Fi extender. It should be:
- Within range of your host home Wi-Fi network (2+ bars of signal) for best performance.
- Close to the Wi-Fi dead zone you wish to improve coverage for.
- Placed in a central area in between your router and weak coverage areas.
- Avoid obstacles like thick walls, metal appliances, large furniture between extender & router.
- Locate the extender away from other electronics to prevent signal interference.
- Away from heating appliances and vents (excess heat can impact performance over time).
Ideally, you can place the Wi-Fi extender in a room flanked by your existing router on one side, and the Wi-Fi dead zone on the other side.
If you’re unsure of signal strength, walk around your home with a mobile device, scoping out areas with weak reception. This should give you an idea of where to install your Wi-Fi extender for maximum boost potential.
Read Now: The Future Is Now: Exploring The Benefits Of Smart Appliances
Step-by-Step Installation Guide
Follow this walkthrough to properly set up your new Wi-Fi extender from start to finish:
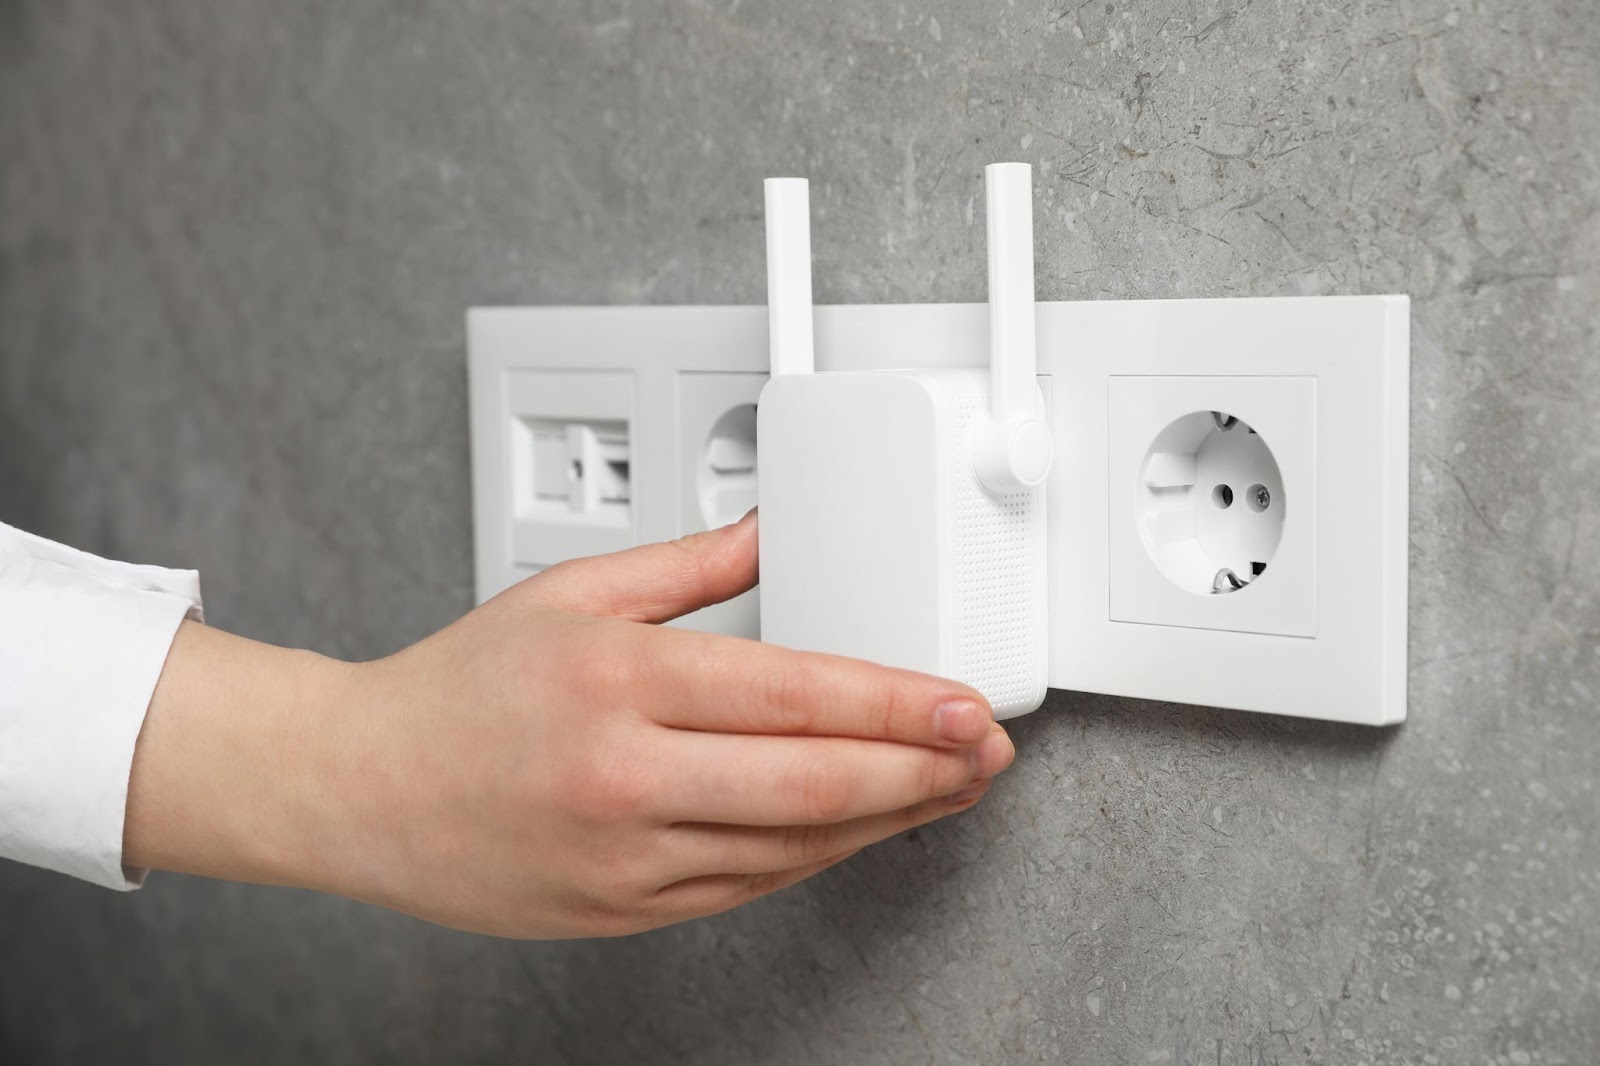
Step 1: Plug In The Wi-Fi Extender
The Wi-Fi extender needs to be powered on to begin the installation process:
- Take your new Wi-Fi extender out of the box.
- Verify that it is compatible with your wireless router’s Wi-Fi protocol standard (802.11ac, 802.11n, etc.)
- Choose a suitable location based on the criteria described earlier.
- Plug the extender into a power outlet. Wait for 1-2 minutes for it to fully boot up.
- Look for the status indicator light to confirm it is powered on. It will usually change from red blinking to solid green.
Most Wi-Fi extenders come with either external or internal antennas to help cover long distances. Try to avoid stacking equipment or cramming the extender in tight spaces to allow good ventilation and signal propagation.
Once successfully powered on, we can proceed to connect to the extender for setup and configuration.
Step 2: Connect To The Extender
You will temporarily need to connect your computer or mobile device directly to the Wi-Fi extender network to access its web-based setup page:
- Using the device you wish to use for setup, open the Wi-Fi Settings and view available wireless networks.
- You should see a new wireless network with the default SSID name of your Wi-Fi extender, usually on a sticker label on the product.
- The default extender SSID often follows a naming format like: NETGEAR_EXT, Linksys_ExtenderSetup, TP-Link_Ext, or EXT.
- Click to connect your smartphone, tablet, or laptop to the new extender wireless network using the default preset password also found on the product label.
- If you are not automatically redirected to the extender’s configuration page, open any web browser and navigate to: http://<extendersetup.com> or http://<extender_IP_address>
At this stage, your device is wirelessly connected to create a separate Wi-Fi network from your main home Wi-Fi provided by the router. We still need to link up with the existing host network in the next step.
Step 3: Access The Extender Setup Page
With your device now connected directly to the Wi-Fi extender network, open the extender’s browser-based setup page:
- Launch any web browser on your smartphone, laptop, or tablet that is wirelessly connected to the extender network.
- Type in the extender’s default web address in the URL field, typically: http://<extender_IP_address> (e.g. http://192.168.1.250) or http://<network_name>.ext (e.g. http://netgear_ext.ext)
- Press enter and you will be taken to the Wi-Fi extender setup page. This is usually the admin console UI page branded for your particular extender provider.
- If prompted, enter the default admin login credentials, which are also found printed on the extender label or in the user documentation.
You should now have access to the software dashboard and settings to get your extender up and running!
Step 4: Configure The Extender
We will now connect the Wi-Fi extender to your existing home Wi-Fi router network:
- From the extender setup page, look for and click on the section like “Connect Extender to Router” or “Extended Network” setup.
- A scan will be performed showing you the list of available Wi-Fi networks in proximity, including your main router wireless network.
- Select and click on your primary host home network. This is the original Wi-Fi network you want to extend.
- You will then be asked to enter that wireless network’s SSID password. Type in the correct Wi-Fi password and click Next.
- The extender will now connect to your home Wi-Fi router network using WDS wireless bridging in the background.
- Once successfully paired, the extender clones your home Wi-Fi network settings.
That’s it! Your Wi-Fi extender is now wirelessly linked to your existing wireless router to provide an expanded, extended Wi-Fi network throughout your home!
Step 5: Place Extender and Test Extended Network
To wrap up, we properly position the extender and verify expanded coverage:
- With the extender fully configured, you can now unplug and move the device to the desired optimal location you had earlier scouted.
- For best results, position in the middle area between your router and problem/dead zone areas for maximum reach.
- Connect your computer or mobile device now to the extended Wi-Fi network. It will have the same SSID and password as your original home Wi-Fi.
- Run speed tests and browse the internet from previously weak coverage areas to verify boosted Wi-Fi reach.
- Check that you can roam freely to new locations without losing internet connectivity to confirm seamless coverage.
- If needed, make additional minor adjustments to the extender placement to fine-tune overall extended wireless coverage.
Assuming your extender was well-positioned within host network range, you should now enjoy boosted Wi-Fi access from areas that previously had little or no signal!
Troubleshooting Tips
In some cases, you may encounter issues when trying to set up or connect to your new Wi-Fi extender. Here are some troubleshooting tips for common problems:
Can’t access extender setup page?
- Double check Wi-Fi connection to the default extender SSID using the preset password.
- Ensure you are using correct admin login credentials for the setup UI page.
- Try rebooting the extender and router, then accessing the dashboard again.
Not pairing with my router?
- Verify Wi-Fi router signal reaches extender location (move closer if needed).
- Check if router firmware needs updating. Extender may not work if incompatible.
- Factory reset the extender and attempt the connection process again from scratch.
Slow speeds/dropouts on extended networks?
- Optimize placement between router & weak coverage zones; bypass obstacles.
- Switch wireless channels on router if neighboring Wi-Fi networks are interfering.
- Set devices to connect at 5GHz band (if available) instead of more crowded 2.4GHz.
No internet connectivity?
- Verify that the main router is still properly connected to modem with broadband service live.
- Router and extender must match wireless protocols (802.11n, ac etc.) to sync up.
- For wall-plugged powerline extenders, check that electrical wiring lines are not overloaded.
Tips for Improving Extended Wi-Fi Performance
To enhance Wi-Fi performance when using your range extender, keep these tips in mind:
- Update router and extender firmware to latest available versions.
- Eliminate nearby radio frequency interference from devices like baby monitors, Bluetooth speakers etc.
- Set devices to use 5GHz router frequency instead of 2.4GHz if possible for faster speeds.
- Maintain line of sight between router and extender. Limit walls, floor materials weakening signal.
- Switch channels on router and extender to minimize crossover interference from nearby Wi-Fi networks.
- Move extender to different wall sockets closer to center of home if needed to expand sweet spot.
- Wi-Fi extenders cut bandwidth in half – so upgraded internet service plans can offset this limitation.
- If using powerline extenders via electrical circuits, connect router and unit to same branch circuit line if possible.
Also Read: Wi-Fi Extender Fixes: Your Quick Troubleshooting Guide
Conclusion
Adding a Wi-Fi range extender provides an incredibly quick and convenient way to spread robust Wi-Fi coverage into troublesome dead zones around your home, garage or office.
With so many affordable and easy-to-configure models widely available today from trusted brands, installing a Wi-Fi booster like this helps eliminate frustrating connectivity issues over extended distances.
By following this step-by-step guide, you can seamlessly set up a compatible signal repeater to broadcast your existing wireless network much farther – up to twice the normal coverage boundaries.
Correct placement goes a long way, so be sure to position your new extender in an optimal central location within range of the host router network. Fine-tune as needed to hit far corners of the home.
With stronger and uninterrupted Wi-Fi signals now freely flowing to the previously difficult spots, enjoy the freedom to access the internet with any device from virtually all areas without interruption or speed degradation.