
Kitchen appliances like blenders make food preparation easier and more efficient. However, like all appliances, blenders can break down over time. Replacing broken blender parts yourself can save you time and money compared to replacing the whole machine or paying for professional repair services. This guide will teach you how to safely replace a broken or dulled blender blade. With a few simple tools and replacement blender blades, you can often get your blender working again in under 30 minutes while saving lots of money.
The Benefits of DIY Blender Repairs
Kitchen blenders have moving parts that wear down over years of use. Blender jars can crack, and blades can chip, dull, or snap off completely. Before replacing the whole machine, see if you can fix common issues like broken blades yourself.
DIY repairs allow you to:
- Save money – Replacement blender jars and blades cost $15-$50. A new blender costs $40-$500+.
- Reduce waste – Fixing it extends the life of your blender so it stays out of landfills.
- Choose your own parts – Pick replacement blades optimized for your blender tasks.
- Learn useful skills – Repair teaches you how blenders work and how to fix them.
As long as the blender motor runs smoothly, issues with containers and blades can often be repaired at home cheaply.
Understanding Blender Blade Problems
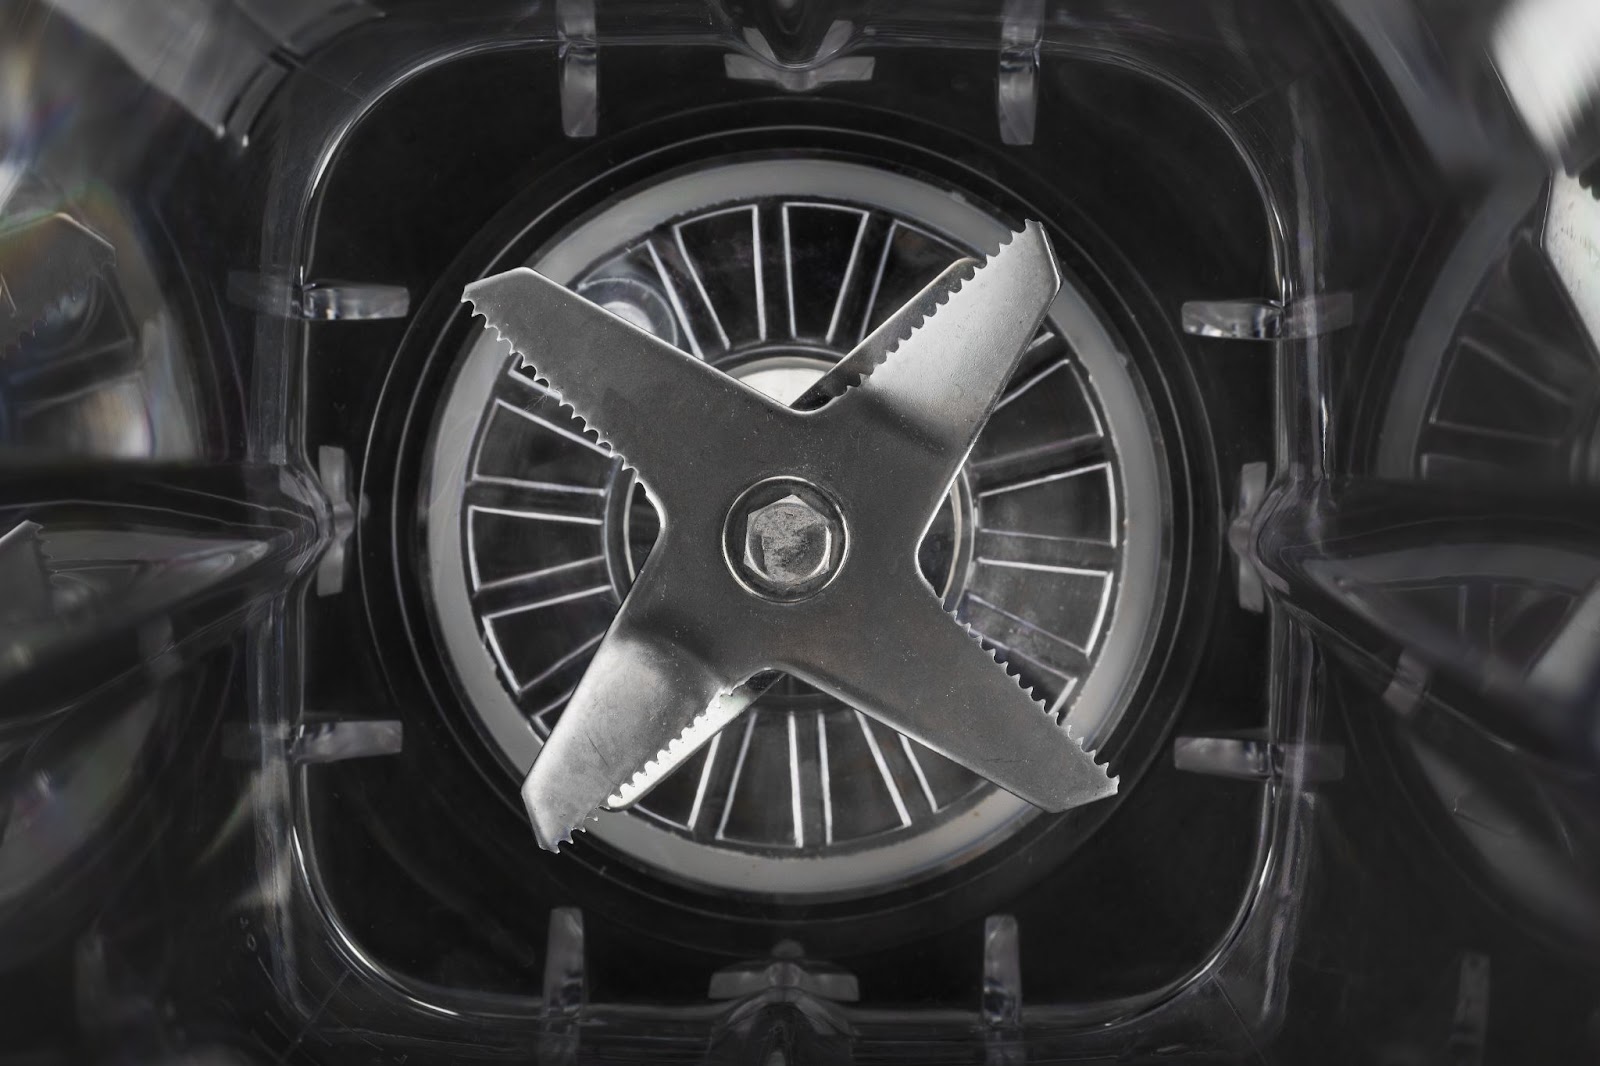
The spinning metal blade at the bottom of a blender jar perform the intense mechanical cutting and blending that makes smoothies, purees, and other blender recipes possible. Quality blades are normally made of strong stainless steel and fixed at specific angles within the jar for optimal blending action.
Over years of usage blending ice, frozen items, thick purees, and even crushing dry goods like grains and nuts, blender blades gradually become less effective and eventually fail for reasons like:
- Dullness – Constant abrasion wears down sharp edges. Dull blades don’t cut/blend as efficiently.
- Warping – Repeated stress can bend blade edges out of alignment. Alters blending action.
- Cracks – Material fatigue and pressure create small cracks then breakage.
- Chips or breaks – Hard particles like ice or bone cause small chips to grow over time.
Continuing to use a damaged blade risks bigger cracks or breakage, sending shards of metal into your food. Check your blades regularly for dullness or wear. Replace as needed to maximize functionality and safety.
Signs You Need New Blender Blades
Watch for these signs your blender blades need replacing:
- Food gets stuck to blades and jar walls during blending
- Blending takes much longer than when blade was sharper
- Vibration and loud noises come from the blender jar
- You see cracks, pitting, bending, or breakage on blade edges
- Blades feel dull when you carefully touch their edges
Tools and Parts You Will Need
Replacing worn or broken blender blades is an easy DIY job. With a few standard tools and new blender blades, your machine can blend like new again.
Tools
You likely have the necessary tools for safely swapping blender blades already:
- Screwdrivers (flathead and Phillips head)
- Gloves for protection from sharp blades
- Clean rags for cleaning jar threads
- Anti-seize compound (optional) helps prevent future rusting
Replacement Blender Blades
Choosing new replacement blades made specifically for your blender model ensures the best fit and performance. Check the owner’s manual or manufacturer’s website using your blender brand and model number to find and order the right replacement parts.
Third-party sites also sell replacement blades advertised as compatible with major blender brands like Oster, Hamilton Beach, KitchenAid, Vitamix, Ninja and others. Measure the mounting size and number of blades on your existing assembly before ordering.
Buy two or more replacement blade assemblies, so you have backups on hand. Blender jars, lids, replacement blades and other parts can break over time.
Read More: How To Clean A Blender
Step-by-Step Guide to Replacing Blender Blades
Replacing worn or broken blender blades takes about 10-30 minutes from start to finish. Carefully follow these step-by-step instructions for best results and observe all safety precautions.
Safety First
- Unplug the blender from the electrical outlet so it can’t start accidentally during disassembly.
- Wear cut-resistant gloves since blades are extremely sharp.
- Set the blender jar on a stable surface like a table or countertop while working. Don’t attempt repairs holding the jar.
- Carefully grip blades by their metal mounting ring or center bolt when handling. Never touch sharp blade edges.
Step 1: Remove the Blade Assembly from the Jar
Stand the blender jar upright and find where the blades sit inside the bottom, often threaded onto a socket. Notice how the blades fit together before disassembly so you can replicate the arrangement later.
Using a towel to improve your grip, turn the blender jar upside down. Place it on a flat surface covered by a rag or towel so the blade assembly rests securely in the jar opening without falling out.
Find the screw(s) holding the blades in place. This is often an X-shaped screw in the center that attaches all 4 blades, though 2-prong assemblies use 1 screw per blade.
Using a properly-sized Phillips or flathead screwdriver, loosen then remove all fastener screws saving them nearby for reinstallation. Lift out the blade assembly by grasping its outer metal ring or center bolt. Set it aside.
Tip: Still can’t loosen the screws? Try spraying them with penetrating oil, then let it soak for 10+ minutes before trying again. Jostle the jar periodically so it reaches all threads.
Step 2: Carefully Remove any Broken Blade Parts
If any cracked or broken blades remain stuck in the threaded blender jar socket, carefully pry them out using an appropriate tool while wearing thick gloves. Remove all debris, then thoroughly clean the socket interior so the new blade assembly fits correctly.
Step 3: Install New Replacement Blender Blades
Check that the new replacement blade assembly matches the metal mount size, hole alignment, and number of blades as the original one. Refer to your blender model’s owner manual if uncertain.
Most blenders have 2-prong or 4-prong blade designs:
- 2-prong blade assemblies use 1 screw per blade threaded into holes in the jar socket. Make sure new blades align correctly with these holes.
- 4-prong blades have a central bolt threaded into the jar bottom that holds all blades together. You’ll unscrew this central bolt to remove the mechanism.
Any blender blade replacements should fit snugly onto jar threading without wobbling and with blades positioned vertically.
Carefully place your new blades into the threaded socket by their center bolt or outer metal ring. Rotate gently to thread them into alignment. Replace the fastening screws snugly using a screwdriver but don’t overtighten. Screws should hold blades firmly without distorting or bending the assembly.
Wiggle the mechanism gently to ensure it sits solidly before final tightening. Avoid loosening/overtightening repeatedly, as this can strip screw holes.
Optional: Apply a small dab of anti-seize lubricant to jar and blade threads once fully tightened. This prevents rust formation, so blades uninstall easier next time.
Step 4: Wash Blender Thoroughly Before First Use
Wash all blender parts, including the jar, lid, and blades, in warm soapy water using a soft brush or sponge to remove manufacturing oils or residues from replacement blades. Rinse, then dry everything completely before reassembly.
Check that blades spin freely within an empty, dry jar when rotated by hand before placing ingredients inside. This confirms proper installation.
You did it! Enjoy your smooth-blending blender again. Consider keeping replacement blade assemblies on hand so worn parts can be quickly swapped in future.
Tips for Maintaining Blender Blades
With some basic maintenance, replacement blender blades should perform well for years before needing another swap. Here are pro tips for keeping blades in optimal condition longer:
- Clean regularly – Rinse blades after each use and wash jars in warm soapy water. Soak tougher reside in hot vinegar water.
- Avoid abrasives – Don’t scrub blades with steel wool. Use soft sponges and cloths instead.
- Inspect often – Check blades for dullness or damage every few weeks with heavy use.
- Change when needed – Swap dull blades for sharp ones to improve blending. Don’t wait for complete failure.
- Store safely – Place cover over blades or store jars upright to avoid contact when not blending.
- Lubricate lightly before reassembly – A dab of food-grade oil or anti-seize compound on threads prevents rust.
Follow manufacturer cleaning guidelines to avoid damaging blender finishes or electronic components.
With periodic inspection and replacement as recommended, quality blenders can deliver 20+ years of reliable service. Performing your own repairs using replacement parts saves you money while reducing environmental impact.
Cost Comparison – DIY vs Professional Blender Repair
Before replacing an underperforming blender, compare the costs of DIY repairs versus professional services:
| Repair Approach | Typical Cost | Turnaround Time | Skill Level Needed |
| DIY Blade Replacement | $15-$50 for new replacement blades | 30 minutes to 2 hours | Easy – Moderate |
| Appliance Repair Service Visit | $80-$150+ for labor + parts | 1-2 weeks | Professional technicians |
| New Blender Purchase | $40-$500+ | Immediate with retailer stock | None – Plug and use |
DIY blade replacement offers big cost savings with faster turnaround when revival is possible. Watch online tutorials to gain necessary skills.
Appliance repair pros can service machines with complex failures beyond DIY comfort levels, but quality comes at a premium.
Buying new makes sense if the blender motor and base fail or replacement parts are unavailable. Old blenders may lack newer safety features too.
For simple blade issues, DIY replacement lets you save money, reduce waste, and learn useful repair skills – often in under an hour.
Conclusion
Over years of frequent use, blender blades inevitably wear down or break. But before you junk a blender that otherwise works, consider replacing just the blades yourself as a frugal fix.
With basic tools, protective gear, and new replacement blender blades made for your specific model, bringing your machine back to peak blending performance is achievable in the afternoon.
DIY blender repairs help you:
- Save money on replacement parts instead of appliance services or costly new equipment
- Reduce environmental impact by keeping devices from landfills
- Build useful technical skills transferrable to other appliances
- Enjoy reliably blended smoothies, nut butter, sauces and more for years to come
With a sharpened blade, tighter budget, useful new technical skills, and environmentally responsible repair approach, you can feel good enjoying healthy blender creations again soon.