
If you’ve ever noticed water pooling around your washing machine during the spin cycle, you’ve likely got a worn-out door gasket that needs to be replaced. Washing machine gaskets play a critical role – they create a watertight seal that keeps water contained inside the washer drum during the wash and rinse cycles. When they become loose, cracked, or otherwise deteriorated, they are no longer able to perform this function properly.
Ignoring a worn washing machine gasket can lead to extensive water damage over time as leaks become more pronounced. Replacing worn gaskets is an essential maintenance task that will save you from expensive water damage repairs down the road. This guide covers everything you need to know about identifying and replacing worn washing machine gaskets.
What You’ll Learn
In this comprehensive guide, you’ll learn:
- What washing machine gaskets are and how they work
- How to identify signs that your gasket needs to be replaced
- The consequences of ignoring worn gaskets
- When is the right time to replace your washing machine gasket
- How to properly replace a washing machine gasket on your own
Equipped with this information, you’ll be able to properly maintain your washer gasket and catch deterioration before leaks and water damage occur. Replacing a worn gasket is an inexpensive fix – especially compared to the costs caused by neglected leaks!
Read More: How to Deep Clean a Washing Machine
What Exactly is a Washing Machine Gasket?
Before we get into the topic of replacing your washer gasket, let’s go over the basics of what washing machine gaskets are and how they work.
Function of the Gasket
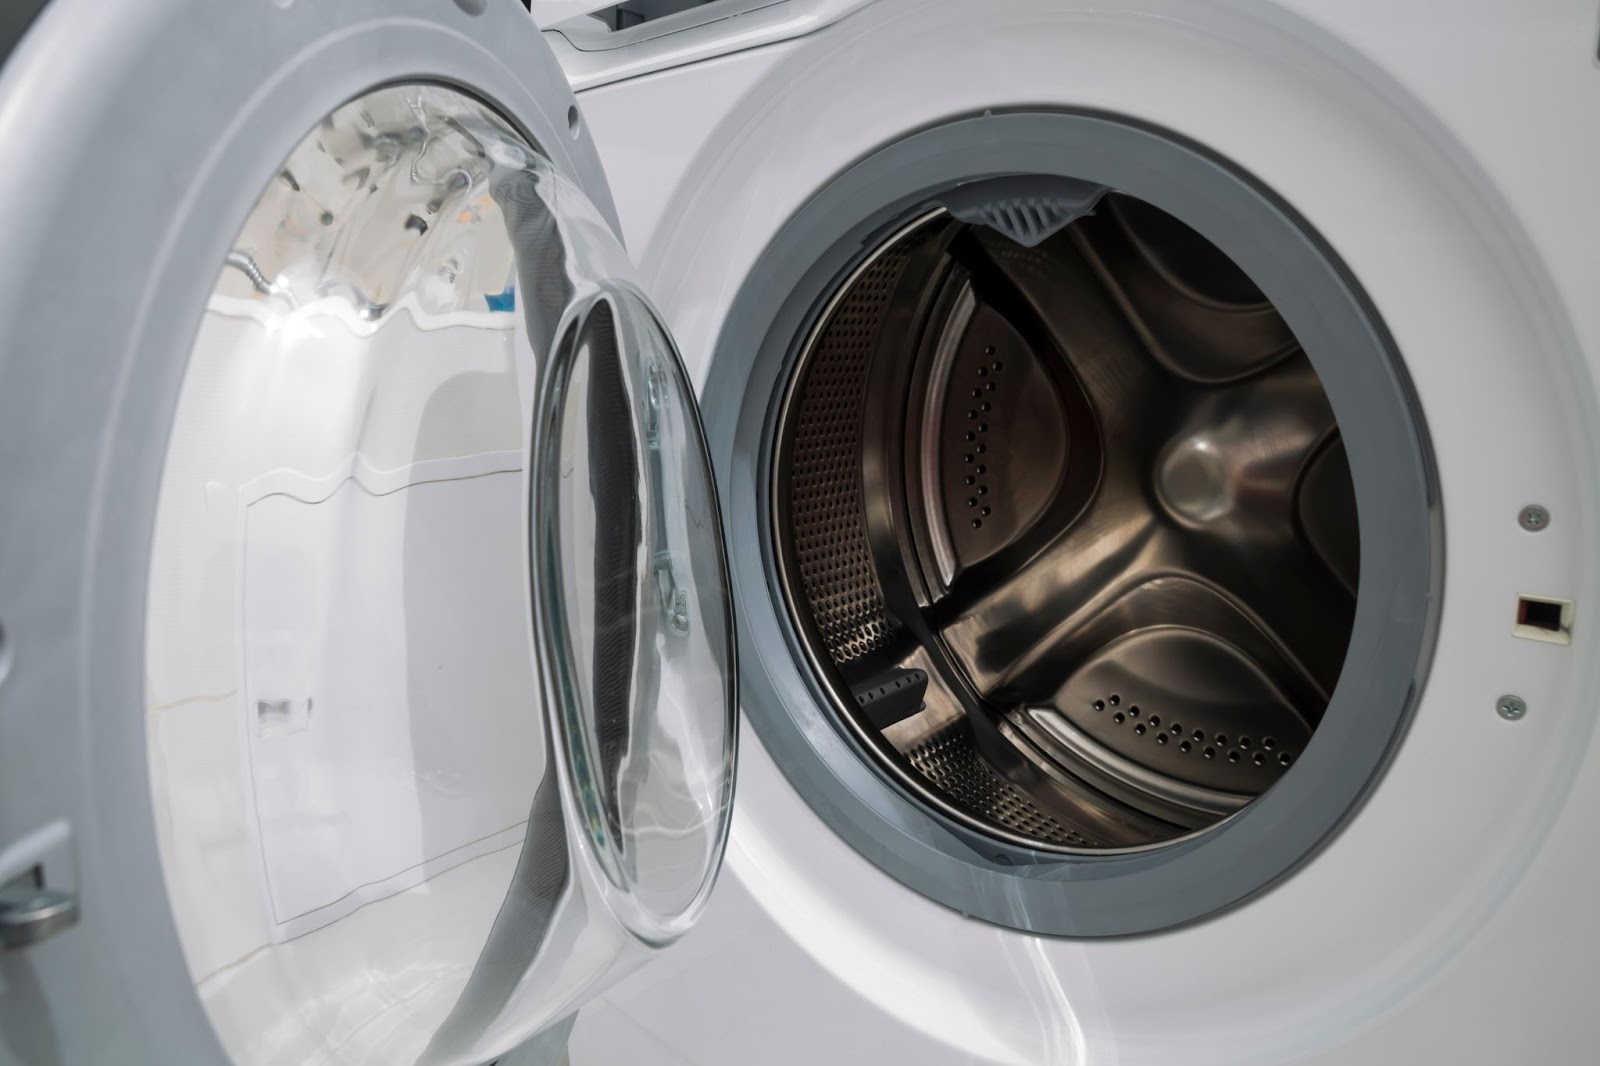
The gasket, also sometimes referred to as the door seal, is the flexible rubber-like band that lines the perimeter of the washer door opening. Here are the main jobs of a properly functioning washing machine gasket:
- Creating a seal: The gasket seals the gap between the edge of the drum opening and the door. This watertight seal ensures that water stays inside the drum during agitation and spin cycles.
- Padding the drum: The gasket also acts as a cushion for the stainless steel drum. Every time you close the washer door, the gasket provides a protective barrier, dampening the impact.
- Insulation: Gaskets enhance insulation to keep water warm during wash cycles.
Essentially, the gasket performs the critical role of making sure your laundry gets clean by keeping water in and preventing leaks and additional damage to the machine components.
Common Gasket Materials
Washing machine gaskets were historically made from natural rubber. Today, manufacturers use a mix of synthetic rubbers, vinyl, and silicone to create soft, pliable, water-resistant gaskets. Common modern gasket materials include:
- Buna-N rubber: Also called nitrile rubber, this synthetic blend of butadiene and carboxylic acid creates an oil-resistant material with high resilience. This is one of the most common gasket materials.
- Neoprene: This synthetic rubber material made from polychloroprene has resistance against degradation from heat, oils, and chemicals.
- EPDM: Short for ethylene propylene diene monomer M-class rubber, this dense material offers exceptional resilience, abrasion resistance, and resistance to tears.
- Silicone: Known for maintaining flexibility and sealing performance across a wide temperature range, silicone is also resistant to decomposition, weathering, and UV radiation.
Manufacturers blend rubbers and other materials to optimize gasket flexibility, durability in hot washing machine conditions, and long-lasting seals.
Identifying a Worn Washing Machine Gasket
Washing machine gaskets endure a lot of opening and closing of the washer door, high temperatures, moisture, and physical stresses during operation. Over years of use, these factors cause the gasket material to gradually become more rigid and brittle. Portions of the gasket band may become loose or stretched out. Cracks and tears can form. All of these gasket flaws lead to impaired sealing performance.
Luckily, worn-out washing machine gaskets tend to show obvious visual signs of deterioration. Keep an eye out for these warning signs that indicate an aging gasket needs to be replaced:
1. Visible Cracks and Tears
Carefully run your fingers along the gasket band, inspect for any nicks, tears, holes, or wide gaps in the gasket ring. Cracks that run along the inner folds of the gasket band can be especially prone to leakage. Any cuts, holes, or gaps in the gasket that expose open areas will undermine the watertight seal during wash cycles.
2. Stretched-Out Shape
A gasket in good working condition will appear evenly distributed around the door opening, maintaining a symmetrical, oval shape. An overly stretched gasket band begins to take on a more uneven, warped shape along the opening. Stretched sections will have reduced elasticity, creating potential weak points for leaks.
3. Gasket Detachment
Watch for areas where the gasket band is no longer firmly affixed around the entire perimeter of the door. Often, detachment will start at the corners. Portions of the gasket may lift away, creating gaps where water can escape from the drum.
4. Inflexibility and Brittleness
Healthy gaskets maintain rubber-like flexibility and pliability. As gaskets age, you’ll notice the material takes on a stiffer, more brittle consistency, resisting flexing. Press firmly against points along the length of the gasket. Brittle areas of the gasket will crack instead of giving under pressure. Inflexibility impedes the gasket’s ability to create a complete seal.
5. Discoloration and Deterioration
Normal washing machine gaskets should have a consistent black or gray rubber-like appearance. Look for areas of the gasket that appear bleached out, dried out, streaked with rust, or otherwise compromised. You’ll also want to check for general signs of aging, like flaking, cracking in the material, and chunking gasket pieces missing from the band.
Dangers of Ignoring a Damaged Gasket
It can be tempting to put off replacing a slightly worn gasket that is not yet actively leaking water. However, it is important not to ignore a failing washing machine door seal. Worn gaskets will continue to degrade to the point of leakage, risking these problems:
Persistent Leaks and Possible Flooding
The most obvious risk of a deteriorated gasket is water leakage. Small leaks may begin slowly. You may notice only a few droplets escaping the washing machine during high impact cycles like the final spin. However, leaks increase over time as cracks and detachment areas expand. A severely compromised gasket can fail completely during a wash, allowing several gallons of water to rapidly escape and flood your laundry space.
Mold and Mildew Growth
Water leaking from your washing machine promotes excess moisture. Puddles of water collecting around the base of your washer can easily lead to mold growth. Breathing in mold and mildew particulate comes with health risks. Remediation of established mold infestations in walls and subflooring can require extensive repairs.
Damage to Surrounding Areas
Pools of leaking water leads to moisture damage and rotting materials in surrounding walls, floor joists, and flooring. Even a leak spreading slowly over time can warp cabinetry and cause mold growth within the underlayers of adjacent walls. Left unattended, water damage from gasket failure necessitates large-scale repairs.
Higher Utility Costs
Lingering small leaks that continually saturate the surrounding environment with moisture will also increase your power costs due to inefficiency. Your washing machine motor works harder during spin cycles to compensate for the imbalance and moisture intrusion caused by leaks.
When Do You Need New Gaskets?
With regular washer maintenance and high-quality replacement parts, washing machine gaskets can reliably seal your washer door for over 5-10 years. However, few gaskets in real world conditions last over 10 years without replacement. Friction, heat cycling, chemical exposure, and normal wear take a toll over the years of operation.
Watch for the gasket wear signs covered earlier. Even if you do not observe active leaks, it is wise to proactively replace a gasket showing extensive cracking, brittleness, detachment, or decomposition. This helps avoid leaks before they start.
You should also keep an eye out for gaskets that have endured conditions promoting accelerated wear:
- Gaskets on older washers – Natural degradation of the gasket material over time will dictate replacement. Target a gasket replacement about every 7-10 years, even with careful maintenance.
- Washers in frequently used rental properties – Constant opening and closing of the washer by many different people places added strain on gaskets. More intensive usage reduces gasket lifespan.
- Households washing lots of bulky items – Laundering large comforters, pet beds, or other oversized items can stress and stretch gaskets with repeated compression forces.
- Harsh detergents – Bleaches and other chemicals at high concentrations can accelerate breakdown of gasket materials.
Replacing your washing machine door gasket every 5-10 years ensures you always have a solid seal preventing leaks during operation.
DIY Washing Machine Gasket Replacement
Replacing a washing machine door gasket is a straightforward DIY project that can save you money on technician fees. With basic mechanical skills and the proper replacement gasket in hand, you can swap your worn gasket for improved door sealing.
Before starting, always make sure to unplug your washing machine! You’ll also want to have these materials ready:
- Gasket replacement kit (available for most brands online)
- Flashlight
- Gloves
- Rags
- Screwdriver
Follow these key steps to safely replace your leaking washing machine gasket:
Step 1: Prep the Washing Machine
Ensure the washer is unplugged. Open the door to access the gasket area. Remove any clothing remnants or debris along the gasket rim using gloves and rags.
Step 2: Remove the Old Gasket
Starting at the bottom corner, grasp the gasket and slowly peel it away from the opening rim while pulling outward. Work your way around the perimeter until it releases. Use a screwdriver to carefully pry up rigid areas if needed.
Step 3: Thoroughly Clean the Rim
Use rags and gloves to wipe down the newly exposed rim area. Remove all old gasket remnants, residue, and buildup. Check for rust spots or sharp edges that require filing down. Thorough cleaning allows solid gasket resealing.
Step 4: Test Fit the New Gasket
Before peeling back adhesive strips, do a trial alignment of the replacement gasket. The key areas to check are the corners and the door latch indentation. Ensure proper orientation and confirm the length matches up evenly along the perimeter before adhering to the gasket.
Step 5: Adhere to the New Gasket
Peel back the adhesive strip backing sections once aligned. Carefully press the gasket in place from the middle outward. Run your fingers along all edges to promote full contact adhesion.
Step 6: Reattach Door Components
Reseat the door latch assembly, hinges, and any detached door balance components like springs or shocks per manufacturer specifications before rehanging the door.
Step 7: Confirm Watertight Seal
Perform a quick rinse cycle sans clothing. Check all edges of the newly seated gasket for any dripping water indicating continued leakage issues. Repeat gasket replacement if leaks are observed.
With a properly realigned door and new gasket sealed evenly around the opening, you can rest assured leaks will be prevented. Take note of any abnormalities during replacement that might accelerate wear on the new gasket. Proper loading sizes and detergent concentrations preserve gasket lifespan going forward.
When to Call a Professional
In most cases, gasket replacement is straightforward and well within DIY capabilities. However, there are certain scenarios where it is wise to have a trained appliance technician tackle the repair:
- Rusted or broken access rims – If corrosion or part failures make the rim surface impossible to cleanly seal to, professional assistance with damage remediation or parts welding is required.
- Structural alignment issues – Any shifts in washer body positioning that throw off door closing alignment need to be corrected to allow consistent gasket compression. This requires adjustments beyond routine DIY maintenance.
- Custom-shaped gaskets – While most replacement gaskets are standardized oval shapes, some older model washers have uniquely contoured gaskets needing custom fabrication best left to pros.
- Damaged access components – If exterior cabinet panels or internal balance springs also need replacement during your gasket maintenance, consider calling for service to ensure correct specifications and installation for optimal function after repairs are complete.
Diagnosing any underlying causes contributing to premature gasket wear is also best left to those well-versed in washer mechanics and part lifespans. The last thing you want is to replace the gasket only to have it fail again shortly after from unaddressed problems!
Best Practices to Prolong Gasket Lifespans
Proper care and operation extend the functional lifespan of your washing machine gasket. Keep these tips in mind:
- Leave the door open – Allow airflow to reach inner compartments and fully dry gaskets between cycles to inhibit moisture-related degradation issues. Consider using a magnetic catch to secure the agape door.
- Avoid overloading – Overstuffed loads place strain on the flexible gasket as you attempt to squeeze the door shut. Take care not to pack laundry in tightly beyond recommended load sizes.
- Minimize harsh chemicals – Bleaches and concentrated cleaners can degrade gasket materials over time. Spot-treat stains when possible and dilute detergents appropriately.
- Inspect frequently – Periodically check gasket condition when pulling loads out of the washer so you catch minor deterioration before it leads to leaks.
With diligent preventative care steps and prompt replacement of failing gaskets, you can reliably prevent leaks and water damage. Keeping gaskets in good working order is essential for safe operation and extending appliance lifespan. Monitor your washer gasket closely and replace worn units right when issues appear. Your home and wallet will thank you!
Also Read: Washing Machine Tub Replacement in 10 Easy Steps
Conclusion
Preserving your washing machine with timely gasket replacements saves money over time you not only expensive water damage repairs down the road, but avoiding large leaks protects your home from mold contamination risks. Replacing worn gaskets every 5-10 years also maintains washer energy efficiency by preventing leakage-related imbalances.
Learning to identify aging gaskets before outright failure occurs is critical for home maintenance. Regularly check your washer gasket for any stretched sections, cracks, brittleness, or missing portions needing replacement. With the right replacement kit and proper sealing procedures, this easy fix restores your washing machine door’s watertight seal to keep leaks at bay.
Vigilantly monitoring gasket condition allows you to be proactive and avoid damage from leaks before they escalate into a major issue. Maintain your washing machine to maximize lifespan by consistently assessing and replacing worn parts like gaskets over the years. Putting in this minor maintenance effort upfront will prevent headaches dealing with leaks down the road!