
Having a clogged ice dispenser chute can be extremely inconvenient, especially during the hot summer months when you rely on ice to keep drinks cold. Clearing a blocked ice chute may seem daunting, but it’s actually a straightforward process that you can easily tackle yourself without needing to call for expensive appliance repair.
This comprehensive guide will walk you through all the steps needed to clear even the most stubborn clogs from your refrigerator’s ice dispenser chute. We’ll cover everything from basic troubleshooting to removing and thoroughly cleaning the various ice dispenser components. With the right technique and a little patience, you’ll have fresh ice flowing freely from your refrigerator again in no time.
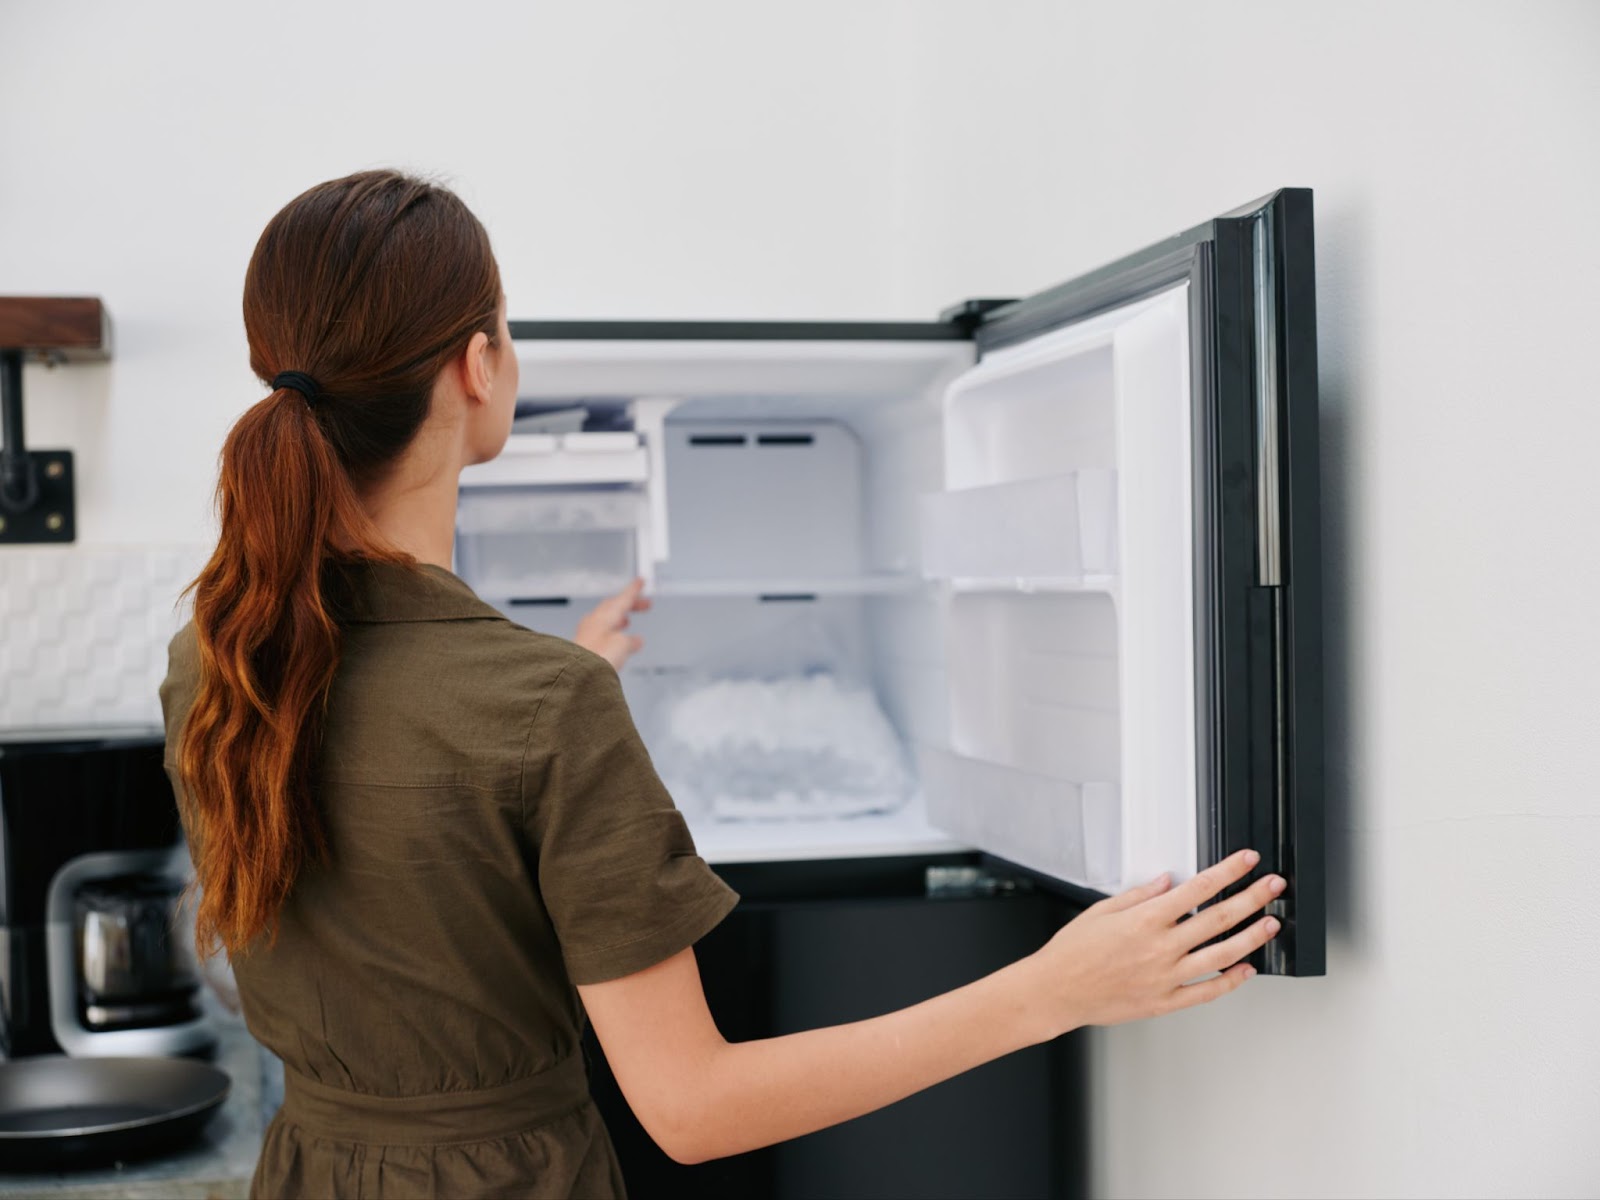
How an Ice Dispenser Works
Before jumping into unclogging methods, it helps to understand exactly how an ice dispenser functions:
- Ice maker: An internal ice maker produces ice cubes from a water line and deposits them into the ice bin. Newer models feature hands-free infrared sensor technology to automatically produce more ice when levels get low.
- Ice bin: This storage bin, typically located in the freezer, holds the freshly made ice cubes.
- Ice dispenser chute: When you press your cup against the dispenser lever/paddle, a small door opens to let ice cubes travel down the chute and into your cup.
- Dispenser chute door: A small plastic door keeps warm air out of the ice dispenser chute when not in use. This door opens when you press a cup against the dispenser paddle.
Ice Flow Path
Here is the basic path ice cubes take from the ice maker to your drinking glass:
- Ice cubes are produced by the ice maker and deposited into the ice bin in the freezer.
- When you engage the dispenser lever/paddle, the dispenser chute door at the base of the ice bin opens.
- Ice cubes travel from the ice bin and through the ice dispenser chute.
- Ice cubes exit the dispenser chute into your cup or glass below.
A clog or blockage anywhere along this pathway can prevent ice from being dispensed.
What Causes Ice Dispenser Clogs?
There are a few common culprits that can create a clogged ice dispenser:
- Frozen ice cubes: Ice cubes can fuse together into large chunks or blocks that get stuck. This is especially common if you don’t use the dispenser frequently.
- Mineral deposits: Hard water can leave behind mineral deposits that accumulate over time and restrict ice flow.
- Small objects: Coins, buttons, broken ice cube fragments, or other small items can fall into the dispenser chute and get lodged.
- Ice maker malfunctions: An internal ice maker component failing can allow ice shards or other debris into the dispenser passage.
To pinpoint the specific cause of your refrigerator, you’ll need to thoroughly examine the various components of the ice dispenser system.
Troubleshooting Clogged Ice Dispenser
Start troubleshooting a clogged ice dispenser by following these basic steps:
#1. Confirm the Ice Maker is Working
- Check if the ice maker is turned ON and whether ice cubes are actively being produced.
- If no new ice is being made, there could be a bigger issue with the ice maker itself rather than just the dispenser. Consult your owner’s manual for ice maker troubleshooting tips.
- Listen for any sounds of ice dropping into the ice bin.
- If ice is being produced but not dropping, there could be a clog located inside the ice maker preventing ice from entering the bin. This would require deeper troubleshooting of the ice maker.
#2. Check for Ice in the Storage Bin
- Open freezer and examine ice bin:
- Ice present – This indicates the clog is isolated to the ice dispenser chute or exit point. Proceed with troubleshooting dispensing system.
- No ice – There could be a major blockage between ice maker and storage bin; troubleshoot ice detection sensors and maker functionality before tackling dispenser.
#3. Test the Dispenser
- Press cup against dispenser paddle/lever:
- No ice dispensed – This confirms there is a complete clog or blockage within the ice dispenser chute.
- Small amount/fragments dispensed – Indicates there is a partial clog limiting ice flow.
- Ice is dispensed, but flow is slow – Suggests mineral deposits may be constricting the opening.
Once you’ve confirmed that fresh ice is making it into the bin but failing to properly dispense, you can move forward confidently that the issue is isolated to a clogged chute.
Next, you’ll need to fully clean out both the ice bin and the dispenser chute passages.
Read More: How to Easily Clean Your Fridge’s Water Dispenser
Step-by-Step Guide to Clearing Ice Dispenser Clogs
Follow these steps to clear even the worst ice blockages from your refrigerator’s dispenser chute:
Step 1: Turn Off the Ice Maker
Locate the power switch for your ice maker and turn it OFF. This prevents the ice maker from producing more ice cubes while you work.
On some models, the ice maker can be temporarily halted by simply raising the ice maker arm/sensor paddle UP and away from its resting position. Just be sure ice production is halted before proceeding.
Step 2: Remove Ice Bin and Empty Ice
- Carefully remove the ice storage bin from inside the freezer.
- Empty all ice cubes out of the bin and into a sink or bucket.
Step 3: Let Ice Thaw
Allow any large clumps of fused ice cubes to completely thaw:
- Place ice bin in a sink or outside to thaw.
- Thawing melts ice bonds, making clogs easier to clear.
- Thawing may take 5-10 minutes or longer, depending on level of ice fusion.
Step 4: Remove Ice Dispenser Tray
The ice dispenser tray is the catchment area located underneath the actual dispenser chute opening where ice exits.
To remove dispenser tray:
- Lift up firmly on tray handle or grip indentations on each end.
- Pull dispenser tray completely out of housing cavity.
This exposes the ice dispenser chute for inspection and cleaning.
Step 5: Check Dispenser Chute for Clogs
Peer down into the now-exposed dispenser chute passageway.
- Do you see any trapped debris or buildup of any kind?
- Use phone light to illuminate entire passage.
If build-up is minor, skip down to CLEARING MINOR CLOGS.
For more significant clogs, continue to next step.
Step 6: Remove Chute Door
The small plastic door at the bottom end of the dispenser chute must be detached to extract major blockages.
To remove:
- Locate small hinge pin(s) on underside corners of door.
- Use your thumbs to pop door off hinge pins.
- Set door aside in safe place.
You now have full access to the lower portion of the ice dispenser chute.
Step 7: Clear Major Blockages
With both the dispenser tray and chute door removed, you can now see (and reach) any significant ice mass clogs:
- Carefully dislodge the ice blockage using a wooden spoon, plastic utensil or other soft tool.
- Avoid using anything sharp or metal that could scratch plastic components.
- Check entire chute, top to bottom, for any packed ice or debris.
Remove all loosened ice, debris and fragments from the ice chute passage.
With major clogs now cleared from the chute, proceed to full cleaning.
Clearing Minor Ice Dispenser Clogs
For minor clogs limited to just the dispenser chute opening:
- Leave ice bin and dispenser tray fully installed.
- Using a wooden spoon, chopstick or similar plastic tool, carefully loosen and dislodge any trapped ice shards from opening.
- Avoid using anything sharp or metal that could scratch plastic components.
- Remove all loose shards by dispensing ice.
- Check if ice flow has improved before doing full cleaning steps.
Cleaning Ice Components
Once you’ve dislodged the specific ice clogs, it’s time to thoroughly clean the ice bin, dispenser tray, and all passage areas to prevent repeat clogs.
Clean Ice Bin
- Wash ice bin with warm water and mild detergent.
- Rinse bin thoroughly with clean water.
- Allow bin to fully air dry before replacing into appliance. Do not use harsh chemicals to clean.
Clean Dispenser Tray and Housing
The dispenser tray catchment is where dripping water and mineral deposits accumulate. Follow these steps to thoroughly clean the dispenser tray and surrounding housing:
- Mix warm water with a small amount of mild dish detergent in a bowl.
- Dip a soft cleaning brush or cloth into the soap mixture.
- Gently scrub the dispenser tray catchment using the soapy brush/cloth.
- Use a small bottle brush to scrub down into the dispenser chute opening.
- Rinse area thoroughly with clean water to remove all soap residue.
- Use microfiber cloth to gently dry dispenser housing area.
- Allow dispenser tray to fully air dry before reinstalling.
Clean Ice Dispenser Chute Door
- Wash plastic ice chute door using warm, soapy water.
- Rinse thoroughly.
- Wipe down with clean soft cloth.
- Allow door to completely air dry.
Never use harsh chemicals, abrasive pads or materials to clean dispenser components.
Reassembling Ice Dispenser Components
Once all components are cleaned and fully dried, carefully reassemble dispenser:
- Replace clean and dry ice bin back into freezer compartment, pressing firmly into position.
- Carefully snap dispenser chute door back onto hinge pins on underside of ice outlet. Door should close snugly.
- Slide dry dispenser tray fully back into position beneath ice chute opening. Press lightly to ensure locked in place.
- Note: Improperly aligned components can prevent dispenser from working.
- Turn ice maker power switch back ON and allow fresh ice to form.
- To speed up ice production, lower or remove ice arm/sensor paddle so maker goes into overdrive manufacturing fresh ice.
- Test dispenser by filling a cup with fresh ice. Ice should flow freely.
- If small fragments occasionally discharge, continue dispensing ice to eject any remaining loose shards.
Following a thorough declogging and cleaning, ice should now be dispensed correctly. But if problems resume, deeper investigation of ice makers may be needed.
By methodically cleaning both the ice bin and dispenser components, you allow fresh ice to flow freely while removing mineral and debris buildup that commonly contribute to clogged ice chutes.
Preventing Repeat Ice Dispenser Clogs
While properly clearing and cleaning your ice dispenser should allow normal functioning for months on end, recurrent clogging can still occasionally happen.
Here are tips to stop repeat clog incidents:
- Use ice frequently – Get in the habit of dispensing ice daily rather than just when needed. Frequent use prevents fusion and facilitates flow. Consider emptying and washing bin monthly.
- Install a water filter – Reducing mineral content in the water supplied to your ice maker minimizes scale accumulation within internal ice maker parts and inside the dispenser chute. Filters that use activated carbon are ideal for trapping minerals.
- Check ice maker functionality – Problems with various internal ice maker components can increase chances of ice fragments or scale bits entering and blocking dispenser chute. Make sure ice production seems consistent without unexpected sounds or issues ejecting cubes into bin. Have appliance technician examine if needed.
- Avoid overfilling dispenser – Don’t press drinking glass hard against ice chute opening when filling. Overpacking can propel small ice chips into chute where they can accumulate.
- Replace old appliances – If your refrigerator is more than 10 years old, worn components may increase the chances of broken cubes or scale build up reaching the dispenser and causing clogs. Newer appliances incorporate improvements reducing regular dispenser clogging.
When to Call an Appliance Repair Technician
While most clogs in an ice dispenser chute can be effectively cleared using the steps outlined in this article, calling in an appliance repair technician is smart in certain situations:
- Ice maker exhibits signs of malfunction such as unusual sounds or inability to reliably produce ice. There could be an underlying issue needing repair.
- Dispenser chute clogs recur and cleaning steps provide no lasting relief.
- You experience a complete lack of ice production from ice maker.
- Mineral scale or sediment buildup is severe within ice dispenser and not easily removable with cleaning. More intensive descaling procedures may be required.
- Ice dispenser components are badly damaged or warped.
- You lack the time or physical capability to perform removal and cleaning safely on your own.
Ice dispenser repairs performed by certified technicians average $200-$300. Cost varies based on specific issues needing repair as well as your appliance model.
Also Read: How to replace: Samsung refrigerator ice dispenser door assembly DA97-05368A
Key Takeaways: Clearing a Clogged Ice Dispenser
- Dispenser chute clogs often stem from infrequent ice usage allowing cubes to fuse, introduction of foreign items, or excess mineral scale build-up.
- Carefully thaw and remove fused clumps of ice from bin to relieve clogs.
- Detach and fully clean dispenser components to remove scale deposits or debris.
- Prevent repeat clogging by using ice routinely, installing water filters, inspecting ice maker operation, and replacing older appliances.
- For severe or recurring ice dispenser issues, contacting an appliance repair technician may be needed.
We hope this comprehensive guide gives you confidence to tackle ice dispenser jams yourself. Just carefully work through each cleaning step, protect components from damage, fully dry pieces before reassembly, and test ice flow repeatedly.