
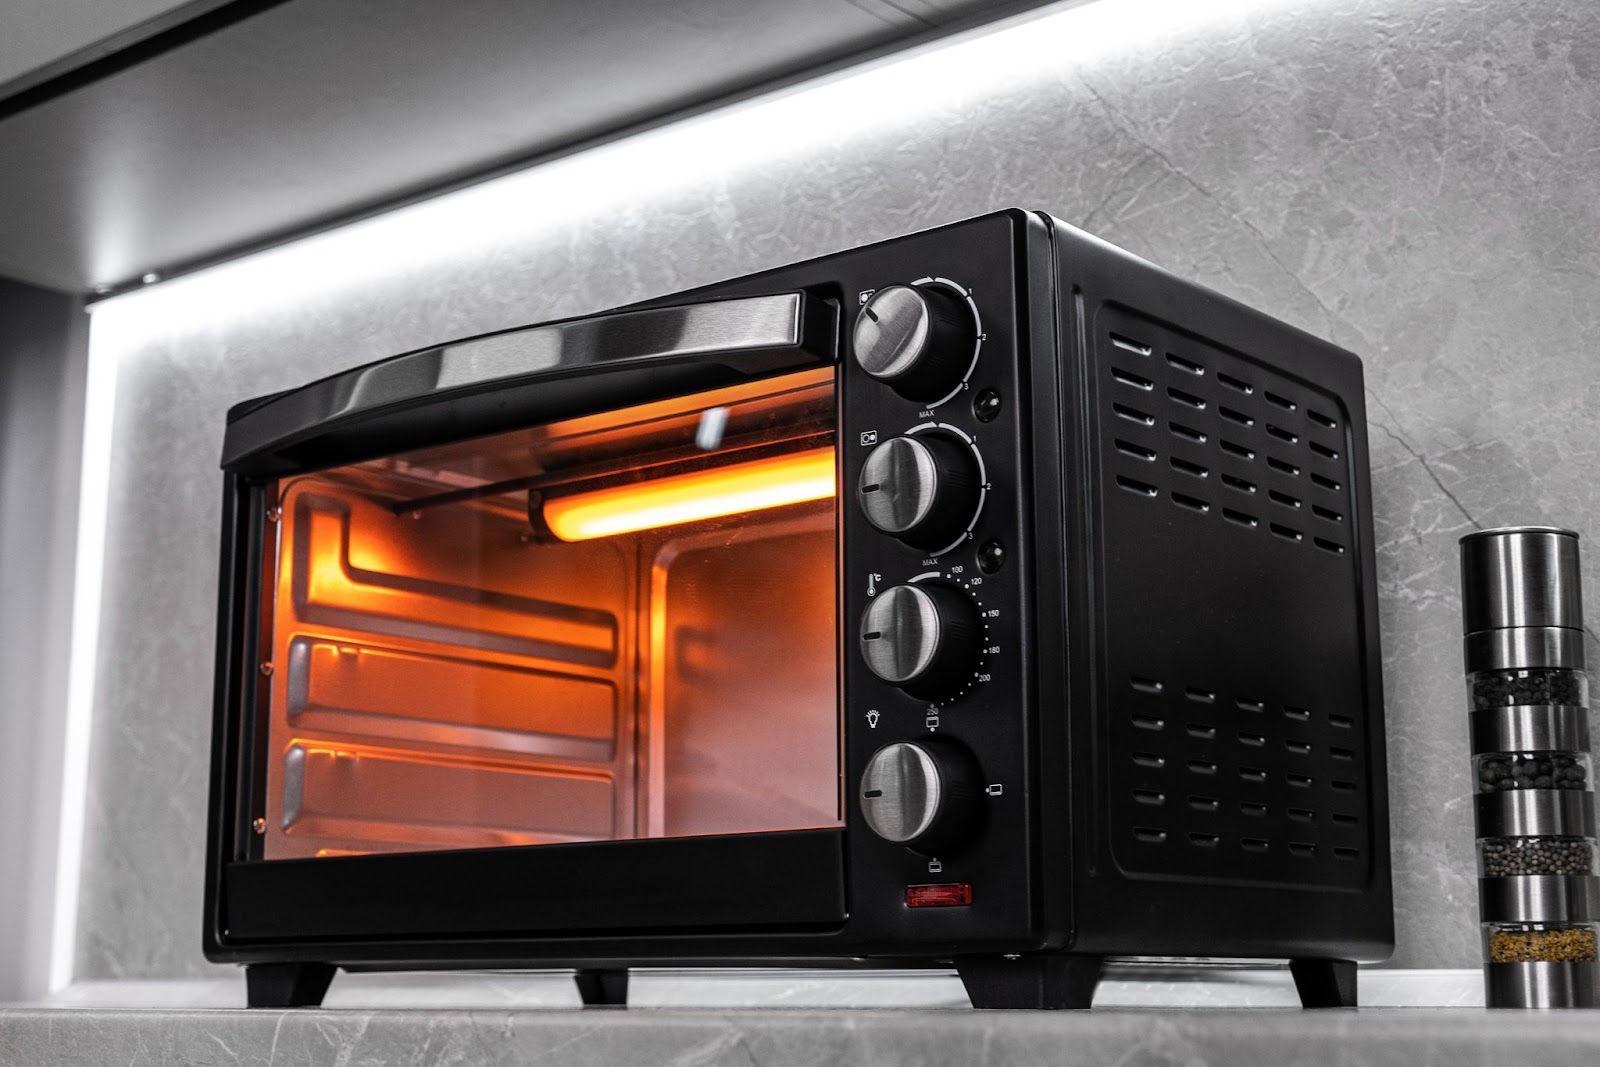
Having a broken appliance can be frustrating, especially when it’s something you use daily like a toaster oven. Not only is it inconvenient when your toaster oven timer stops working properly, but it can also lead to over or undercooked food.
Replacing the entire toaster oven can get expensive. The good news is that you can actually repair the timer yourself at home with some basic tools and a bit of know-how. This comprehensive DIY guide will teach you everything you need to fix your malfunctioning toaster oven timer in six easy steps.
Understanding Toaster Oven Timers
Before we dig into the actual repair process, it’s important to understand what the timer does and why it may stop working properly.
What Does the Timer Do?
The timer is one of the key components in a toaster oven. It allows you to precisely control the amount of time your food cooks for. Here are some of the main functions:
- Sets cooking duration for consistent results
- Automatically turns off heating elements when time elapses to prevent overcooking
- Audible beep alerts you when cooking is complete
- Displays count-up or count-down digital time
- Often incorporates toast shade settings
As you can see, it plays a crucial role in the overall operation of the appliance.
Common Toaster Oven Timer Types
There are two main types of timers found in most toaster ovens:
Mechanical timers: These contain gears, levers, and analog clockwork mechanisms. They are wound manually and don’t require batteries or electricity.
Digital electronic timers: These contain a small printed circuit board (PCB) and microchip. They may display an LED or LCD readout and run on either batteries or electricity.
Below is a comparison of the two timer types:
| Mechanical Timers | Digital Electronic Timers |
| Analog display | LED/LCD digital display |
| Wound manually using knobs | Electronic programming buttons |
| No batteries/electricity required | May need batteries or electricity |
| Gears and levers | Microchip and PCB |
| Less accurate over time | More consistent accuracy |
Now let’s go over why your particular toaster oven timer may have stopped working properly.
Common Reasons for Timer Failure
There are a few typical culprits behind malfunctioning toaster oven timers:
- Part Failure: Internal components like gears, switches, or fuses burn out or break over time. Circuit boards in electronic timers can short out.
- Power Issues: Electronic timers won’t work without electricity or batteries. Bad connections can disable them.
- Damage: Dropping or improper handling can break internal timer components.
- Wear & Tear: Everyday use over many years leads to worn out parts. Heat and grease buildup can foul mechanical parts.
Identifying the specific reason your timer has failed will help you troubleshoot and fix the issue.
Gather Your Materials & Tools
Repairing the timer on your toaster oven is considered intermediate difficulty. It requires disassembling the unit down to the internal component level.
Having the proper tools for the job will make things much easier. Here are the common household items you’ll need:
Tools
- Safety goggles
- Oven mitts & gloves
- Phillips and flat head screwdrivers
- Needle nose pliers
- Digital multimeter (for testing electric circuits)
- Replacement mechanical timer or electronic timer control board (if needed)
Additional Supplies
- painter’s tape
- paper towels
- isopropyl alcohol
- cotton swabs
- small bowl or tray (for screws and parts)
Optional items: thermal grease, soldering iron, wire cutters/strippers, helping hands, head lamp.
Safety should always come first when tackling any repair on a household appliance involving electricity. Be sure to:
- Read the entire repair guide before beginning
- Wear goggles and gloves to protect your hands and eyes
- Turn off and unplug the toaster oven at the wall outlet
- Let the unit fully cool before handling it
- Use extreme caution when dealing with any wires or components
- Keep small children and pets away from the work area
Now let’s walk through the 6-step process of diagnosing and replacing your faulty toaster oven timer.
Step-by-Step Toaster Oven Timer Repair
Follow along closely with each step below to safely troubleshoot and fix your broken toaster oven timer:
Step 1: Unplug & Disassemble
The first thing you always want to do is make sure the toaster oven is turned off, unplugged from the wall outlet, and has ample time to cool. Never work on an electrical appliance while it’s still hot or plugged in.
Next, you’ll need accessibility to the internal compartment where the timer is located. This requires fully disassembling the outer shell. Here is the basic process:
- Open door and remove crumb tray, racks, pan, etc.
- Take out any screws holding the outer case together.
- Carefully pry off the back panel. You may need to slide side panels off too.
- Front control panel will then come free. Detach any wiring harness connectors.
Be sure to organize and label any parts or screws as you remove them to aid the reassembly process later. Use your painter’s tape and permanent marker to label wires.
Step 2: Inspect Timer & Surrounding Components
With the outer shell removed, you can access the internal chamber and electronics. Locate the timer mechanism, which is often housed in the lower back section of the unit.
Closely inspect the timer and surrounding components for any visible damage:
Signs of damage:
- Burnt or discolored wires/connectors
- Melted plastic components
- Broken levers or gears
- Cracked solder joints or circuit boards
- Corrosion from leaks or grease
An easy-to-spot failure point is often where wires and connectors plug into the timer. Check for loose connections that may have resulted from vibrations during use.
Use your multimeter to test continuity of circuits and components to narrow down the source of failure. Reference the device’s wiring schematic as a guide. Replace any severely damaged wires or connectors.
If everything checks out visually, it’s likely an internal failure within the timer itself. Proceed to the next step of testing the timer further with your multimeter.
Step 3: Testing the Timer
Determining conclusively whether the timer itself is the root cause of failure requires additional diagnostic steps with your multimeter to check for continuity and electricity.
Here is a simplified process suitable for both mechanical and digital electronic timer testing:
- Test power connections – Check that electricity is actually reaching connector terminals. Rule out surrounding components as the cause.
- Check for continuity – Set multimeter to continuity mode. Touch leads to circuit paths and timer contacts. Confirm a complete circuit with beep or near-zero resistance Ω measurement.
- Bypass – Disconnect wires to timer and attach leads directly across component. If oven then works normally, it confirms the timer is bad.
Refer to your specific timer’s schematic diagram for the proper terminal locations and continuity path details. You’ll also need to identify the component’s unique electrical resistance values.
Note: If equipped with an internal fuse or circuit breaker, carefully check those components as well with your multimeter. A bad fuse can mimic a faulty timer.
After completing your tests, you should have isolated whether voltage issues, bad circuits, or the timer itself is causing the failure:
- If power is present and continuity checks out okay, proceed to replacing the timer.
- For any other result, trace back to find the broken circuit or component.
Step 4: Swap Out the Defective Timer
Once fully tested and confirmed as bad, it’s time to replace the faulty mechanical or electronic timer. You essentially need to reverse the disassembly process:
- Disconnect and label all wires from terminals
- Unscrew or unfasten timer from bracket
- Install brackets on new replacement timer (if needed)
- Attach wiring, ensuring solid contact with terminals
- Fasten timer securely into place
- Replace any damaged wires or connectors
Be extremely methodical when transferring over wires to avoid confusion. Double check that all connections are oriented correctly on the new timer before reassembly.
For electronic timers, take care when handling the integrated circuit board. Make sure to align components properly and attach any retaining brackets prior to use.
Step 5: Reassemble Toaster Oven
With your timer fully replaced, it’s now safe to reassemble the various panels and components of the toaster oven:
- Carefully position the front control board, reconnecting wiring harness connectors.
- Replace any interior crumb trays, racks, or baking pans.
- Slide outer chassis side panels back on, inserting and tightening any screws.
- Finally, reattach the back panel last.
As you put the appliance back together, periodically check that wires are not pinched or snagged. The components must properly realign without interference for proper operation.
Step 6: Test Operation
The final step involves testing normal toaster oven functionality:
- Plug unit back into wall outlet and reattach crumb tray
- Power on to check timer display/controls
- Set timer to 5 minutes and push start
- Verify that heating elements engage
- Timer should count down and beep when expired
- Toggle toast shade settings if applicable
Observe several test cycles to confirm that the newly installed timer works flawlessly. Try out all modes and settings. Verify that it accurately stops heating elements once the countdown completes.
If the timer operates erratically or the oven fails to heat properly, recheck your wiring connections. Diagnose any additional underlying issues before considering the repair complete.
Also Read: 5 Common Problems with Your Toaster Oven and How to Fix Them
Conclusion
Fixing that persistently malfunctioning toaster oven timer isn’t as complicated as it may seem. With this comprehensive DIY walkthrough, you now have all the information to complete this repair at home with basic tools.
The key is taking appropriate safety precautions, properly diagnosing the root failure cause, methodically replacing the faulty timer, and thoroughly testing operation prior to daily use.
Not only will you save considerable money by avoiding expensive technician costs, but you get to experience the satisfaction and increased self-confidence that comes from adding appliance repair your skillset.