
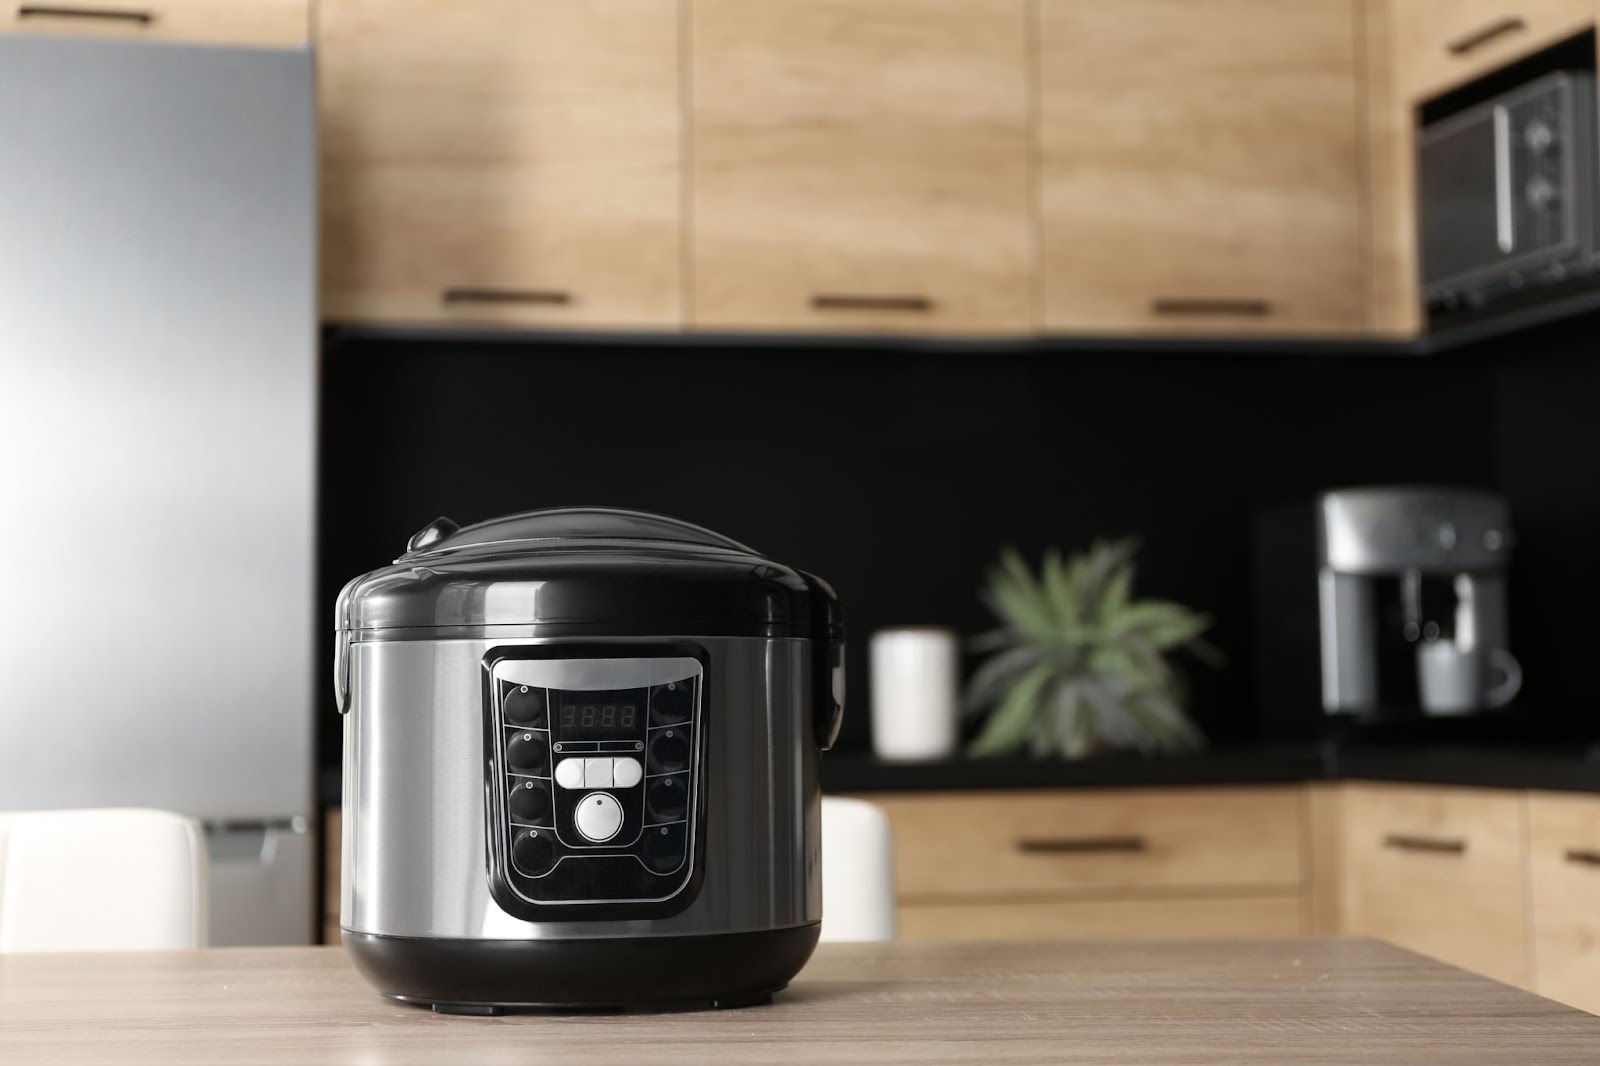
Electric pressure cookers are incredibly useful appliances that can greatly reduce cooking times for a wide variety of foods. However, like any appliance, they can develop issues that prevent them from working properly. In this comprehensive guide, we will cover the most common electric pressure cooker problems and detail proven methods to get your cooker back up and running.
Common Pressure Cooker Issues
Before we dive into resolving specific pressure cooker problems, let’s first go over some of the most common issues:
- Pressure cooker won’t seal or build pressure
- Pressure cooker loses pressure and steam escapes
- Food burns or scorches in the pressure cooker
- Food is undercooked in the pressure cooker
- Pressure cooker lid gets stuck and won’t open
- Fault code displays on pressure cooker control panel
- Unusual noises come from the pressure cooker
Knowing the basic issues will help you to more easily pinpoint the problem with your cooker when troubleshooting. Now let’s look at each problem individually and talk about what causes it and how to fix it.
Read More: Your Ultimate Guide to Small Kitchen Appliance Organization
Pressure Cooker Won’t Seal or Build Pressure
If your electric pressure cooker won’t come to pressure, the most likely culprits are:
- Damaged or dirty sealing gasket/ring
- Clogged pressure release valve
- Lid not properly closed and locked
- Faulty sensors
Let’s go step-by-step for troubleshooting a pressure cooker that won’t seal or build pressure:
Step 1: Check the Sealing Gasket/Ring
The rubber or silicone sealing ring that lines the inside of the pressure cooker lid creates an airtight environment that allows pressure to build. If this gasket is dirty, damaged, misaligned, or missing altogether, your pot won’t pressurize properly.
To check the sealing ring:
- Remove lid and take out sealing ring
- Inspect for cracks, tears, distortion, and proper fit
- Clean the ring thoroughly to remove any food residue
- Re-insert the sealing ring, ensuring it is fully seated in the channel
- Try pressurizing the cooker again
Step 2: Inspect the Pressure Release Valve
While the gasket provides the main seal, the pressure release valve is also vital for building pressure. Any obstructions or clogs in this valve can prevent proper pressurization.
To check the pressure release valve:
- Locate the float valve on the lid
- If necessary, remove the valve for closer inspection
- Clear any visible debris or gunk with a paperclip, needle, etc.
- Check that there is no damage impeding steam flow
- Reattach valve and test pressurization
Step 3: Ensure Lid is Closed Properly
If the quick release valves, gaskets, and other components check out okay, the issue could be that the lid isn’t correctly installed and locked into place. Pressure cookers utilize various lid locking mechanisms to securely contain the pressurized heat and moisture.
To check lid closure issues:
- Read owner’s manual to understand correct locking procedure
- Make sure handles and locks properly aligned and tightened down
- Check all closure points, like hinges and lid rim, for obstructions
- Listen and look for hissing steam from any gaps in the seal
- If present, further tighten lid locks until no steam escapes
Step 4: Test Sensors and Safety Features
Finally, if there are still no signs of pressure building after addressing the previous trouble areas, there may be problems with internal electronic sensors or safety mechanisms not allowing the pot to pressurize.
To check sensors and safety features:
- Consult owner’s manual for built-in diagnostics like error codes
- Contact the manufacturer to inquire about troubleshooting tests
- Consider taking to authorized repair center for diagnosis
- Discuss purchase of replacement electric pressure cooker
Be extremely cautious about overriding any safety mechanisms yourself, as tampering could make the pressure cooker prone to dangerous malfunctions under pressure.
Pressure Cooker Losing Pressure and Steam Escape
If your electric pressure cooker successfully builds pressure but then loses it over time, there are a couple likely problems areas:
- Damaged or dirty sealing ring
- Obstructed pressure regulator
- Physical stress cracks in cooker body
Here are the steps to stop your pressure cooker from losing pressure:
Step 1: Replace Sealing Ring
Much like issues pressurizing in the first place, a damaged or soiled sealing ring is often why pressure cookers lose pressure as well. Follow the gasket cleaning and replacement steps covered earlier.
Step 2: Check Pressure Regulator
The pressure regulator, also called the pressure relief valve in some cookers, is designed to release small bursts of steam if the interior pressure exceeds the cooker’s rated PSI. Debris getting lodged under this valve can cause it to open prematurely.
To clear regulator obstructions:
- Remove any external pieces to access the regulator
- Use a toothpick to gently scrape any encrusted food
- Blast with compressed air to clear passages
- Make sure regulator/valve moves freely when reattached
Step 3: Inspect for Cracks
With the sealing components addressed, persistent pressure drops likely mean there are physical cracks or gaps in the pot itself, causing steam seepage.
- Closely check lid, handles, rim, and cooker body
- Wipe surfaces clean and spray with soapy water
- Bubbles indicate points where steam and pressure escape
- Contact support about replacement pots if cracks can’t be resolved
Pro tip: Avoid extreme temperature fluctuations when using your pressure cooker, as intense heating and cooling cycles can lead to expansion stress cracks more quickly.
Food Burns or Scorches in Pressure Cooker
Nothing’s worse than opening your pressure cooker expecting delicious and tender meat or veggies only to find everything blackened and stuck to the pot instead. Here are some reasons why your pressure cooked food might be burning:
- Insufficient cooking liquid
- Incorrect pressure release method
- Food debris stuck to bottom of pot
- Food not elevated from very bottom
Let’s explore methods to stop scorching:
Step 1: Use Appropriate Liquid
Having the right amount of moisture is key for pressure cooking since the steam transmits heat to the food. Too little liquid leads to burning. Check a recipe to see how much broth, water, sauce, etc you should be using.
As a general rule for meat, poultry or veggies:
- 1 cup liquid for under 30 minutes cook time
- 1 1⁄2 cups for 30-45 minutes
- 2 cups for over 45 minutes
For grains like rice or quinoa:
- 1:1 ratio of grain to liquid (ex. 1 cup uncooked rice = 1 cup water)
Step 2: Release Pressure Properly
How you release pressure after cooking also impacts scorching. Quick pressure releases can cause leftover liquids still bubbling on the bottom of the insert to concentrate and burn.
- Use natural release method as much as possible – allow pressure to come down gradually over 10-20 minutes. This gives the remaining steam time to redistribute condensation evenly as pressure lowers slowly.
- When quick releasing, immediately lift insert from heating element when steam stops and add a few tablespoons of liquid to evenly redistribute and prevent burning.
Step 3: Clean Cooker Bottom
Over many uses, food debris can accumulate on the bottom plate or inner pot which leads to scorching.
- Regularly hand wash electric pressure cooker liner according to manufacturer’s instructions
- Remove all stuck on debris; soak in hot water or baking soda if needed
- Avoid abrasive scrubbers which can damage nonstick layer
- Ensure no debris remains before next use
Step Step: Elevate Food From Bottom
For dishes prone to scorching like rice, beans or meat:
- Use a stainless steel steam rack/trivet with feet to lift food off very bottom of pot
- Fill water below rack to at least minimum line
- Frozen foods more prone to sticking – only cook from thawed
Food Undercooked in Pressure Cooker
Troubleshooting undercooked dishes in your electric pressure cooker involves inspecting a few key components and functions:
- Was full pressure actually reached?
- Are the cook times accurate?
- Is the heating element delivering enough heat?
Here is a step-by-step guide to pinpoint why your pressure cooker food is undercooked:
1: Check Pressure Level
- Most cookers default to high pressure but confirm what level your recipe needs
- Listen for the pressure indicator valves to start gently hissing steam – sign pressure has been achieved
- If valve isn’t active, refer to troubleshooting steps for pressurization problems
2: Confirm Cook Time
- Check if cook time aligned to recipe instructions based on pressure cooker size
- Use manufacturer guidelines for time adjustments
- Allow for variance based on food density and quantity
- Use food thermometer as doneness guide when available
3: Test Heating Mechanism
If full pressure was reached for the proper cook duration, the undercooking may be due to lower temperature. Test heating in a couple ways:
- Slowly bring clean water to pressure – check cooker doesn’t exceed 15 psi which indicates weaker burner
- Use an oven thermometer to check time and temp to reach pressure
- Consider replacing liner for better heat conduction if heating element is fine
Getting to know your cooker’s normal pressure building times and testing PSI will help identify issues with the heating mechanism that could lead to undercooking.
Pressure Cooker Lid Gets Stuck and Won’t Open
It can be incredibly frustrating when you successfully pressure cook a delicious meal only to have the lid remain firmly stuck closed afterwards! Common culprits for stubborn lids include:
- Residual pressure still trapped inside
- Debris interfering with safety lock mechanisms
- Broken or misaligned lid components
Follow these tips to get that pesky pressure cooker lid open again:
Step 1: Release All Pressure
Before attempting to open the lid, first ensure that:
- All internal pressure has been fully released through valves
- The pressure indicator pin has visibly dropped signaling depressurization
- Small openings like pressure regulator are clear of debris
If certain your model is already fully depressurized, move on to the next steps involving the locks and latches.
Step 2: Clean and Lubricate Locks and Latches
Food residue and grime interfering with lid opening mechanisms is often the reason for stuck lids. Help avoid this by:
- Regularly wiping down lid rims and lock points that make closure contact
- Using manufacturer recommend lubricants on rubber gaskets and pins
- Avoid spraying cleaners directly into openings like pressure valves
Proper cleaning and lubrication ensures components efficiently release as designed after cooking finishes.
Step 3: Inspect Lid for Damage
With gaskets clean and pressure confirmed released but lid still not budging, closely inspect lid parts:
- Check hinges and locking arms for cracks or breakage
- Ensure springs and latches that release lid can fully compress and open
- Test components by manually pressing them as if pressure was released
- Replace damaged parts like handles, hinges and locks allowing lid to fully open
Avoid prying lids open beyond their maximum designed angle or capacity for damage. Call manufacturer support if unable to resolve stuck lid for service recommendations.
Electric Pressure Cooker Fault Codes
Many modern electric pressure cookers contain digital controls and safety features which self-diagnose issues. Fault codes and other errors displayed on LCD screens point to specific problems detected:
Common electric pressure cooker fault codes:
- E1 – Pressure sensor failure
- E2 – Overheating due to restricted airflow
- E3 – Over voltage to heating element
- E4 – Thermal cutoff limit reached
- E5 – Button failure on control panel
- E6 – Open circuit in wiring detected
Here is how to interpret fault codes:
1: Locate Code in Manual
- Check owner’s guide for a listing and meaning of various device codes
- Details which part or safety mechanism is affected
- Provides guidance on user maintenance steps when applicable
2: Troubleshoot Issue
- For codes indicating component failures like sensors or heating elements, the appliance may need service or replacement parts
- For issues like overheating or power fluctuations, steps may include inspecting venting, cords, outlet voltage etc.
- Run any built-in electrical test modes if available to further diagnose
3: Reset and Retest
- After addressing possible root cause for code
- Perform any reset procedures described in manual
- Power cooker back on to see if code persists
- Call authorized service center if error still repeats
Follow troubleshooting steps carefully for electronic fault codes to avoid damage from overriding helpful built-in safety warnings. Consider product replacement if error signals internal electrical issues.
Unusual Noises From Pressure Cooker
Hearing odd sounds like hissing, popping or rattling coming from your electric pressure cooker understandably raises alarms about potential problems or failures. However most noises have logical explanations:
- Hissing – Pressure releasing through valves, ensure clears in few minutes after cooking
- Popping/light crackling – Condensation and residual liquids boiling off heating element
- Rattling lids – Loose components like float valves or vent caps
- Clicking – Typical operation of thermostats and heating switches
Here is how to interpret common pressure cooker noises:
Step 1: Locate Noise Source Area
Unusual sounds muffled inside the sealed pot can make identifying the location of origin difficult. Try these tips:
- Get very close to various points on cooker like lid top, handles, side body while noise occurs
- Cup hands around parts like ears to amplify and isolate sound
- Have another person listen simultaneously from different angles
- Gently touching potential source points may alter sound qualities
Pinpointing the sound area will help diagnose root cause.
Step 2: Compare Sound to Known Issues
- Consult owner’s manual or online guides for descriptions of standard noises made by your model
- Match to similar audio clips for context
- Understanding usual sounds will help rule out normal operation
- Consider calling support hotlines to inquire about strange noises if uncertain
Step 3: Address Noise Concerns
- For minor sounds like light clicking or hissing, make notes to monitor frequency and listen for changes
- Check areas like vents and valves for debris interfering with openings and seals
- Have manufacturer authorized tech listen and suggest repairs or replacement parts if noise points to failure of components
Don’t hesitate contacting the maker of your pressure cooker for assistance interpreting noises and next steps if they persist.
Preventing Future Electric Pressure Cooker Problems
Many difficulties with electric pressure cookers can be minimized by employing some preventive maintenance steps:
- Fully depressurize before attempting to remove lid to avoid accidents
- Clean pot and sealing components after each use to prevent food buildup
- Check valve openings and vents for obstructions before cooking
- Ensure any accessories like racks or pans correctly positioned
- Read owner’s manual warnings carefully
- Maintain all gaskets, handles and lids according to manufacturer directions
- Use non-abrasive cleaners and scrub pads on inner pot to keep undamaged
- Check cords and plugs for fraying or heat damage from stove contact
- Ensure pressure cooker properly level on burner
- Add sufficient cooking liquid for food type as moisture carries heat
- Store lid securely on pot with all valves and gaskets in place when not in use
Additionally, here are tips to head off overheating, scorching and cook time issues:
- Adjust recipes and cook times based on altitude
- Don’t overfill inner pot beyond marked lines
- Ensure venting pathways remain clear during operation
- Stop cooker immediately if signs of excessive steam release
- Don’t leave cooker completely unattended for long cooks
- Discontinue use if any failure warning or faults display
Learn your electric pressure cooker’s normal indicators like pressurization duration, hissing noises and smell. This makes abnormal events easy to identify so minor issues don’t escalate. Carefully follow manufacturer usage, safety notices and maintenance guidance.
When to Replace an Electric Pressure Cooker
While many problems with electric pressure cookers can resolved with troubleshooting and repairs, there comes a point when purchasing a replacement appliance may be the wisest – and safest – option.
Consider a new electric pressure cooker if:
- Device over 10 years old
- Manual is lost and date of purchase unknown
- You can no longer identify brand or model
- Parts are no longer available through manufacturer
- Significant visible cracks, dents or distortions of inner pot and lid
- Major failure codes display that can’t be reset
- Startup process repeatedly fails despite troubleshooting
- Newer improved safety mechanisms now available
The specialized electrical systems, heating elements, wiring, circuit boards and emission valves mean repairing consumer electric pressure cookers is best left to authorized technicians.
If your cooker exhibits multiple or recurring failures, or is simply aging, investing in more efficient replacement models with the latest convenience and safety updates is ultimately the smarter – and tastier – choice!
Also Read: Pressure Cooker Ultimate Guide for Beginners
Conclusion
Identifying and resolving common electric pressure cooker problems largely comes down to methodically eliminating variables until the root cause is clear. Follow these best practices to keep your cooker operating safely and cooking delicious meals for years of reliable service:
- Bookmark pressure cooker troubleshooting guides for reference
- Clean components thoroughly after each use without harsh chemicals
- Check valves and openings for debris before cooking
- Ensure sealing gaskets well maintained and aligned
- Use recommended lubricants on closure parts
- Note error codes and unusual sounds for manufacturer guidance
- Carefully elevate and position food to prevent scorching
- Adjust recipes for proper ingredients and cook times
- Research replacement cookers when multiple failures occur
- Enable safety features like auto-off if available
Electric pressure cookers may seem complex but approaching issues systematically makes troubleshooting manageable. Understanding the common problems these appliances encounter will give you confidence to handle anything that steams your way!