
Dehydrating food at home has become an increasingly popular way to preserve fruits, vegetables, meats, and herbs for long-term storage. Using a dehydrator allows you to make tasty dried foods that retain more nutrients compared to other preservation methods.
However, like all kitchen appliances, dehydrators can accumulate food residues, oils, and microbes over time. Failure to properly clean your dehydrator can lead to contaminated food and ruined batches. That’s why it’s essential to clean your dehydrator thoroughly after each use and to do occasional deep cleans.
This comprehensive guide covers tips, tricks, and step-by-step instructions for keeping your dehydrator spotless. From quick post-use wipedowns to intensive sanitizing, you’ll learn proper dehydrator cleaning methods to maintain your appliance in optimal working order. Let’s get started!
Cleaning After Each Use
While deep cleans tackle built-up messes, a quick post-use wipedown keeps your dehydrator from getting too dirty. Follow these steps after each drying session.
Remove Trays and Accessories
All removable parts should be taken out of the dehydrator chamber for better access while cleaning.
- Open chamber: Unlatch the door and fully open up the dehydrator.
- Remove trays: Carefully stack and remove all mesh liner trays, fruit roll sheets, and any accessories like jerky racks. Set aside.
- Take out drip tray: Locate the pull-out drip tray at the base of the unit and gently slide it out to remove any liquid residue.
- Discard food debris: Check liner trays and drip tray for any remaining bits of food. Throw away dried debris stuck to these parts.
Wash Removable Parts
Warm water and mild dish detergent easily remove visible residues from accessory components.
- Fill sink: Set up a wash station by filling one side of a divided sink with warm water. Add a small amount of eco-friendly detergent.
- Soak parts: Submerge trays, liners, and drip tray fully in the soapy water. Let soak 5-10 minutes.
- Scrub gently: Use a soft sponge, cloth, or brush to gently scrub surface of parts, lifting away any remaining food bits.
- Rinse thoroughly: Transfer items to the clean water side and rinse until suds disappear. Check crevices for hidden debris.
Wipe Down Interior
Quickly wiping away moisture prevents it from drying into sticky residue inside the dehydrator enclosure.
- Remove large debris: First check corners, cracks, and crevices for any remaining dried food pieces. Discard appropriately.
- Dampen cloth: Run a lint-free microfiber cloth under warm water. Wring thoroughly so it’s damp but not dripping wet.
- Wipe interior: Carefully wipe down the interior chamber walls, door, heating element, and rear vents. Remove visible moisture and debris.
- Dry with towel: Use a separate, dry towel to soak up any excess moisture on interior surfaces.
Dry Components Thoroughly
Allowing parts to air dry prevents moisture buildup that enables mold growth.
- Drain excess water: After rinsing removable parts, allow excess water to drain off for a few minutes. Gently shake or blot with towel.
- Air dry components: Reassemble tower trays and stack in dish rack, liner trays sideways. Leave out to completely air dry for 1-2 hours minimum.
- Dry interior chamber: Prop dehydrator door fully open until interior is completely moisture-free before next use, at least overnight.
Read More: How to Maintain Your Food Processor
Deep Cleaning
For optimal performance, do a thorough deep clean every 5-10 uses to sanitize all surfaces and remove mineral buildup.
Disassemble Dehydrator
Take apart all modular components of your dehydrator for easy access to every surface during intensive cleaning.
- Remove accessories: Take out all trays, liners, racks, drip tray, and other parts from drying chamber.
- Release back panel: Carefully pry off or unscrew rear panel if possible to access fan and vents (see manual).
- Check connections: Inspect points where accessories detach from the base. Clean any visible debris from connections.
- Split heating element: If possible, disconnect and remove heating element of a dehydrator for separate cleaning (see manual).
Wash All Parts
Target stubborn, stuck-on messes by letting removables soak before scrubbing and rinsing.
- Fill sink: Prepare a wash sink as before with warm water and eco-friendly detergent. Fill second side with clean water for rinsing.
- Soak accessories: Submerge liner trays, drip trays, and other removable plastic/silicone parts in soapy water. Soak 15-30 minutes.
- Soak heating element: Submerge detached heating element in separate bowl with detergent solution. Let soak 15-30 minutes.
- Scrub & rinse: Use soft brush or sponge to gently scrub all parts, lifting debris from crevices. Rinse thoroughly. Repeat if needed.
Clean Heating Element
Buildup on the heating element can lead to uneven drying or machine failure.
- Check connections: If possible, remove heating element for better visibility (see manual). Inspect points connecting wires to element for corrosion.
- Scrub gently: Use soft-bristle brush dipped in detergent to gently lift debris from element surface, especially near wire connections.
- Rinse thoroughly: Rinse heating element under running water until suds disappear. Allow to fully air dry 1-2 days before reattaching.
Clean Fan and Vent
Dust and debris easily accumulate around the motorized fan and ventilation system.
- Access fan: Remove rear panel to expose fan and back vents. Use flashlight to inspect.
- Loosen buildup: Use canned air duster held 6 inches away to dislodge dust and debris around fan blades and vent openings.
- Wipe with swabs: Wrap cotton swabs in microfiber cloth. Dip in rubbing alcohol. Gently clean crevices around fan motor and wires.
- Sanitize vents: Use swabs dipped in alcohol to gently wipe vent slats. Remove visible dust and disinfect surfaces.
Sanitize Interior
Cleaning the dehydrator chamber walls prevents cross-contamination between drying batches.
- Mix sanitizer: Mix nontoxic food-safe sanitizing spray according to package directions. Avoid harsh bleach solutions.
- Spray interior: Lightly mist sanitizing solution over all inner chamber surfaces: walls, corners, door, ceiling. Avoid controls.
- Set timer: Allow sanitizer to penetrate for duration specified on label, typically 1-5 minutes.
- Wipe clean: Use paper towels or clean lint-free cloth to wipe solution residue from surfaces. Discard towels after use.
Reassemble Once Fully Dry
Prevent moisture damage by ensuring no parts are returned wet.
- Dry heating element: Allow detached heating element to fully air dry 1-2 days before attempting to reattach (see manual).
- Dry accessories: Ensure liner trays, drip tray, and other parts are 100% dry before returning to chamber.
- Attach rear panel: Once fan area is dry, reattach back panel cover. Screw or snap into place securely.
- Reset heating element: Carefully realign heating element connectors before gently pressing back into chamber tightly.
Testing Temperature
Improper temperatures lead to uneven drying and unsafe food. Check calibration regularly.
Prepare Test Food
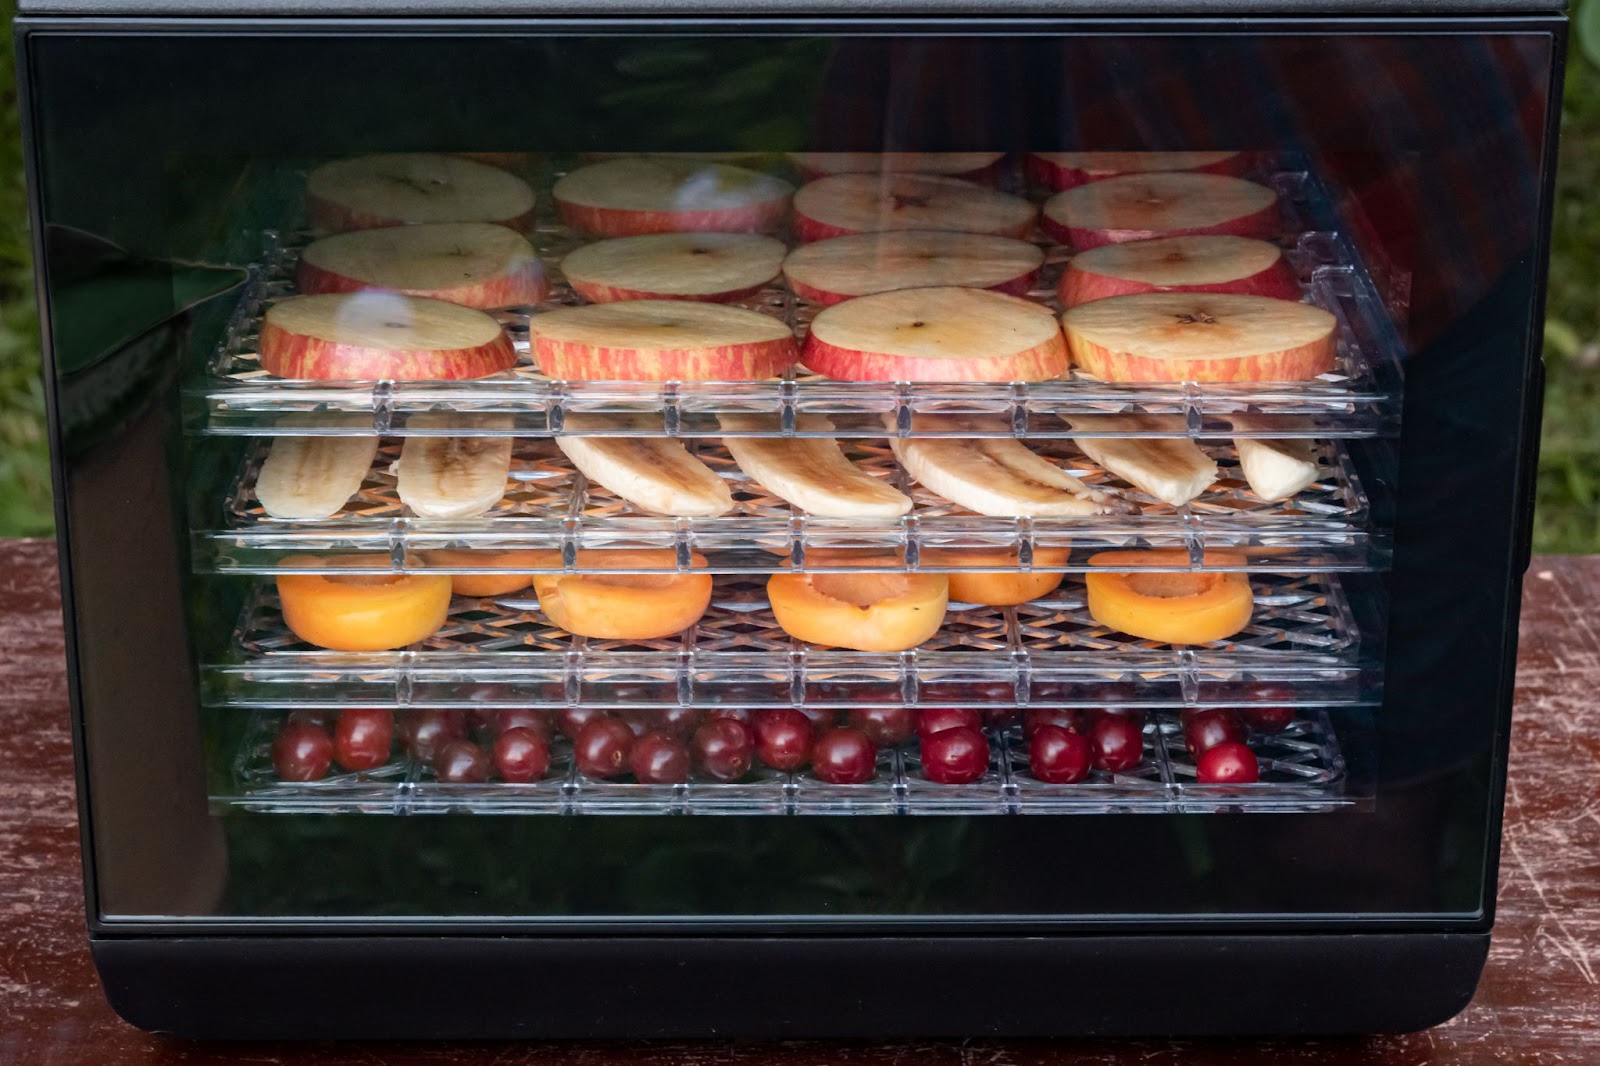
Use simple apples slices to easily gauge drying progress.
- Select apples: Choose 2-3 medium apples appropriate for dehydrating (Granny Smith, Gala, Fuji etc.)
- Wash & slice: Rinse apples thoroughly under cold water. Pat dry with paper towels. Slice widthwise into 1/4-inch rounds.
- Weigh slices: Use a food scale to weigh total apple slices. Write this number down to compare final moisture loss.
Set Target Temperature
Select an appropriate temp for testing purposes around 130°F.
- Consult manual: Check guide recommendations for optimal apple dehydrating temperature, usually 125-135°F.
- Set thermostat: Turn thermostat knob/press buttons to set chamber temp to 130°F.
- Preheat unit: Close door and turn on dehydrator, allowing interior to preheat for 15 minutes before adding food.
Monitor Drying Progress
Take note of visual doneness cues and total drying durations.
- Record start time: Note exact time apple slices were loaded into preheated chamber after temperatures stabilized.
- Check periodically: Briefly open chamber every 60-90 minutes to check apple slices appearance without allowing interior temp changes.
- Note duration: When apples are evenly dried with no moist spots remaining (usually 6-10 hours), note total time and remove from dehydrator.
Adjust as Needed
If apples dried unevenly, recalibrate unit before next test.
- Compare slices: Cut test apples in half. Check centers and edges – properly dried apples will show no moisture differences.
- Troubleshoot: If apples weren’t evenly dried, consult manual for calibrating thermostat to solve temperature fluctuations.
- Retest: Run calibration test again using corrected thermostat setting to confirm temps before dehydrating other foods.
Maintenance
Keep your appliance running safely for years with simple preventative care between uses.
| Task | Frequency | Instructions |
| Replace Filters | Every 5-10 Uses | Check mesh screens on back vents and replace if blocked with dust and debris |
| Test Thermostat | Every 3 Months | Ensure chamber reaches appropriate temperatures by running test batches 1-2 times per quarter |
| Inspect for Damage | Before Each Use | Check power cords, doors, trays, heating element etc. and refrain from using if any issues are found until repaired |
| Store Properly | After Each Use | Ensure appliance is fully dried out internally before closing up in a clean, dry location away from heat sources or water contact |
Also Read: Food Dehydrator Essentials: 10 Reasons of Having One
Conclusion
By regularly cleaning your dehydrator’s various components and periodically performing deeper maintenance, you can keep your appliance running like new for years to come. Proper dehydrator cleaning also improves the safety of your dried goods by removing contaminants.
Implement these best practices right away, starting with quick post-session wipedowns and working up to thorough sanitization of all surfaces. Refer back to this guide anytime your machine needs a refresh.