
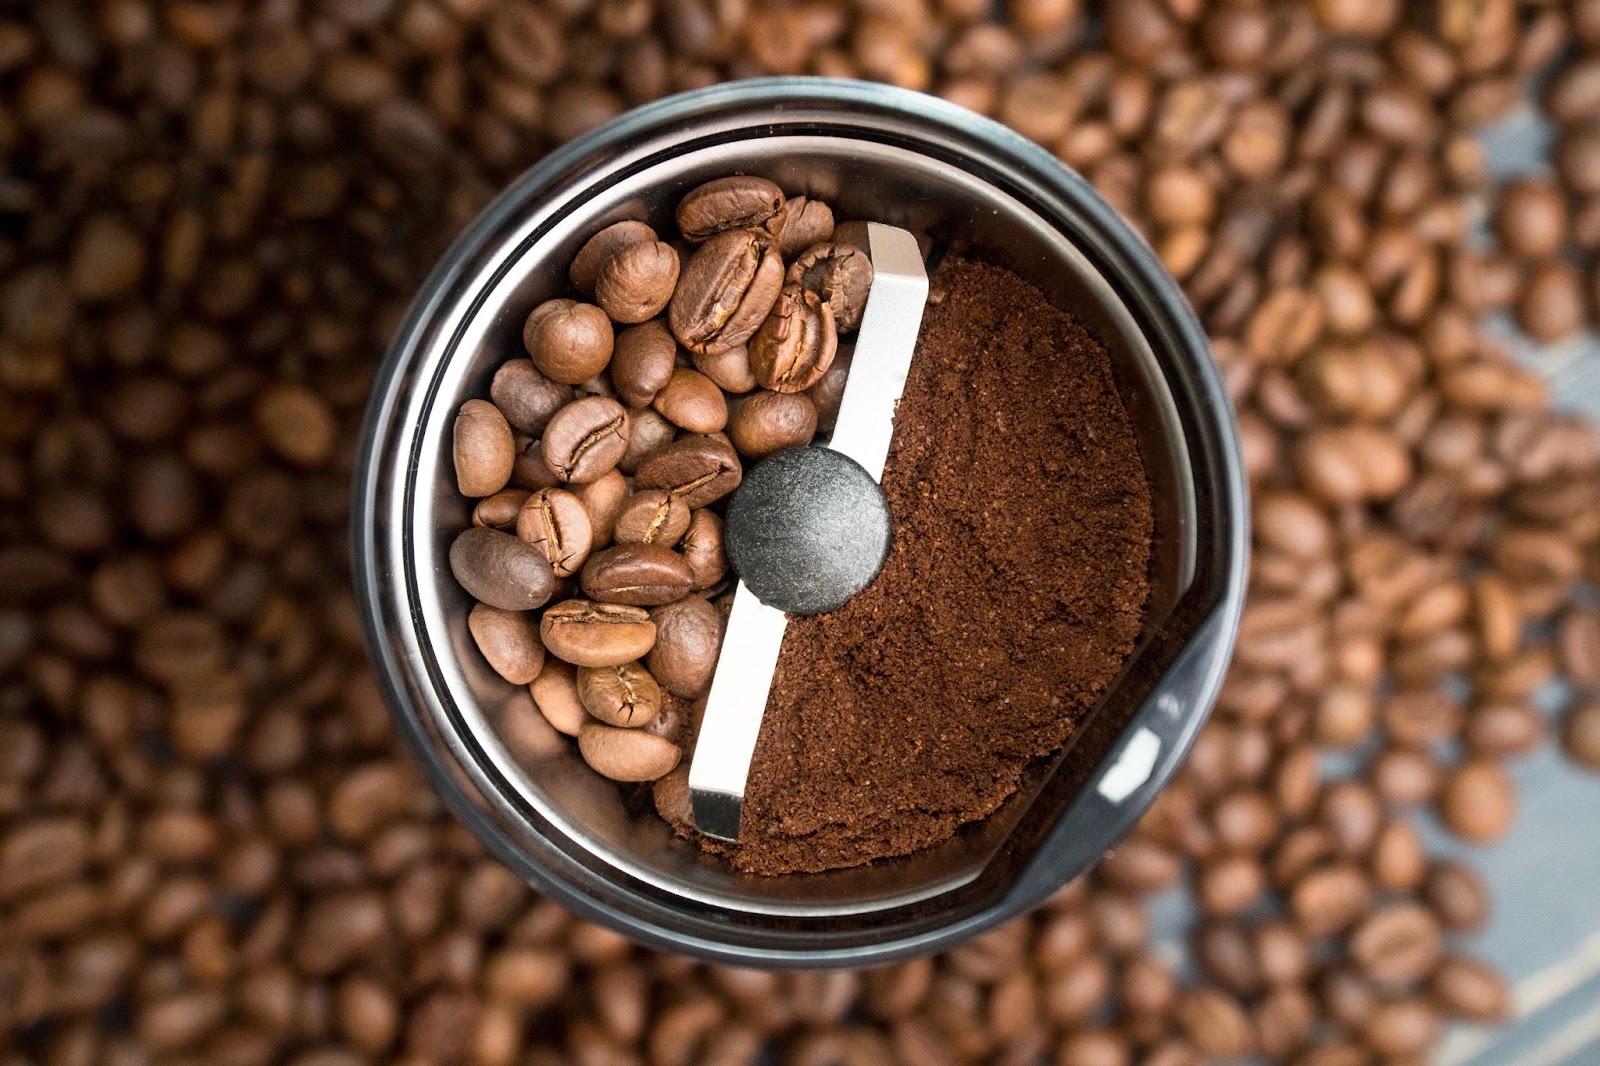
A clean coffee grinder is essential for getting the freshest, tastiest cup of coffee every time. When oils and coffee particles build up in your grinder, it affects the flavor and aroma of your coffee. Cleaning your coffee grinder regularly removes rancid coffee oils, eliminates smells and tastes that can transfer from one batch of beans to another, and helps your appliance last longer.
This comprehensive guide will walk you through everything you need to know to keep your coffee grinder sparkling clean and working its best, step-by-step.
Supplies You’ll Need
Before diving into the cleaning process, you’ll want to gather the following supplies:
- Brush or small vacuum attachment to remove coffee grounds
- Dish soap or grinder cleaning tablets
- Water
- Small non-abrasive sponge
- Cotton swabs
- Soft lint-free cloth
- Coffee filters
- Toothpicks or pipe cleaners (to reach small crevices)
Step 1: Remove Beans and Ground Coffee
The first step is to remove any beans left in the hopper and dump out any remaining ground coffee.
- For manual grinders, simply lift off the handle or crank arm and dump the grounds into the trash or compost bin
- For electric models, carefully lift off the bean hopper. You may need to use a small brush or vacuum attachment to sweep out any stubborn grounds stuck in corners.
Step 2: Disassemble Components
Refer to your grinder’s manual on how to safely disassemble any removable parts. Most models require you to remove:
- Bean hopper
- Upper burr (if your grinder has one)
- Lower burr
- Grounds bin
Place the removed pieces on a towel and set aside.
Caution: The burrs are extremely sharp – handle with care. Consider placing an old towel down to avoid accidental injury.
Step 3. Wipe Out Coffee Oils and Residues
Use a small brush, cotton swabs, or pipe cleaners to gently wipe away any coffee particles, oils or residues stuck in nooks and crannies. Pay special attention to:
- The chute where the grounds exit
- Around and underneath the burrs
- Inside the grounds catcher bin
Step 4. Wash Removable Parts
Bean hoppers:
- Mix a teaspoon of dish soap into hot water and submerge any plastic hoppers to loosen residues. Use a soft sponge or cloth to gently scrub.
- Rinse thoroughly with clean water and dry completely.
Metal burrs and bins:
- Carefully wipe metal pieces with a sponge and hot, soapy water. Use cotton swabs for hard to reach areas.
- Thoroughly rinse all soap residues – metal pieces should be completely dry before reassembling.
Grounds bins:
- Use hot soapy water and a non-abrasive sponge
- If plastic, allow to air dry. Stainless steel bins should be towel dried.
Step 5. Deep Clean Interior Components
For electric grinders, you’ll need to clean inside the grind chamber itself once components are removed.
Use grinder cleaning tablets:
Grinder cleaning tablets available on Amazon dissolve and loosen stubborn, stuck-on residues.
- Simply drop a tablet in with a bit of water and run your grinder for 30 seconds.
- Brush tablet/water solution over interior with a small brush and let sit overnight.
- In the morning, run grinder until chamber empties.
Alternatively, scrub manually:
- Prepare warm, soapy water and dip corner of cloth or sponge inside. Gently scrub interior of grinder.
- Use cotton swabs, pipe cleaner to dislodge hard-to-reach spots.
- Rinse chamber thoroughly before drying.
Caution: Avoid water dripping near any electrical components or motors to prevent short-circuiting. Consider covering motor with small towel as you clean.
Step 6. Degrease Burrs
Even after washing, coffee oil residues can still cling to the grinder burrs. Use one of these methods:
Degrease with grinder cleaner
Look for burr-cleaning powders or tablets made specifically for the task. Add to empty grinder as per package instructions. The cleaner will absorb old coffee oils so they wipe away much easier.
Use isopropyl alcohol
For stubborn oil stains on burr surfaces, dip cotton swab or pipe cleaner in rubbing alcohol. Gently rub stains until they dissipate. Allow metal burrs to completely air dry before reassembling.
Try baking soda
For light oil residues, make a paste of baking soda and just enough water to form a thick solution. Carefully scrub paste onto burrs using toothbrush or cotton swab. Rinse thoroughly.
Step 7. Freshen With Rice Or Coffee Filters
To eliminate any lingering odors and absorb excess moisture:
- Place a handful of rice or 1-2 coffee filters inside the now-empty grinder
- Run the grinder for 10-20 seconds so rice grains or filters can scour the interior
- Dump out the rice mixture or filters
Voila – your coffee grinder should now smell as fresh as new!
Step 8. Reassemble the Grinder
Once all pieces are completely dry:
- Replace burr(s), grounds catcher and hopper according to the manufacturer’s instructions
- Replace lid
- Consider running 2-3 tablespoons of rice through the grinder to remove any last residues
- Your sparkling clean coffee grinder is now ready for wonderful, fresh coffee once again!
Best Practices to Keep Your Grinder Clean
Along with deep cleaning every few months, maintaining a few daily and weekly cleaning habits keeps your grinder fresh with little effort:
Everyday:
- Wipe remnants out of grounds bin
- Use a mini vacuum to suck up particles along the output chute
- Empty hopper when switching coffee bean varieties
Weekly:
- Wipe down the outside of the grinder
- Shake a few rice grains through the grinder to scrub the interior
- Check for oil build-up on burrs
Monthly:
- Soak the hopper and grounds bin in warm, soapy water
- Degrease burrs
Every 3-6 Months:
- Complete full deep clean (especially important if grinding flavored or darker roasts which leave more residue behind)
Troubleshooting Issues Caused by Dirty Grinders
Leftover coffee particles and oils don’t just make your machine dirty – they can start to affect performance. Here’s what a grimy grinder can mean for your coffee:
Grinding Problems
- Inconsistent texture
- Hiccups in grind with motor sputtering
- Higher noise levels and vibration
Taste/Aroma Issues
- Stale, rancid note
- Loss of bright, vibrant flavors
- Unpleasant bitter undertones
- Coffee absorbs smells from previous grind residues
Appliance Problems
- Beans jam
- Burrs misalign
- Grounds clog output chute
- Components corrode over time
- Motor overheats
Don’t wait until you notice changes in your delicious morning cup to clean out your grinder! By routinely deep cleaning every few months along with quick wipe-downs, you can avoid issues and keep beans grinding smoothly for years.
Conclusion
By regularly cleaning each component of your coffee grinder, you remove residues that stale the taste of fresh coffee beans and lead to appliance issues over time. While it may seem involved, a thorough deep cleaning just a few times a year keeps your grinder running in tip top shape. Pair this with quick wipe-downs between uses helps your grinder last for years of delightful coffee grinding ahead!