
A hair dryer is a daily essential for many people. However, with regular use, hair dryers can accumulate a buildup of dirt, dust, and residue over time. Not only does this affect your hair dryer’s performance and efficiency, but it can also be unhygienic if bacteria and germs build up inside the appliance.
Regular cleaning is essential to remove any debris, prevent buildup issues, disinfect your dryer, and keep it working efficiently for longer. The good news is, you don’t need fancy tools or products to clean your hair dryer properly. Just set aside 5-10 minutes and follow these easy hair dryer cleaning steps:
Step 1: Unplug The Hair Dryer
This first step is crucial – always make sure your hair dryer device is unplugged from the electrical outlet before cleaning. Be sure to unplug the cord from the wall socket so there is no chance of electric shock while you clean the appliance. Safety first!
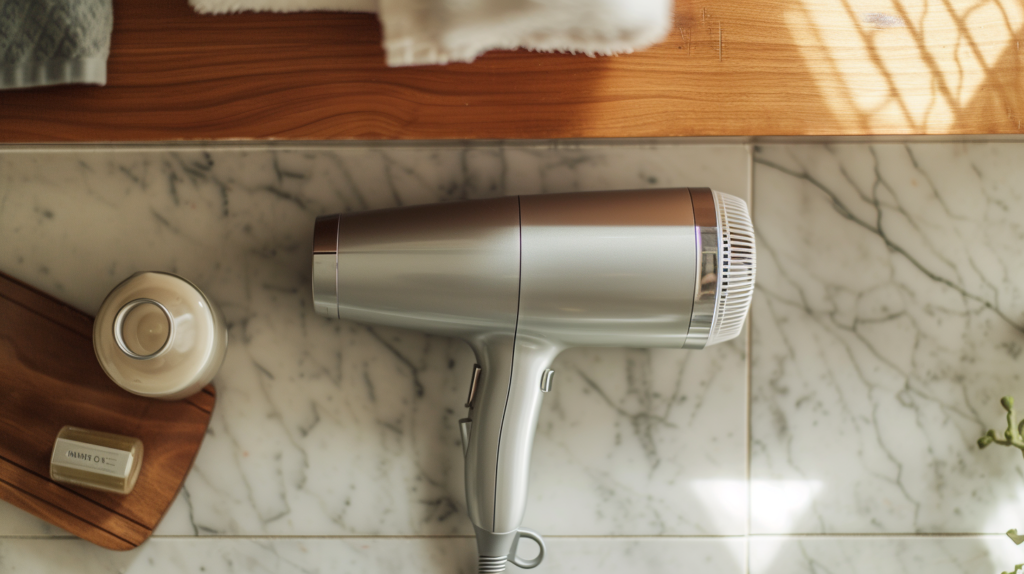
Step 2: Remove The Rear Filter
Most hair dryers have a rear filter that is removable for cleaning. This filter prevents lint, dust and hair from being sucked into the dryer motor and heating element.
To remove the filter:
- Locate the filter cover (often on the back/bottom of the handle area)
- Release the clips, screws or mechanism holding the filter cover closed
- Lift off the rear filter guard and remove the filter inside
Be gentle when removing filters to avoid cracking the plastic casing. Place the removed filter aside until needed later.
Step 3. Use A Soft Brush To Clean The Filter
The filter on your hair dryer likely contains a significant buildup of lint, dust and hair that has accumulated over time.
To properly clean, use a soft brush (an old toothbrush, makeup brush or small soft paintbrush work well):
- Gently brush the filter to remove visible debris and dust
- Rinse the filter under warm running water
- Shake excess water off and allow to air dry completely before reassembling
Avoid submerging the entire filter in water or using soap/cleaners. The soft brush combined with a rinse should be sufficient.
Set the cleaned filter aside on a towel so it can fully air dry. Never reassemble your hair dryer until the cleaned filter is 100% dry.
Step 4: Wipe Out The Filter Housing
Next, turn your attention to the interior filter housing which may have additional built up lint and dirt inside.
- Use a dry cotton swab to gently wipe out any visible debris or dust particles from the filter housing area and surrounding plastic casing
- Alternatively, you can use a soft dry cloth
- Never submerge the body of the hair dryer or use liquids – simply wipe with a dry swab/cloth
Step 5: Clean The Exterior Body
The exterior body of your hair dryer also collects dust, grease and product residue from handling over time. Give the outside case a quick clean by:
- Wiping down all surfaces with a slightly damp microfiber cloth
- Pay special attention to crevices around dials, buttons and the handle where grime collects
- Immediately follow with a dry non-abrasive cloth to remove any moisture
- Avoid getting any moisture in openings/vents during exterior cleaning
Step 6: Reassemble And Test Dryer
Once fully dry, carefully reassemble your hair dryer by replacing the cleaned filter and filter guard.
- Double check that filter is fully dry before reinstalling
- Replace any screws or clipping the filter casing back into place
- Reconnect dryer to power outlet
- Test on the COOL setting to ensure dryer turns on and air flows properly
- If airflow is reduced, gently brush filter again
And that’s it! With a regular monthly or bi-monthly cleaning, your hair dryer will run efficiently for a long time.
What Cleaning Supplies Do You Need?
Cleaning your hair dryer is simple and straightforward using items you probably have at home already:
- Old toothbrush or soft makeup brush – for brushing debris off filter
- Cotton swabs – to wipe inside filter housing
- Microfiber cloth – dampen to wipe down exterior body
- Second dry cloth – dry after exterior wipe down
Optional handy supplies:
- Small flashlight – for better visibility inside tight areas
- Small screwdriver – may be needed to access filter
- Compressed air duster – alternative for blowing out filter
Avoid abrasive scrub brushes, scouring pads, soaps and cleaning solutions which could scratch the dryer casing damage the wiring.
How Often To Clean Your Blow Dryer
To keep your hair dryer clean and working efficiently, follow this timeline:
- Before First Use – Wipe down with dry cloth to remove any factory residue
- Monthly – Quick dry wipe down of exterior body
- Every 3 Months – Thorough clean of filter, vents and casing
- Yearly – Deep clean internal mechanics
If you use your blow dryer every day or have long hair, be sure to check and clean the rear filter more frequently when buildup is visible. Cleaning every 1-2 months is ideal in high-use cases.
Keep an eye out for any reductions in airflow coming from the dryer which indicates a blocked filter that needs cleaning right away. Acting quickly when blockages occur allows you to restore peak performance.
Preventing Future Hair Dryer Buildup
Alongside regular cleanings, taking these extra precautions can prevent excessive dirt and debris accumulating:
- Use a pre-filter attachment – Fine mesh attachments prevent hair/lint from entering and clogging the dryer body
- Air dry hair slightly first – Less heat/air needed if hair isn’t fully soaked leading to less built up debris sucked in
- Point downwards when drying – Gravity causes fewer shed hairs and fibers to be ingested from ends into the airflow
- Don’t cover vents – Ensure vents have space to breathe and not covered by bedding, curtains etc when hot
- External storage – After styling, avoid shoving hot dryer into crowded drawers before it fully cools
- Check on low speed – More debris gets sucked in on higher speed/heat settings
When To Replace Your Hair Dryer
With proper maintenance, a quality hair dryer should last 3-5 years or more. However, there will eventually come a time when cleaning and repairs need to be replaced with a brand new model.
Signs it’s time to replace your hair dryer include:
- Frayed wires or cracks in casing
- Overheating
- Weak airflow even after thorough cleaning
- Frequent need to replace burnt out heating elements
- Consistently taking much longer to dry hair
- Numerous pin holes visible in hose/concentrator
Investing in a newer hair dryer with upgraded features can refresh your entire styling experience. Newer models tend to have faster drying times, less heat damage to hair, removable filters, and longer warranties too.
Key Takeaways
- Regular cleaning keeps hair dryers working efficiently and safely
- Monthly wipe downs prevent debris, dust and grime build up over time
- Careful brushing is best for removing lint/hair from rear filter area
- Exterior can be wiped with a damp cloth and dried immediately after
- Always unplug fully and ensure dries completely before reassembling
- Checking airflow and cleaning often avoids clogs and overheating
Knowing how to properly care for your blow drying tool ensures you’ll get the most out of your investment. By adding monthly dryer cleaning your routine, you can restore power and airflow keeping your locks looking sleek for years.