
Installing a portable air conditioner (AC) is a great way to cool a room when you can’t install traditional window units. Portable ACs are easy to move from room to room and don’t require permanent installation. However, while portable ACs don’t need much wiring or ductwork, there are still some key steps to proper set up. Follow this comprehensive guide to learn everything you need for safe, effective portable AC installation.
Choose the Right Location
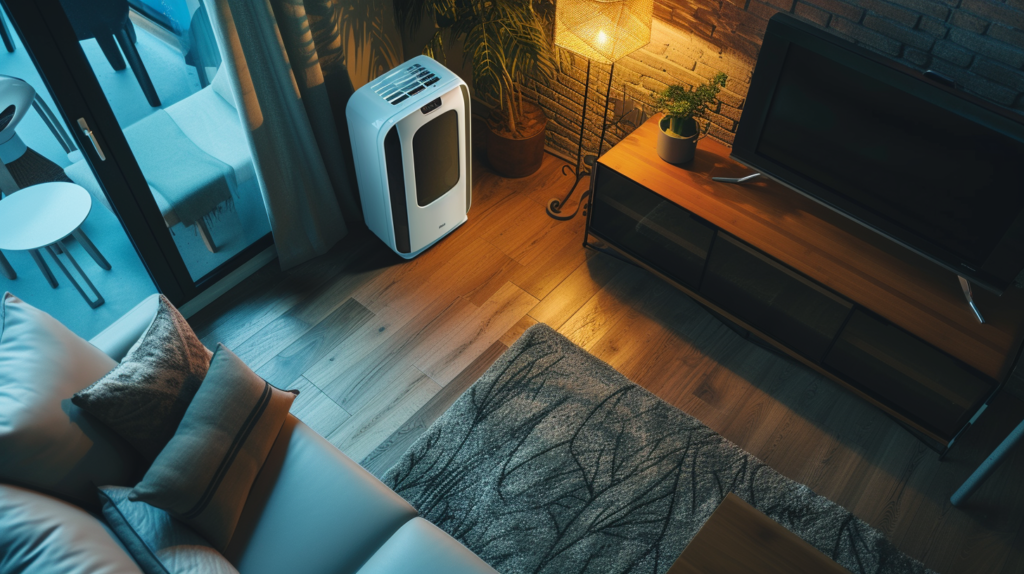
Choosing the optimal spot for your portable AC unit is crucial for functionality and efficiency.
Key Tips for Location
- Place near window for ventilation
- Allow sufficient airflow around the unit
- Be mindful of outlet locations
Consider the following when deciding on placement:
Proximity to Window
Portable ACs require ventilation via a window to work properly. When turned on, portable ACs exhaust hot air out of the room. Ensure you place the unit within reach of a window so that the exhaust hose can vent out the hot air. Most exhaust hoses are between 4 to 5 feet long.
Power Source Access
Portable ACs need to be plugged into a grounded electrical outlet to run. When placing your AC unit, ensure there is an outlet nearby that it can easily reach. Most portable AC power cords are between 4 to 6 feet long.
Avoid using extension cords if possible, as these can cause safety hazards. If you must use an extension cord, choose one rated for at least 15 amps.
Airflow and Circulation
Allow sufficient space around the portable AC unit for airflow. Most portable ACs take air in through intake vents on the side and bottom. Then cooled air circulates back out the front or top vent.
Don’t place the unit directly against a wall or furniture. Leave at least 20 inches around the unit if possible. Keep furniture, bedding, curtains or other objects away from the intake and outlet vents. Blocked vents can cause the unit to overheat or operate inefficiently.
Away from Direct Sunlight
Avoid placing your portable AC unit in bright, direct sunlight. Direct sun exposure can tax the unit, making it work harder to cool your space. Find a shaded part of the room to set up your portable AC.
Portable AC Exhaust Venting
Proper ventilation setup is imperative to portable AC functionality. Portable ACs use an exhaust hose that vents out hot air to cool a room. Setting up this exhaust system is crucial.
What You Need for Venting Setup
Most portable ACs include the following accessories needed for venting:
- Exhaust hose (usually 4″ to 5″ diameter and 4′ to 6′ long)
- Adjustable window venting kit
The window venting kit allows the exhaust hose to securely mount in a slightly open window. Kits include adjustable slides, panels, and other accessories to fit different window types.
Step-by-Step Venting Setup
Follow these key steps to properly vent your portable AC:
- Connect Exhaust Hose to Unit
- The rear exhaust outlet has an adapter that the hose attaches to. Ensure the exhaust hose clicks securely into the exhaust outlet.
- Adjust Window Venting Kit to Fit
- Each venting kit is adjustable for different types of vertical and horizontal sliding windows. Adjust the window panels to your window width and style.
- Mount Window Kit Into Slightly Open Window
- Open your window a few inches. Place the window venting kit panels into the window opening. Position so there is minimal gap between the kit and your window frame.
- Run Exhaust Out Window
- With the window kit securely mounted, run the exhaust hose from the AC unit to the window kit.
- Secure Exhaust Hose
- Many window venting kits have ports to fit the exhaust hose into the kit itself. Make sure the exhaust hose is firmly connected to the window kit to avoid leaks.
- You may wish to use gaffer tape if needed seal small gaps between window and kit edges. Take care not to overly restrict airflow.
Safety First! Secure any loose exhaust hose behind the AC unit to avoid tripping hazards. Make sure no part of the exhaust system is pinched or kinked.
Drainage Hose Setup
In addition to venting warm exhaust air out, portable ACs remove humidity from the air. This excess moisture collects into condensate water in an internal reservoir.
Portable ACs require draining this water reservoir periodically, but also utilize a drainage hose to continually drain water when the reservoir fills. Proper drainage hose setup is crucial.
Drainage System Parts
- Drainage hose: Typically 5/8″ diameter vinyl hose that attaches to back of unit
- Drainage hose adapter
- Hose clamps or zip ties
Step-By-Step Drainage Configuration
Follow these key steps for safe drainage:
- Attach Drain Hose to Unit
- Locate the drainage outlet on the back of the unit near the bottom of the machine.
- Fit the drainage hose adapter into the reservoir outlet. Use clamps or ties to secure.
- Position Hose Below Unit
- This allows water to safely drain downward into a bucket or floor drain.
- Route the drainage hose to exit behind the portable AC.
- Avoid tripping hazards by keeping the hose secure behind the unit using ties or clamps.
- Drain into Bucket, Sink or Floor Drain
- We recommend draining into a sink or existing floor drain if possible.
- Alternatively, place a bucket behind the unit to catch water. Empty bucket periodically.
Avoid Kinks: Do not bend or squeeze the drainage hose. This can block drainage and cause interior flooding. Keep any hose behind the unit neat and secure.
Power On and Configure Your Portable AC
With the ventilation and drainage system fully set up, connect and switch on your portable AC unit. Refer to your owner’s manual for specifics on the power-on sequence and settings.
Startup Steps
- Plug Into Grounded Outlet
- Connect the power cord to a properly grounded 120-volt outlet. Avoid using extension cords when possible.
- Power On Unit
- Use the power button or display panel to switch on the machine.
- Select Mode and Set Target Temperature
- Using your remote or control panel, select cooling mode. Most units have additional modes like fan and dehumidifier as well.
- Set your desired room temperature on the display. The portable AC will cool to reach this target temp.
- Adjust Louvers and Fan
- Adjust the vent louvers for optimal airflow direction into the room.
- Set fan speed according to cooling needs and noise preference.
Care and Maintenance
A bit of regular care helps ensure safe functioning and efficient cooling. Maintain your investment with these key maintenance tips!
Handy Maintenance Tips
- Empty drainage reservoir frequently
- Periodically wash air filters
- Keep vents clear of dust and debris
- Use protective cover when storing
For comprehensive preventative cleaning and checks, refer to your owner’s manual maintenance schedule.
With periodic care and upkeep, a quality portable AC can provide many years of reliable, energy-efficient cooling!
Troubleshooting Portable AC Issues
Portable ACs are generally reliable but may run into occasional issues. Troubleshoot common portable AC problems with the checklist below:
Troubleshooting Checklist
Unit Won’t Turn On
- Check power connections
- Try different outlet
- Check circuit breaker
- Try reset button
Not Cooling Properly
- Clean air filter
- Ensure proper airflow around unit
- Check temperature setting
- Make sure exhaust hose is vented
- Drain and refill water reservoir
Leaks
- Check for kinks in drainage hose
- Ensure drainage reservoir/bucket doesn’t overflow
- Examine exhaust system for gaps or disconnects
Loud Noise
- Remove debris or blockage from vents and filters
- Adjust fan speed setting
- Check stability, re-level on flat surface
Still experiencing issues? Check your owner’s manual or contact manufacturer support for further troubleshooting.
Also Read: Portable Air Coolers: Tips for Increased Effectiveness
Conclusion
Installing a portable AC is much easier than installing traditional window or wall AC units. By following the steps above for proper window venting, drainage and placement, your portable air conditioner should provide efficient, reliable cooling for your space. Just be sure to routinely drain, clean and maintain your portable AC unit. Beat the heat this summer with a high-quality portable air conditioner installed right!