
Hard water can cause numerous problems in households, from ruined laundry to scaled buildup on fixtures and appliances. Installing a water softener system is the best way to combat hard water, but hiring a plumber can be expensive. With some basic tools and DIY know-how, you can install a water softener in your home. By the end of this guide, you’ll have the knowledge to install a water softener in your home and enjoy soft water.
Benefits of Installing a Water Softener
Installing a water softener provides the following benefits:
- Protect plumbing fixtures and appliances from scale buildup
- Reduce soap scum buildup on sinks, tubs, and showers
- Make cleaning easier
- Improve efficiency of water-using appliances
- Make laundry cleaner with fewer detergents
- Leave skin and hair feeling smoother and softer after bathing
- Extend lifespan of water heater and household pipes/fixtures
How Water Softeners Work
Water softeners work through a process called ion exchange to remove minerals like calcium and magnesium from hard water. Here’s a simplified explanation of how ion exchange softening works:
- Hard water enters the softener system.
- Resin beads inside the softener trap and bind the calcium and magnesium minerals. Sodium ions from the resin are released into the water in place of the hard minerals.
- The soft water exits the softener with sodium ions instead of hard minerals.
Over time, the resin beads become saturated with calcium and magnesium. At this point, the softener needs to be regenerated to flush the hard minerals from the resin beads and recharge them with sodium ions.
Regeneration involves these steps:
- The resin beads are backwashed – salt brine solution is passed through the resin bed to flush out the trapped hard minerals.
- The brine solution recharges the resin beads with sodium ions.
- The softener system rinses the resin bed and flushes the remaining brine solution down the drain.
Now the beads are regenerated with sodium and ready to exchange ions with hard water again.
Types of Water Softeners
There are two main types of water softeners:
| Type | Description |
| Salt-Based Ion Exchange | Uses sodium chloride salt to remove hard mineral ions |
| Salt-Free Water Conditioners | Use a physical media to alter the structure of minerals to inhibit scale buildup |
Salt-based ion exchange softeners are the most common and effective type. They require regular additions of sodium chloride salt pellets to regenerate the resin.
Salt-free conditioners use a physical media like magnets or ceramic balls to alter the hard mineral ions. They don’t actually remove minerals but can help prevent scale. Salt-free conditioners have limited effectiveness compared to salt-based softeners.
For the best results, a salt-based ion exchange softener is recommended. The rest of this installation guide focuses onsalt-based water softeners.
Parts of a Water Softener System
A water softener has several main components:
- Resin Tank: Holds the ion exchange resin beads that trap hard mineral ions.
- Brine Tank: Holds the salt (sodium chloride) that is dissolved into a brine solution used to regenerate the resin beads.
- Brine Valve: Controls water flow into the brine tank to make brine solution.
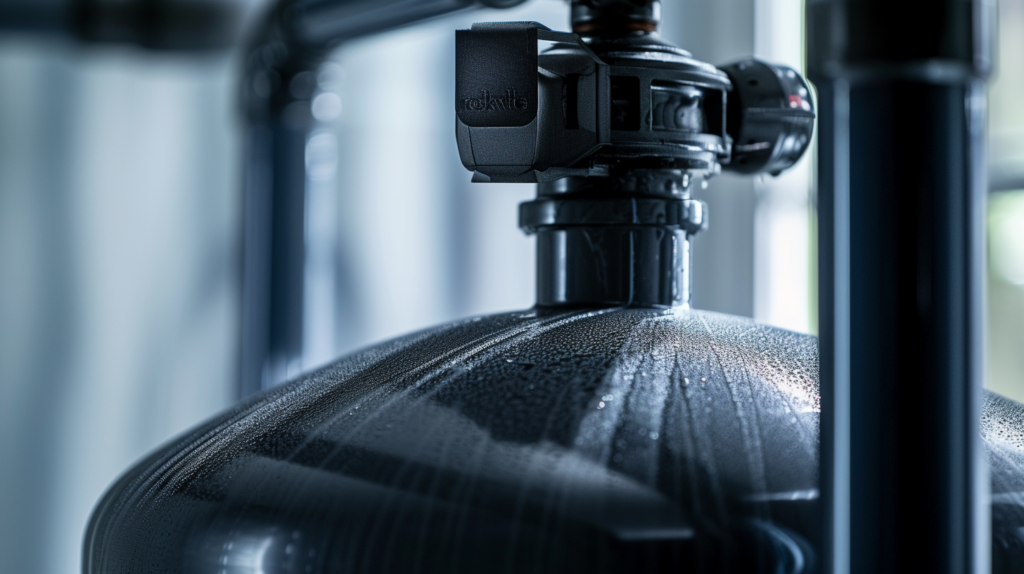
- Control Head: Houses the electronics that control the regeneration process. Allows you to adjust settings and initiate manual regenerations.
- Bypass Valve: Allows you to bypass the softener if needed for maintenance.
- Inlet & Outlet: Connections for the inlet hard water pipe and outlet soft water pipe.
Tools Needed for Installation
You’ll need the following tools on hand for installing a water softener:
- Pipe wrenches
- Adjustable wrench
- Utility knife
- Teflon tape
- Emery cloth
- Screwdrivers
- Drill with bit assortment
- Tubing cutter
- Channel locks
- Torpedo level
- Soldering tools
- Additional piping
- Sandpaper
Step-By-Step Installation Guide
Follow these steps to install your water softener:
Select Installation Location
Pick an installation location with:
- Nearby water supply lines and drain access
- Grounded electrical outlet
- Room for tanks and to walk around system
- Protection from elements like sun, dirt and rain if installing outdoors
Make sure location is in compliance with local codes.
Garages, basements and laundry rooms are common installation spots.
Turn Off Water Supply
Locate the main water shutoff valve for your home and turn off the water supply. This is usually next to your water meter.
Turn on a faucet inside your home to relieve pressure and ensure water is off.
Install Bypass Valve
The bypass valve allows you isolate the softener if needed.
Install a bypass valve kit according to manufacturer’s instructions:
- Cut into your main water line.
- Connect inlet and outlet fittings.
- Attach bypass valve to fittings.
Leave bypass valve in bypass position for now while installing.
Cut and Connect Inlet and Outlet Pipes
Measure and cut lengths of copper pipe to connect the softener system inlet and outlet to your plumbing:
- Determine inlet and outlet connection locations on softener valve.
- Measure distance from bypass valve to softener inlet and outlet ports.
- Cut pipe to correct lengths using tubing cutter.
- Deburr ends of pipes with sandpaper if needed.
- Connect inlet and outlet pipes between bypass valve and softener using elbows, tees and other fittings as needed.
Leave pipes loose enough to adjust system as needed.
Install Drain Line
Attach flexible drain line tubing to drain outlet on the back of brine tank.
Run tubing to a nearby floor drain, laundry sink, septic tank or condensate pump.
Secure tubing in place along its run to prevent tripping hazards.
Connect Brine Tank
Connect the brine tank to the softener control valve:
- Insert brine well tube into opening in salt grid plate inside brine tank.
- Connect brine line tubing from brine tank to softener valve.
- Attach overflow drain fitting to side of brine tank.
Add Water Softener Salt
Pour water softener salt into brine tank:
- Lift grid plate out of brine tank
- Fill tank with salt about 2/3 full
- Replace grid plate
The salt will dissolve over time into brine solution.
Restore Water Supply
With all plumbing connections made:
- Ensure bypass valve is still in bypass position.
- Slowly turn main water supply back on.
- Open nearest faucet and run water to bleed air from plumbing lines.
- Close faucet once all air is purged.
- Fully open inlet valve on bypass valve while keeping outlet valve closed.
Inspect all fittings and connections for leaks and re-tighten if needed.
If leaks persist, turn main water supply back off and repair connections before proceeding.
Program Water Softener
Set up the control system per manufacturer instructions:
- Initiate control setup function.
- Enter your water’s grain hardness rating based on your municipal water supply report or home testing kit results. This programs the system regeneration schedule.
- Configure any other system settings like clock time, regeneration timedelay, etc. Refer to manufacturer literature.
Test for Leaks
With water pressure restored to the system, open bypass valve fixture into service position:
- Slowly open bypass outlet valve while keeping inlet open, allowing water to flow through softener.
- Maintain bypass inlet valve in fully open position.
Inspect all connections again for leaks:
- Carefully check all solder joints, screwed pipe fittings and threaded connections.
- Confirm tightness of fittings securing tanks.
- Verify no drips at quick connections & adapter couplings.
- Ensure control valve seals tightly with no drips.
Retighten any leaking fittings. If leaks persist from pipe joints, you may need to re-solder or re-seal with thread seal tape.
Major leaks will require shutting main water supply off again to make repairs.
Initial Regeneration
Once installation is complete with no leaks:
- Manually start an initial regeneration cycle on softener system control panel.
- Allow full cycle to complete (may take 1-2 hours).
First regeneration cleans resin bed and recharges with sodium ions.
First Time Setup After Installation
With your system now installed and leaked tested, finish first-time setup:
- Sanitization: Run hot water through your pipes to sanitize plumbing system.
- Filtering: Install sediment filters on soft water outlets.
- Softener Salt: Refill brine tank with salt pellets as needed over next days.
- Hardness Test: Use test strips to validate water softness after a few regeneration cycles.
- Efficiency Check: Note salt and water usage over next week to ensure proper function.
Maintaining Your Water Softener
To keep your water softener working properly:
Add Salt
- Check salt levels monthly.
- Refill brine tank as needed, leaving airspace at top.
- Only use sodium chloride pellets made for softeners.
Test Hardness
- Periodically test tap water hardness using test strips.
- Recheck programming settings if hardness level rises.
Sanitize
- Sanitize brine tank and resin tank annually to prevent bacteria growth.
- Run sanitizer through pipes to disinfect plumbing system.
Inspect Parts
- Check tubes, connections & fittings annually for cracks or looseness.
- Clean brine valve and injector assembly if plugged.
- Replace worn gaskets, fittings & float assembly as needed.
Troubleshooting Issues
Here are some common water softener troubleshooting issues and fixes:
Problem: Hard/salty water at taps
Fixes:
- Ensure salt in brine tank and proper refill level
- Check programming settings are correct
- Manually regenerate resin and run full cycle
- Clean injectors/valve assembly if clogged with sediment
Problem: Salt bridge / mushing salt
Fixes:
- Probe salt mush to break up salt bridge
- Ensure salt type is iron-free softener salt
- Install a salt platform to prevent bridging
Problem: Leaks at fittings, joints, head or tanks
Fixes:
- Inspect problem areas closely
- Retighten fittings/connections
- Replace damaged o-rings or gaskets
- Verify correct piping; modify if needed
- Use thread seal tape when re-assembling
DIY Installation vs Hiring a Professional
You can save money by installing your softener system yourself. However, there are benefits to hiring a professional:
DIY Pros
- Less expensive
- Customize setup to your space
- Learn workings of your system
Professional Pros
- Ensures proper installation
- Licensed and bonded
- Provides service warranty
- Has professional expertise
Conclusion
Installing a water softener system involves careful planning and some intensive hands-on effort, but it can be a very doable DIY project. Properly setting up your softener will pay back huge quality of life dividends down the road in the form of easier housekeeping, brighter laundry, smoother skin and hair, and reduced scaling on fixtures and appliances. We hope this guide gives you the confidence and skills needed to tackle a home water softener system installation.