
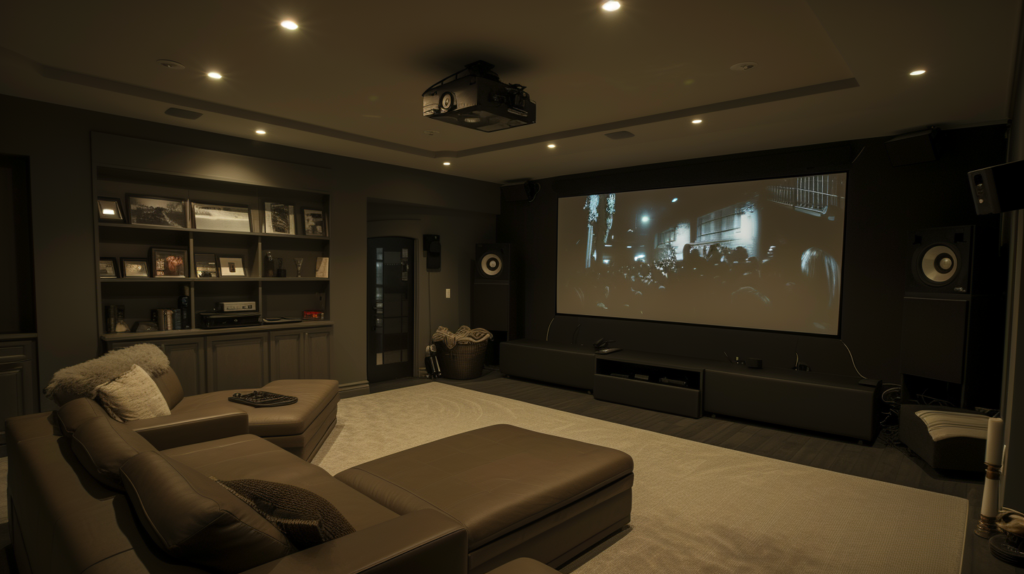
Installing ceiling-mounted projectors is an excellent way to create an immersive home theater experience. Mounting the projector above the viewing area provides an unobstructed image, saves space, and allows for a huge projected picture. This guide will walk you through the entire installation process step-by-step.
Benefits of Ceiling-Mounted Projectors
There are several key advantages to ceiling mounting your projector rather than placing it on a table or stand:
- Saves floor and shelf space
- Creates an unblocked view of the screen
- Allows for larger image sizes
- Keeps the projector out of the way
- Provides flexible positioning options
- Looks neat and professional
Freeing up space and achieving a front-on perspective of the screen is extremely beneficial for home theaters.
Choosing the Right Projector
When selecting a projector for ceiling installation, there are a few extra considerations on top of the normal image quality, resolution, and brightness specifications.
Throw Distance
The throw distance is the distance between the projection lens on the projector and the screen. This distance determines the size of the image. Make sure to choose a projector with a short enough throw distance to accommodate the screen size you want based on your room dimensions.
Lens Offset
Many ceiling projectors have a lens offset which vertically positions the image higher so you can mount the projector close to the ceiling without the image hitting the floor. Lens offset helps optimize positioning.
Zoom Lens
A zoom lens allows you to fine-tune the image size even after mounting the projector. This helps ensure your image will fit perfectly on the screen.
Vertical Lens Shift
Vertical lens shift gives you some room for error when installing by letting you adjust the vertical position of the projected image. This allows tweaking to perfectly align with the screen.
Projector Weight
Consider the projector’s weight as heavier models will require more reinforced ceiling mounts and brackets. Lighter is better for overhead installation.
Input Lag
If you plan to use your projector for gaming or fast-action videos, pay attention to the input lag time which can cause display lag. Faster response times are best for gaming.
After considering these attributes, I recommend choosing a specialized ceiling or home theater projector for the best experience. Opt for 1080p or 4K models if your budget allows.
Choosing the Right Projector Screen
A quality screen is vital for bringing out the best contrast and color accuracy from your projector.
Screen Material
The screen material determines qualities like viewing angles, gain, and ambient light rejection. I recommend angular-reflective screens that concentrate light back to the seating area for the brightest picture in a dark home theater.
Size and Aspect Ratio
Make sure to choose a screen size proportional to your room size and seating distance. Think about what movie formats you’ll use the most because home theaters are best suited for wide 16:9 aspect ratio.
Screen Format
Consider electric retractable screens to hide your display when not in use. Fixed frame screens also work well for ceiling mounting. Make sure the screen can easily be centered and aligned.
A 120-150 inch diagonal screen size works great for an immersive experience in most home theaters. Prioritize image quality and a wide viewing angle over raw size.
Pre-Installation Preparation
Completing these preparatory steps will ensure your ceiling projector installation goes smoothly:
Room Considerations
- Dimensions – Factor in room size, seating area, ceilings height when choosing your gear
- Light Control – Blackout shades/curtains to darken room
- Power Outlets – Make sure outlet accessible for projector and gear
- HVAC Vents – Avoid blowing hot/cold air on projector
Find studs
Use a stud finder to locate wooden studs in ceiling for securely mounting the bracket and projector. Mark their centers with removable tape.
Gather Tools
- Power drill
- Stud finder
- Tape measure
- Laser level
- Pencil
- Mounting bracket
- Screws and anchors
Ladder or Lift
Have an adjustable ladder or electric lift to safely access the ceiling. Determine mounting height before installing.
Cable Management
Have conduits, wire runners, or poles to run cables from AV gear to the projector in a clean and organized manner.
Preparing these items and thoroughly planning ahead makes installation much easier.
Step-by-Step Ceiling Mount Installation
Follow these methodical steps to install your ceiling projector mount bracket:
Mark Mounting Points
Based on stud locations, use a laser level and tape measure to mark where screws will go. Double-check measurements.
Drill Pilot Holes
Use a power drill to pre-drill pilot holes into the studs where screws will be inserted (drywall anchors in non-stud areas).
Fasten Mounting Bracket
Align the projector mount bracket with holes and firmly screw bracket into ceiling. Tighten bolts fully to secure.
Attach Projector to Bracket
Follow manufacturer instructions to insert the projector into the corresponding mount plate and torque thumbscrews.
Adjust Position
Gently adjust the bracket arms and pivot joints to point the projector at the screen area. Lock arms once centered.
Take your time on the ladder to position the mount correctly in relation to your screen. Visually confirm the lineup.
Projector Screen Installation Tips
Installing the projection screen is equally as important as the projector itself for an optimal viewing experience:
Wall or Ceiling Mount
Determine the optimal screen height for your room. Mount securely to wall studs or ceiling joists just like the projector.
Power and Cables
If installing a motorized screen, run the power cord to a nearby outlet. Extend 3-5V trigger cable to the projector if available.
Level and Square
Use a bubble level on all sides to ensure the screen is properly vertically and horizontally aligned.
Viewing Angle
Double-check that the screen fabric tilt and viewing angle align with your planned seating area for the best light reflection.
Height Markers
Consider placing height markers on the wall to act as a guide when adjusting screen height.
Take it slowly when first unfurling a motorized screen to prevent damage or creases. Most screens come with detailed instructions.
Connect Cables and Sources
Once the physical equipment is mounted, it’s time to connect your video sources and organize cables.
Inputs and Outputs
Determine necessary cables such as HDMI for media devices, 3.5mm for analog audio, VGA/DVI for computers, etc.
Cable Routing
Use long cables or extenders so all equipment can stay stacked near the video sources rather than up on the ceiling.
Cable Management
Tie and anchor cables to avoid loose dangling wires. Use cable channels along baseboards to keep organized.
IR Emitter
To control ceiling-mounted projectors out of IR line-of-sight, you can install an IR emitter that redirects signals.
Leave some slack at cable ends for adjusting inputs and disconnecting gear. Neatly organizing all cables keeps your system professional.
Image Alignment and Calibration
With all gear physically installed, align the projected image perfectly with the screen:
Projector Settings
Access the projector’s settings menu to adjust image size, focus, zoom ratio, vertical/horizontal position, etc.
View Mode
Make sure the view mode is properly set to the aspect ratio of your screen size and content types.
Edge Blending
For multi-screen installations, carefully align image edges and fine-tune the brightness and overlap areas.
Aspect Ratio Issues
If the image doesn’t fill the screen correctly, adjust projector zoom, use lens shift, or tweak aspect ratio settings.
Color Accuracy
Further calibrate colors, gamma, brightness, and contrast through the projector settings and test patterns.
Take the time to methodically adjust each setting to dial in image sharpness, size, aspect ratio, and color accuracy.
Testing and Room Setup Considerations
Try out your newly installed ceiling theater by testing the equipment and enjoying the content:
Source Devices
Ensure all video source devices like Blu-ray players, streaming boxes, and game consoles display properly when connected.
Audio Equipment
Test surround sound output through speakers/receivers. Balance volume and rear speaker delays.
Control System
If installed, confirm projector, screen, lighting, and other components work through home automation control system.
Immersive Environment
Dim lights, play absorbing wall/ceiling materials and reduce ambient noise from HVAC for the most immersive experience.
Viewing Experience
Invite friends and family to enjoy a movie night and calibrate the perfect video and audio sweet spot from the seating area.
There is something magical about enjoying a film on a gigantic projected image in a dedicated home theater. Take advantage of your new setup!
Showtime!
Mounting a high-quality projector from your ceiling is the best way to create an epic entertainment space without sacrificing your living area. Carefully installing the mounting gear, display screen, and AV equipment takes precision but pays off tenfold when enjoying the end result. Follow this guide to take the hassle out of overhead projector placement. Sit back and have fun testing the limits of your new private theater!