
Installing a home surveillance system is an effective way to deter crime and protect your home. With the right equipment and proper setup, a home surveillance system can give you peace of mind knowing that your property is being monitored at all times. This comprehensive guide will walk you through the entire process of choosing, purchasing, installing, and setting up a home surveillance system tailored to your needs.
Choosing a Home Surveillance System
The first step is deciding what type of home surveillance system is right for your home. There are a few key factors to consider:
Wired vs Wireless
- Wired – Cameras are connected to a recorder or network via cables. More reliable but requires running cables.
- Wireless – Cameras transmit footage wirelessly to a recorder. No cables are required but footage can be interrupted by interference.
Video Quality
- Resolution – Higher resolution like 4K or 1080p means sharper, more detailed video footage.
- Night vision – Infrared night vision allows the camera to see in low-light conditions.
- Wide angle lens – A wider field of view so the camera can see more of the area it’s pointed at.
Indoor vs Outdoor Cameras
- Indoor – Meant for recording inside the home. Usually more compact and designed for tabletop use.
- Outdoor – Weatherproof, vandal-proof cameras that can withstand the elements when mounted outside.
Smart Home Integration
- Smart camera systems – Can integrate with smart home platforms like Amazon Alexa or Google Assistant for voice control.
- IFTTT integration – Cameras that work with IFTTT allow you to set up customized automation when the camera detects motion or other triggers.
Once you decide on the right camera system for your needs, you can purchase all the components you will need.
Purchasing Equipment
A full home surveillance system requires more than just security cameras. Here is a checklist of all the gear you may need:
- Cameras – Both outdoor and indoor cameras depending on your coverage needs
- Camera mounts – Brackets or stands to mount your cameras
- Ethernet cables – For wired cameras to connect them to your network
- DVR or NVR – Digital or Network Video Recorder to store and manage footage
- Hard drives – For storage space if your recorder has hard drive bays
- Monitor – A monitor to view live and recorded footage
- UPS battery backup – An uninterruptible power supply to keep the system running during power outages
Optional accessories:
- Camera housing – Protective covers and enclosures to protect outdoor cameras
- Signage – Warning signs to inform people they are being recorded on CCTV
Shop around both online and local stores that specialize in surveillance systems to find the best prices. Buying everything you need in one package deal can also save you money compared to piecing together components separately.
Read More: The Future Is Now: Exploring The Benefits Of Smart Appliances
Installing Your Cameras
Once you have all your equipment, it’s time to install your cameras. Proper placement is extremely important – your cameras need to maximize visibility and coverage area.
Mapping Camera Placement
Grab a piece of paper and sketch out a bird’s eye layout of your home including all entryways, windows, driveways, and yards. Mark high priority spots like front doors and anywhere that stores valuables like safes. Also note possible problem areas with blind spots where a camera should go. This map will dictate exactly where your cameras need to be positioned.
For most homes, you’ll want cameras covering:
- Front door
- Back door
- Garage doors
- Driveways and paths leading to doors
- Backyard and side yards
- Rooms with valuables like jewelry boxes and home offices
Use your camera’s field of view angle spec to determine how many cameras you’ll need.
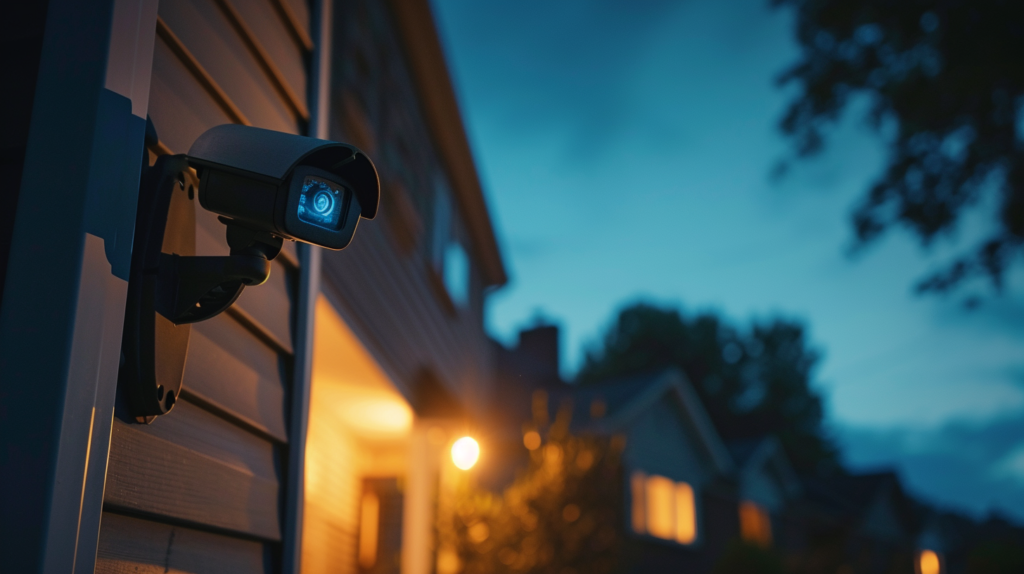
Mounting Your Cameras
The type of camera mount used depends on whether the camera is being installed indoors or outdoors.
Outdoor camera mounts:
- Wall mounts – Brackets that attach a camera to the wall pointing outward
- Eave mounts – Mount that attaches a camera to the underside of roof eaves
- Pole mounts – Extendable pole to mount a camera high up overlooking your property
Indoor camera mounts:
- Tabletop stands – Mini tripods to place cameras on any flat surface
- Wall mounts – Brackets for mounting cameras to walls and ceilings
- Shelf mounts – Discreet brackets for placing small cameras on shelves
For all mounts, make sure that:
- The cameras are angled correctly towards the areas you want to monitor
- The mounting location is stable, rigid and can support the camera weight
- The camera sits securely in the mount with no wiggle or adjustment issues
- The cameras have enough height and elevation to not be tampered with easily
Avoid mounting cameras where the lens will be blocked by trees, bushes, fences or outdoor decor.
Running Cables
For wired security cameras, connect an Ethernet cable from each camera running back to the central recorder using the most direct route possible. This usually involves:
- Drilling small holes through walls for routing cables indoors
- Running cables under door jams or floor trim pieces
- Running cables along baseboards or ceilings using cable track or wire conduit
- Running cables underground in waterproof PVC tubing for outdoor wires
Leave plenty of extra cable slack. Use cable staples, tacks or clips to neatly secure any exposed cables against walls and ceilings.
Testing Cameras
With all cameras fully mounted and wired, the last step is testing everything:
- Check that all cameras show up on your recorder and clearly display video
- Slowly pan, tilt and rotate each camera to ensure full free range of motion
- Use camera zoom and focus features to optimize image clarity if available
- Tweak camera angles as needed to get the necessary coverage areas
- Check that night vision activates properly in low light
Now it’s ready to move on to recorder setup and configuration.
Setting Up Your Surveillance Recorder
The surveillance recorder is the heart of your system that controls your cameras, records footage, and allows you to access and manage video. Setting up your recorder properly ensures everything runs smoothly.
Connecting Recorder to Cameras
If you have wired security cameras:
- Connect the Ethernet cable running from each camera to an open PoE port on the back of the recorder
- The recorder will automatically supply power and transmit data over these Ethernet cables
For wireless cameras:
- Power on each wireless camera
- On the recorder interface, select Add Wireless Camera and follow the on-screen pairing instructions
- The cameras will sync directly with recorder over WiFi once paired
Hard Drive Installation
Surveillance recorders have bays to install at least one or more hard drives for footage storage.
- Choose reliable CCTV/NVR rated hard drives – WD Purple or Seagate SkyHawk drives are recommended
- The more drive bays and storage capacity, the more footage you can save before loops begin recording over the oldest footage
- For redundancy to avoid data loss, use RAID mirroring if your recorder supports it
If your NVR recorder saves recordings onto a network location instead of local hard drives, make sure that network storage has sufficient capacity for saving continuous footage.
Connecting Recorder to Router
Connect an Ethernet cable from your recorder to your home router or network switch to enable the following:
- Remote viewing – View live and recorded video anywhere over the internet on phones and computers
- Email/Push notifications – Receive alerts with video clips when motion triggered
- Automatic video backups – Recorder can send footage backups to cloud storage
If your NVR has wifi instead of ethernet ports, connect it to your home wifi network.
Powering on the System
Connect power cables to turn on your:
- Monitor
- Recorder
- Cameras (wired cameras get power over their Ethernet cables from the recorder’s PoE ports)
- Any other accessory like a UPS backup power supply
The recorder and cameras may take a few minutes to fully boot up and display footage on monitor.
Configuring System Settings
Dive into your recorder’s system settings menu to set up and customize your system. Key options to configure include:
Recording Settings
- Recording schedule – Sets up hourly schedule specifying when continuous or motion recording is active
- Recording modes – Continuous, motion detection or both
- Resolution & framerate – Higher resolution gives better video quality but takes more storage space
- Retention time – Sets how long saved recordings are stored before being deleted/overwritten
Motion Detection Settings
- Motion sensitivity – Adjusts how sensitive motion detection is at triggering recordings
- Motion grids – Customize exactly where in the camera view motion triggers are active
- Motion notifications – Enables email alerts with video clips when motion events occur
User Accounts
- Local access accounts – Create usernames/passwords for accessing the system locally at the recorder
- Remote access accounts – Accounts for remotely accessing the system over the internet via a mobile app
Camera Adjustments
- Camera name – Rename each camera to make them easily identifiable
- Image settings – Contrast, brightness, saturation controls
- Masking – Block out certain sensitive visible areas in a camera’s field of view
Tweak any other available advanced settings to your preferences like video compression, streaming quality, etc.
Remote Access Setup
The last step is to set up remote access so you can view your cameras anywhere over the internet on your devices.
Router Port Forwarding
On your home wifi router:
- Forward TCP port 80, 554 or whichever port your NVR system uses
- Point the port forwarding rule to the local IP address assigned to your recorder
This opens up your recorder to be accessed outside your home network.
Downloading Mobile App
Install the manufacturer’s mobile app for Android or iOS used for remotely accessing your specific NVR system. Common apps include Xmeye, gCMOBO, EagleEyes, etc.
Run the app, select your recorder model, then log in using one of the remote access user accounts you created earlier.
You can now view live video and recordings from all cameras in your system from anywhere!
Peace of Mind
Installing a home surveillance system involves carefully planning camera placement, purchasing the right equipment, mounting your cameras properly, setting up your recorder with optimal settings, and configuring remote access.
Follow this guide’s step-by-step process to set up an effective DIY system tailored to your home’s unique needs. Locating cameras strategically, aiming them accurately, and configuring the system with care allows you to reap the full benefits of home video surveillance and protection.