Quick answer
This procedure covers GE Adora, Cafe and Profile French door designs from 2014 to 2015. The freezer sensor needs a resistance test at known temperatures before you order a part.
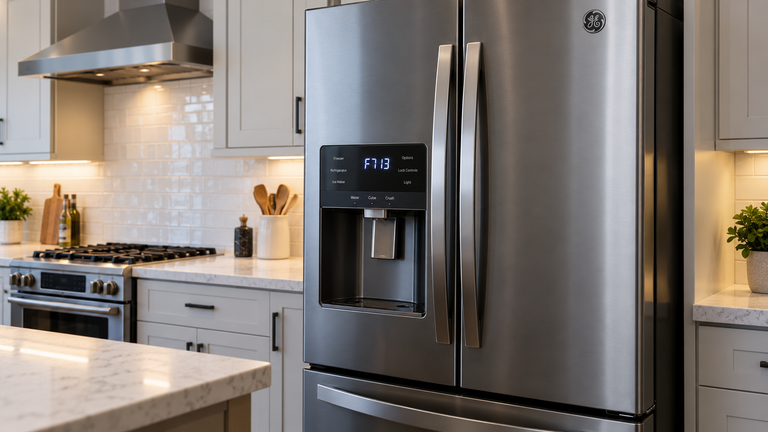
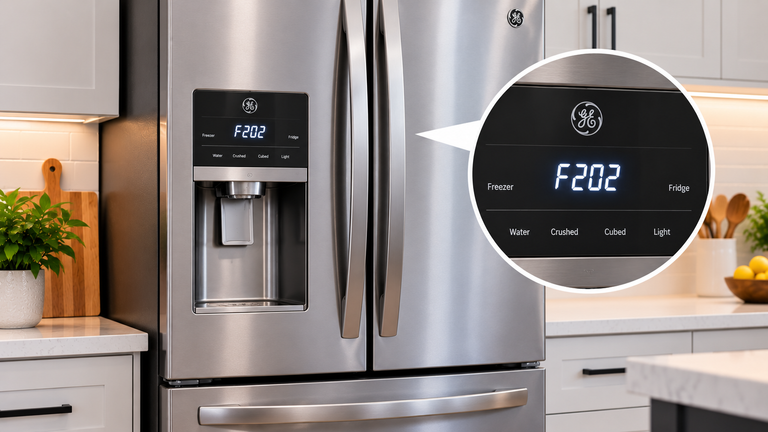
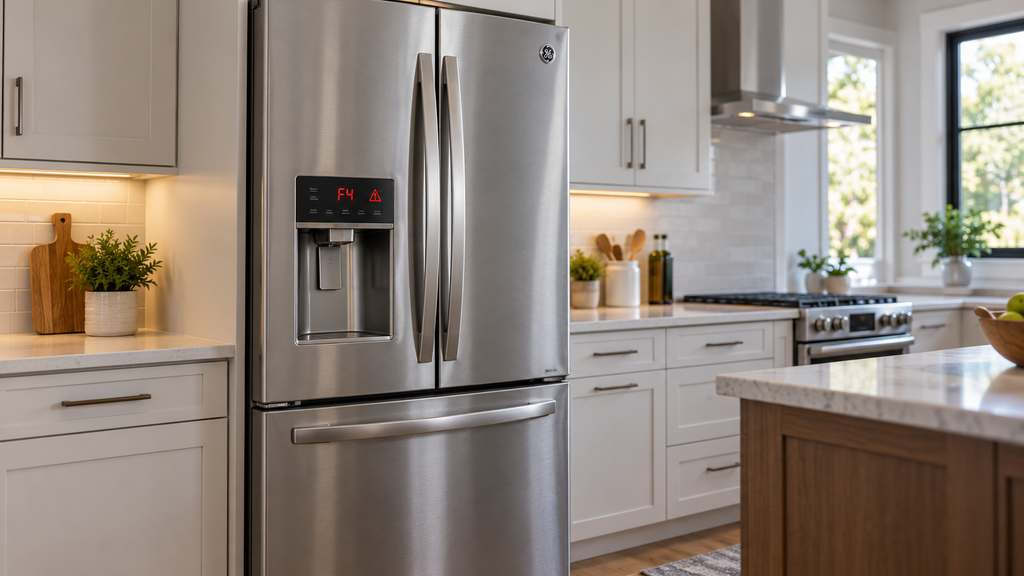
The ge refrigerator f4 error code points to the freezer evaporator sensor circuit on certain French door models. A thermistor is a sensor that changes electrical resistance as its temperature changes. Does the code alone prove that this sensor is dead? No. The sensor, its connection and the control need to be considered together.
What This Symptom or Part Can and Cannot Prove
Keep these limits in mind.
- Code location: F4 identifies the freezer evaporator sensor circuit on the covered design.
- Sensor condition: An open circuit or a reading outside the correct temperature chart supports a failed sensor.
- Control condition: A passing sensor does not prove board failure.
- Part identity: The freezer air sensor and freezer evaporator sensor are different locations.
Verify Your Model First
Use the full number on the refrigerator label. On many bottom freezer models, the label is inside the fresh food compartment. Check the bottom freezer model label locations for your design.
Find the Refrigerator model tag before ordering. Record the full model number, including its suffix, because parts with the same name can use different connectors, dimensions, ratings or mounting points across models.
The ge refrigerator freezer evaporator thermistor must match the location shown in your parts diagram.
Safety Before Testing
Keep these precautions in place.
- Power: Unplug the unit or shut off its breaker before access, wiring work and resistance tests. Confirm that power is off.
- Hands: Wear insulated work gloves for sharp edges, pinch points and debris. Keep hands and the work area dry.
- Workspace: Use good lighting. Clear clutter and keep children and pets away.
- Pace: Work slowly and handle parts gently. Do not force frozen or stuck pieces.
- Eyes: Wear safety glasses around chemicals, dust or large debris.
- Heat: Let any hot parts cool before touching them.
- Instructions: Follow the model’s safety directions. Photograph wire connections before moving them.
- Terminals: Avoid exposed wires and terminals. Use insulated tools; gloves do not make a powered resistance test safe.
- Electrical work: Follow local electrical rules. Leave household wiring, outlets and breaker panels to a licensed electrician.
Use these tools.
- Nut drivers, including 1/4, 5/16 and 3/8 inch
- T15, T20 and T27 Torx drivers
- Flathead and Phillips screwdrivers
- Wire strippers
- Multimeter
- Silicone grease and bell connectors
Causes to Check Before Buying a Part
What does the evidence actually narrow down?
| Cause | Evidence | Safe check | What result means |
| Wrong code interpretation | F4 on a different appliance or design | Match the full model and service information | These refrigerator values may not apply |
| Sensor connection fault | Loose plug or damaged connection | Inspect with power off | The circuit needs attention before a part order |
| Sensor failure | Resistance outside the model’s chart | Test at known temperatures with power off | A failed sensor becomes a supported diagnosis |
| Wiring or control fault | Sensor passes but F4 returns | Have the remaining circuit assessed | A passing sensor does not identify the board alone |
Once the test identifies the failed part, confirm the exact freezer evaporator thermistor with the full model number.
How to Diagnose the GE Refrigerator F4 Error Code
Follow these steps only when your model matches this freezer layout and sensor test.
Remove the Freezer Baskets
- Open the freezer drawer with power disconnected.
- Lift out the upper drawer.
- Push the bin’s left or right plastic tab to release its hinge pin.
- Lift the lower basket at the rear and move it back until the front rotates upward and out.
Remove the Drawer Front
- Remove the six 3/8-inch hex bolts, three at each side, that secure the front to the slides.
- Lift the drawer front off the slides.
- Note that, during reassembly, the inside tabs must enter their slots before the six bolts go back.
Remove the Evaporator Cover
- Locate the rear cover and its two 1/4-inch hex screws.
- Release the fan cover’s locking tab with a flathead screwdriver.
- Slide the fan cover down its guides.
- Unplug the freezer fan harness.
- Remove the two 1/4-inch screws at the top of the evaporator cover.
- Lift the cover’s bottom to release its three tabs, then pull the cover from the rear wall.
Test the Freezer Sensor
- Locate the thermistor clipped to the evaporator inlet tube.
- Remove it from the clip and hold it in a glass of ice water at about 33°F for several minutes.
- Measure its resistance with the meter; the covered sensor should read about 16,000 ohms.
- Check it at room temperature; the expected reading is about 6,000 ohms, subject to the actual temperature chart.
- Replace the thermistor if its readings fall outside the correct chart values.
- Pursue the wiring and main board diagnosis if both readings pass but the code remains; do not condemn the board from this result alone.
Replace a Confirmed Failed Sensor
- Place the new thermistor beside the old one.
- Cut the wires so the finished replacement wires match the original length.
- Join the wires with bell connectors filled with silicone grease.
- Return the thermistor to its mounting clip.
- Align the cover’s three tabs with the rear wall.
- Secure the cover with its two 1/4-inch hex screws.
- Reconnect the freezer fan harness.
- Slide the fan cover along its guides until the locking tab engages.
- Align the drawer front tabs with their slots.
- Secure the front with its six 3/8-inch bolts.
- Rotate the lower basket’s front downward, then slide it forward into place.
- Put the bin hinge pins into the side slots and push until the tabs click.
- Lower the upper drawer into its seated position.
- Plug in the unit and check normal operation and code status; disconnect power again before any further resistance test.
Interpret the Result
An open sensor has no complete electrical path. Ice around its clip does not prove an electrical fault.
A ge f4 thermistor fault needs to be separated from a fault in the wires carrying its signal. If the temperature test confirms failure, find the exact freezer evaporator thermistor for this model number.
How to Identify the Correct Replacement for This Model
Choose a ge freezer thermistor replacement by model rather than by the code alone. Does the listed sensor match your freezer circuit? Match the diagram location, wire arrangement and approved part number. The model number identification help can help you locate the complete label.
A recurring ge refrigerator f4 error code after a sensor passes needs further diagnosis. Avoid buying both a sensor and a board to guess which works.
When to Stop and Call a Professional
Stop if the cover is frozen in place, the cooling tube may be damaged, or you cannot make secure wire connections. A professional should handle a fault that remains after valid sensor readings. No powered probing is needed for the resistance test described here.
FAQ
What should be checked first when a GE refrigerator shows error code F4?
Confirm that the model uses this F4 meaning, then inspect the sensor connection with power off. Do not use an oven’s F4 test values.
How can you tell whether the GE freezer evaporator thermistor is actually bad rather than iced over or unplugged?
A disconnected plug explains a broken circuit. Ice describes a physical condition. A temperature matched resistance test checks the sensor itself.
What resistance reading confirms a failed freezer evaporator thermistor on a GE refrigerator?
A reading outside the model’s chart supports failure. For this covered design, expect about 16,000 ohms at 33°F and about 6,000 at room temperature.
Where is the model number on a GE refrigerator and why does the suffix matter when ordering a freezer evaporator thermistor?
Look inside the fresh food compartment and consult the label location help. The suffix can affect part fit.
When should a GE refrigerator with a recurring F4 code be left to a professional?
Get help when the sensor tests correctly, wiring is damaged, or safe access is difficult. A recurring ge refrigerator f4 error code needs the remaining circuit checked.
In Summary
F4 narrows the search to a sensor circuit on the covered refrigerator design. Match the model, test at known temperatures and let the result guide the repair.
Check your complete model number, then find the correct freezer evaporator thermistor for your model to order the right sensor.