Quick answer
Separate a drip at the spout from water escaping at a connection. Air after a filter change can cause dripping, while a damaged line can leak elsewhere. A coil resistance test checks the electrical part of an inlet valve; it does not prove that the valve closes tightly.
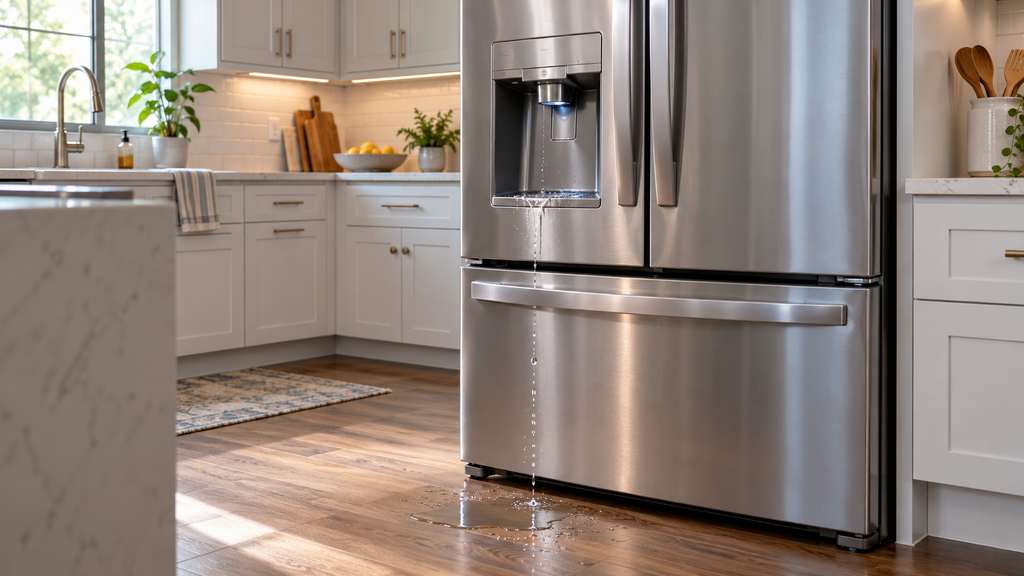
Your LG refrigerator water dispenser leaking after use may have air in the line, a filter problem or a fault in the dispenser. A puddle can also come from a tray, tube or valve. Did the leak begin after a filter change? The timing and exact wet spot help you narrow the cause before buying a part.
What This Symptom or Part Can and Cannot Prove
Use each clue for the question it answers.
- Drip after filter change: Air or filter seating needs attention.
- Wet filter area: The filter, housing or seal may be involved.
- Water at rear: A supply connection, tube or valve may leak.
- Water in dispenser tray: The tray may hold normal spills or water from another fault.
- Flow stops with supply off: The water supply feeds the leak, but the failed part is still unknown.
An LG refrigerator water inlet valve dripping at its body is different from water dripping at the spout. The inlet valve controls incoming water. A solenoid is its electrical coil, which opens the valve when powered. The seal inside the valve has a separate mechanical job.
Verify Your Model First
Find the Refrigerator model tag before ordering. Record the full model number, including its suffix, because parts with the same name can use different connectors, dimensions, ratings or mounting points across models.
Use the LG refrigerator model tag locations to identify the complete design. Different models have different filter mounts, water paths and valve arrangements.
LG refrigerator inlet valve replacement by model matters when more than one valve appears in the diagram. A rear valve and a door valve are not interchangeable. Confirm the location and water path instead of choosing from a photo alone.
Safety Before Testing
Prepare for both water and electrical hazards.
- Unplug the refrigerator and confirm power is off before internal inspection.
- Shut off the water supply before opening a line or valve connection.
- Keep towels and basic tools ready.
- Follow local electrical codes.
- Leave household wiring, outlets and breaker work to a licensed electrician.
- Keep water away from controls and exposed electrical parts.
Powered dispenser checks use the fully assembled refrigerator. Shut power and water off again before internal work. Do not open a pressurized line to hunt for a leak.
Causes to Check Before Buying a Part
Where is the first sign of water?
| Cause | Evidence | Safe check | What result means |
| Trapped air | Drip after filter service | Approved water flush | Improvement supports an air issue |
| Filter or housing damage | Water around filter mount | Unpowered visual check | Inspect the actual seal or crack |
| Cracked tube | Water at damaged section | Supply-off line inspection | Replace the confirmed damaged line |
| Tray damage | Crack or poor seating | Remove and inspect tray | Tray may be the leaking container |
| Valve fault | Valve body leak or failed coil test | Model-specific inspection | Confirm which valve is faulty |
Once the test identifies the failed part, confirm the exact water inlet valve with the full model number. A filter housing leak calls for a different part.
How to Diagnose an LG Refrigerator Water Dispenser Leaking
Follow these steps to locate the leak, inspect simple causes and assess the valve only when the evidence points there.
Locate the Wet Area
- Inspect the cabinet base and dispenser for water.
- Look beneath crispers and near the rear wall.
- Check filter seating and leakage.
- Inspect rear water connections for moisture.
Level the Cabinet
- Check cabinet alignment with a level.
- Adjust front legs clockwise to raise or counterclockwise to lower.
- Recheck and adjust until level.
Inspect the Door Seals
- Look for seal cracks, tears or gaps.
- Close the door on paper; easy withdrawal suggests poor grip.
- Clean seals with mild soap and warm water.
- Replace damaged seals.
Inspect the Tray
- Pull out the tray gently.
- Empty it.
- Check for cracks, warping or wear.
- Replace a damaged tray with a compatible one.
- Clean the tray and underlying area.
- Refit it flush.
Inspect the Filter
- Locate the filter inside the refrigerator.
- Twist it counterclockwise to remove.
- Inspect housing cracks and seal damage.
- Check the filter for dirt or blockage.
- Replace a damaged or over-six-month-old filter.
- Align it and turn clockwise until locked.
Inspect the Supply Line
- Move the cabinet carefully from the wall.
- Find the clear or braided supply line.
- Feel for cracks or kinks.
- Check both end connections are secure.
- Replace a damaged line.
Assess the Valve
- Confirm power and water are off.
- Access the rear panel and locate the valve.
- Inspect droplets and mineral deposits.
- Measure coil resistance against the model specification.
- Replace a confirmed faulty valve.
Flush Air from the Water Line
- Dispense two to three gallons into a suitable container.
- Check whether the drip resumes.
Check a Sticking Dispenser Lever
- Hold Lock for three seconds to disable dispensing on supported controls.
- Clean the lever with warm water and mild detergent, avoiding the control panel.
- Hold Lock for three seconds again and retry.
Interpret the Result
When an LG water dispenser drips after filter change, a flush can clear air. The LG dispenser leak checks also address a sticking lever and melting ice. Use the actual model’s lock instructions if the control differs.
A normal coil reading cannot clear a leaking valve seal. Persistent spout flow needs a service check that separates an unwanted electrical command from mechanical leakage. Water shutoff alone does not make that distinction.
Failure confirmed at the valve? Find the exact water inlet valve for this model number.
How to Identify the Correct Replacement for This Model
Match the full model, diagram position, tube sizes and connections. For your LG refrigerator water dispenser leaking at the filter mount, confirm whether the damage belongs to the filter or housing. The model number check helps keep those parts tied to the right design.
When to Stop and Call a Professional
Get service if the flush and lever check do not stop the drip, a line is inaccessible or water reaches electrical parts. A valve with good coil resistance can still need further testing. Do not keep buying parts from the puddle location alone.
FAQ
What should be checked first when an LG refrigerator water dispenser keeps leaking?
Locate the water and note recent filter changes. Separate spout dripping from a wet filter housing, line or tray.
How can you tell whether the LG water inlet valve is actually bad rather than trapped air or a poorly seated filter?
Address the air and filter checks first. A visible valve defect or failed model-specific coil test gives more direct evidence.
What test confirms that an LG refrigerator water inlet valve is not closing fully?
A service flow test must establish unwanted flow through an uncommanded valve. Coil resistance and shutting the supply off do not prove that seal fault by themselves.
Where is the model number on an LG refrigerator and why does the suffix matter when ordering a water inlet valve?
Use the refrigerator’s identification label. The full suffix helps identify the correct water circuit and valve version.
When should an LG refrigerator water leak be handed to a professional?
Use service for persistent dripping after the supported checks, hidden tubing or water near electrical parts.
In Summary
Your LG refrigerator water dispenser leaking needs a cause check before a part choice. Air, filter fit, lines and valves require different evidence.
Check the model tag, then find the correct water inlet valve for your model after the valve fault is confirmed.