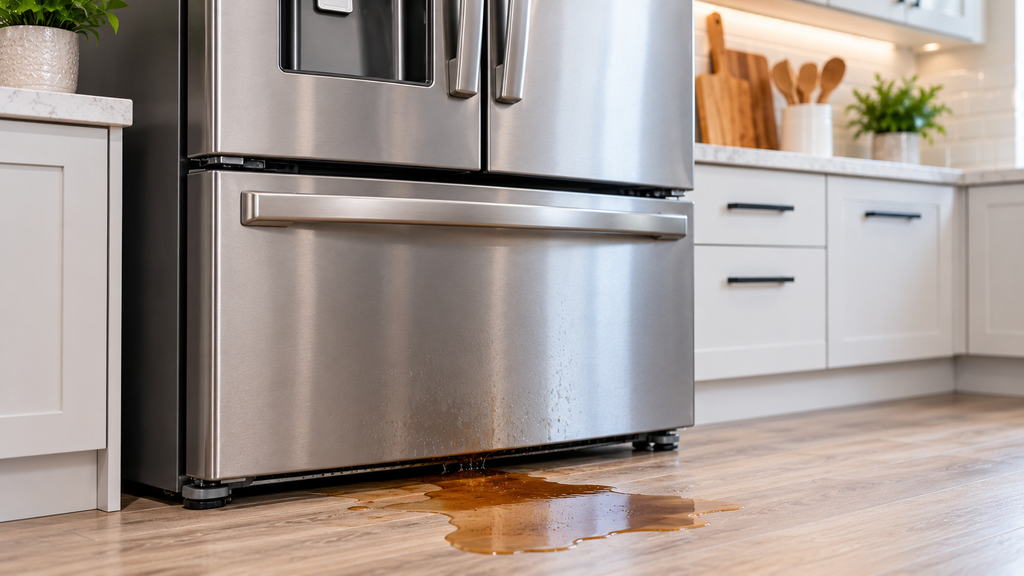
Brown liquid leaking from a refrigerator calls for identifying the liquid’s source before selecting a part. Color alone cannot establish a failed drip pan or a sealed-system problem. A visible food spill and a recurring leak from beneath the cabinet need different responses.
What This Symptom or Part Can and Cannot Prove
- Brown color describes the liquid without identifying its origin.
- An accessible spill can explain a stain without a failed appliance part.
- A recurring leak needs its source identified before a replacement is chosen.
Record where the liquid first appears rather than where it spreads on the floor. A photo can show its original position. Brown liquid beneath a refrigerator can have several causes. Its color alone does not justify treating every leak as the same repair.
Verify Your Model First
Find the Refrigerator model tag before ordering. Record the full model number, including its suffix, because parts with the same name can use different connectors, dimensions, ratings or mounting points across models.
Find the interior refrigerator label before using an access diagram. Pan access varies by design, so a diagram for another refrigerator cannot authorize rear-panel work. Keep the full model available even when the first finding is a simple spill and no part is needed.
The full appliance model number must come from the identification label on the appliance, rather than the front badge or an old order receipt. A clear photo makes a useful record when the refrigerator is difficult to reach. The serial number can help identify a production change, but it does not replace the model number.
Safety Before Testing
- Disconnect power before panel removal or access near electrical components.
- Do not touch a plug or electrical component while standing in spilled liquid.
- Turn off the water supply before disturbing a water connection.
- Keep the floor dry and clear of slipping hazards.
- Use gloves for contaminated material and sharp panel edges.
- Ventilate the area when using a cleaning product.
- Follow the cleaner label for the surface being treated.
- Never mix bleach with vinegar or other cleaners.
- Stop when the source is inaccessible or uncertain.
Causes to Check Before Buying a Part
| Cause | Evidence | Safe check | What the result means |
| Accessible food spill | Liquid can be traced to stored food | Inspect the visible compartment | Cleaning may resolve the complaint without a part |
| Pan damage | A model-matched inspection identifies a defect | Have the accessible pan condition checked | A compatible pan may be needed |
| Unidentified recurring leak | Liquid returns without an established origin | Record the location and seek service | Do not choose a part from the color |
Once the test identifies the failed part, confirm the exact replacement with the full model number. Use that category only when the diagnosis identifies a failed drip pan; a different finding needs its own matching part.
Safe Testing and Repair Order
Rule Out Access, Power, Airflow, Water-Flow or Obstruction Causes as Applicable
Identify the source before choosing a cleaning or repair branch. Liquid can spread beyond where it started, so the final puddle location is incomplete evidence. A cleaned area is useful for later observation. Do not describe the leak as oil or refrigerant solely because it is brown.
Clean an Identified Accessible Food Spill
- Clear stored food from the affected area.
- Remove accessible removable pieces.
- Inspect for sticky spill residue.
- Clean with warm soapy water or an appropriate diluted vinegar solution.
- Dry the area.
- Refit the pieces and return the food.
The identified cause determines whether a refrigerator drip pan problem needs cleaning or replacement. Mold treatment and rust-related work are separate issues. Do not run those repairs as one sequence or choose a part merely because the liquid looks brown. Bleach must never be mixed with other cleaners. Choose one suitable product and follow its label.
Interpret the Result
A resolved spill does not call for a parts purchase. A confirmed damaged pan can justify a compatible replacement. A recurring liquid source that remains uncertain requires further diagnosis, rather than a guess based on color. The conditional pan link below applies only after the pan defect is established.
Test result confirmed the failure? Find the exact drip pan for this model number. This purchase step applies only after the stated evidence is present.
How to Identify the Correct Replacement for This Model
Use the model diagram to identify the actual drip pan and whether it is serviced separately. Confirm the pan’s intended position before comparing listings. A drain component or a water reservoir shown nearby is not automatically the same item as the damaged pan.
Match the full model to the manufacturer’s parts diagram before selecting a replacement part. A part name identifies the component type, while the diagram and compatible service number establish which version belongs in this appliance. A similar-looking photo can help with orientation, but it cannot confirm fit by itself.
Keep these records together:
- The full model number and suffix.
- The diagram position and current replacement part number.
- The observation or test result that led to the repair.
- A photo of the original part and its connections, where safely accessible.
Do not place an order while an unresolved model difference changes the repair method. Ask the supplier to check a superseded number against the actual appliance. The correct order should describe both the compatible part and the evidence for replacing it.
When to Stop and Call a Professional
- The liquid is near electrical equipment.
- The original source cannot be identified.
- Access requires moving the appliance unsafely.
- The leak returns after the identified spill is cleaned.
Provide photos showing where the liquid first appeared and whether it returned. Report the cleaning product used so the repairer understands what has been done. A location record is more useful than an unsupported label such as “compressor oil leak.” Let the diagnosis identify the material and the failed part.
FAQ
What should be checked first for brown refrigerator liquid?
Identify where the liquid begins and whether it returns. An accessible food spill should not be treated as proof that an appliance component has failed.
Does brown liquid mean the drip pan is bad?
No. The pan needs its own inspection. Color alone cannot establish damage or identify the correct replacement.
What safe result confirms a pan replacement?
A documented defect in the actual pan supports replacement after fit is checked. A stain on the floor without a traced source does not provide the same evidence.
Where is the model number, and why does the suffix matter?
Use the interior refrigerator identification label. The complete version helps identify the correct pan and its access method instead of using another model’s layout.
When should troubleshooting stop?
Stop when liquid is near electrical components or the source remains uncertain. Have a professional continue if the leak recurs or safe access cannot be established.
After the diagnosis is settled, find the correct drip pan for your model. Keep the model record with the order so the repair starts with a verified match.
In Summary
Trace the liquid, address the identified cause, and check whether it returns. A simple spill may need no part at all. A confirmed pan defect can lead to a model-matched replacement, while an uncertain source deserves a professional diagnosis.