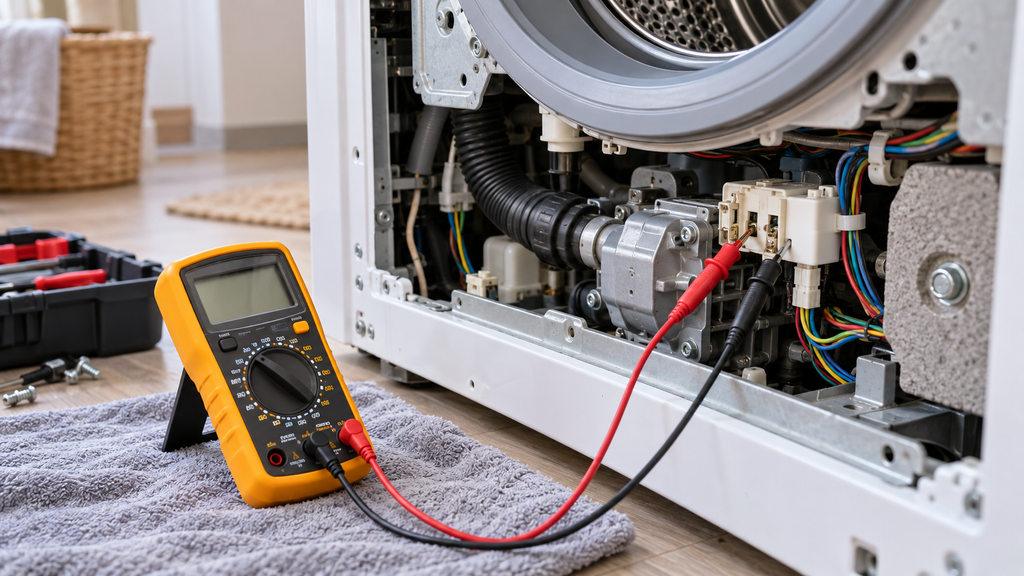
Most appliance parts pass or fail on one of three readings, continuity, resistance in ohms or a diode drop, and the table below lists the reading each common part should give. This guide explains how to test appliance parts with a multimeter with observations first, model-specific checks second, and a part decision only after a repeatable result. That order keeps a free correction from turning into an unnecessary part order and gives a homeowner a clear point to stop when the work moves beyond safe DIY testing.
Three Tests Cover Almost Every Part
These checks help narrow how to test appliance parts with a multimeter without buying the first part that seems possible.
- Continuity for fuses, switches and heaters.
- Resistance for elements, coils and sensors.
- Diode mode for microwave diodes.
- Voltage only when a part is proven good and the question is whether power arrives.
Repeat any surprising result once. Confirm the meter setting, disconnect the required wire, and use clean probe contact before treating the result as final.
Does 0 Ohms Mean No Continuity?
These checks help narrow how to test appliance parts with a multimeter without buying the first part that seems possible.
- 0 ohms is full continuity, a closed path.
- OL or infinity is no continuity, an open path.
- A beep on the continuity setting means closed.
- Why a heating element reads a few ohms, not zero.
Repeat any surprising result once. Confirm the meter setting, disconnect the required wire, and use clean probe contact before treating the result as final.
Expected Readings by Part
| Part | Meter mode | Typical expected reading | Failure clue |
| Thermal fuse or closed switch | Continuity | 0-1 ohm or a beep | OL when it should be closed |
| Bake, broil, or dryer element | Resistance | Often 10-40 ohms; model sheet wins | OL between terminals or continuity to ground |
| Thermistor or oven sensor | Resistance | Model-specific value at a known temperature | Far outside the chart or unstable |
| Water valve or solenoid coil | Resistance | Finite, model-specified resistance | OL for an open coil or near-zero for a short |
| Motor winding | Resistance | Low finite resistance; compare the winding specs | OL or a short to the frame |
| Microwave diode | Diode mode or 9V-assisted test | Conducts in one direction only | Same result in both directions |
| Capacitor | Capacitance or approved resistance check | Near rated microfarads within tolerance | Short, open, swollen, or leaking |
This section supports the decision about how to test appliance parts with a multimeter. Check the symptom under the same conditions, compare it with the model documentation, and keep a written note of what changed. A consistent result is stronger evidence than age, sound, or appearance alone.
What Not to Do with a Multimeter
These checks help narrow how to test appliance parts with a multimeter without buying the first part that seems possible.
- Never measure resistance on a live circuit.
- Never test a microwave before discharging the capacitor.
- Do not hold probes by the metal.
- Do not test a part still wired in parallel with another.
- Do not trust a reading from a dirty terminal.
Repeat any surprising result once. Confirm the meter setting, disconnect the required wire, and use clean probe contact before treating the result as final.
Verify Your Model First
The model tag location depends on the appliance (see P02); this page gives reading bands and brand-family values because the same part name has different ratings by model, so the model’s tech sheet always wins over the table.
A matching photo is not enough. Compare the connector, mounting points, electrical rating, and any revision suffix with the model-specific listing.
Safety
- Unplug before resistance or continuity tests.
- Voltage tests only with insulated probes and hands clear.
- Discharge microwave capacitors.
- Photograph wiring.
- One hand behind the back for voltage tests.
Tools
- Digital multimeter
- Clamp meter
- Insulated probe leads
- Alligator clips
- Flashlight
How to Test an Appliance Part in Four Steps
Isolate the Part
- Unplug the appliance.
- Disconnect at least one wire from the part so another circuit cannot change the reading.
- Photograph and label the terminals before moving wires.
Set the Meter
- Choose continuity, resistance, or diode mode from the table.
- Touch the probes together and confirm a near-zero reading.
- Select a suitable range when the meter does not auto-range.
Take and Compare the Reading
- Place the probes on the two test terminals.
- Read the display without touching the metal probe tips.
- Compare the result with the table and the model tech sheet.
- Repeat the test once with clean probe contact.
Reading outside the band? Find the exact part for your model number.
Check to Ground When Required
- Place one probe on a part terminal and the other on its metal housing.
- Repeat for the second terminal.
- Treat continuity to the housing as a failure only where the table or model sheet calls for an isolation test.
A number is useful only when the part is isolated and the meter is in the correct mode. The appliance’s tech sheet always takes priority over a general reading because ratings vary by model family.
Write down the symptom before power is removed, then record every reading and observation. A short test record prevents a good part from being replaced because a connector moved or the symptom changed during access.
Part fit must be confirmed with the full model number. Connector shape, bracket position, electrical rating, and production revision can change even when two parts share the same common name.
After reassembly, run one normal test cycle and watch for heat, leaks, unusual noise, odor, or a returning code. Stop the test when anything differs from normal operation.
FAQ
How do I test an appliance with a multimeter?
Use the checks in this guide for how to test appliance parts with a multimeter, then compare the result with the model’s technical sheet. Replace a part only after its own test fails.
What is the 50/50 rule?
Start with the free observation named in the table, then follow the tests in order. The first clear failed result identifies the next repair decision.
Does 0 ohms mean no continuity?
Start with the free observation named in the table, then follow the tests in order. The first clear failed result identifies the next repair decision.
What should I never do with a multimeter?
Start with the free observation named in the table, then follow the tests in order. The first clear failed result identifies the next repair decision.
Conclusion
A useful meter result is repeatable, taken with the part isolated, and compared with the appliance’s technical sheet. Appearance or age alone should not overrule a reading that matches the model specification.
Once a test clearly identifies the failed component, homeowners can look up parts by your model number and compare the connector, rating, and mounting details before ordering. If the procedure requires live voltage, microwave high-voltage access, or a specification that cannot be confirmed, professional service is the safer choice.